Configure Backup for Exchange 2016 using Windows Backup
Backup is one of the most essential component for any of the application, if there is no backup then the application is always on risk to lose data. Similar, for Exchange server also we need to take backup and keep safe the data for any disaster cases. Hence, we will discussion on how to configure backup for exchange 2016 using windows backup. Although we are talking about windows backup on this blog, the few question will get arise for backup
- What
- When
- Where
- Who
- How
So, these 5 WH question will identify the compliance and policy of your Backup.
| What?? | What determines, what is the backup to be taken?? Is it system file or the data?? |
| When?? | When will tell us at what time we need to schedule or take the backup, because while taking backup we don’t want to mess up with our performance. |
| Where?? | where we will take backup?? Is it on local server, on-premises, another datacenter or on cloud?? Regarding the cloud backup using Azure I will be coming back |
| Who?? | who will be responsible for this backup?? Who will make sure backup is on healthy condition?? If backup fails to restore, who will be responsible? |
| How?? | So, how to take backup?? Do we use any third-party software or just use traditional software of Windows server to take backup? Or it incremental of full Here this is the topic we will discuss. |
Now let’s discuss with the Exchange Backup, with above questions.
| What?? | We will take the backup of Exchange Database and Log, we do not require system file coz it can be installed again with Microsoft Exchange media. |
| When?? | We basically recommend the off the office hour, so that we can get optimum performance while taking the backup of the system. |
| Where?? | Recommendation of the backup is always off the site or on the cloud. Like Azure. |
| Who?? | This is the responsibility of Exchange Administrator and Backup Administrator |
| How?? | Backup can be taken with the traditional method of Windows backup but recommended to use DPM (Data protection Manager) for the managed and quick restore method. |
Also, it is recommended, how long it might take to complete the backup. Always consider the quickest method to restore it. Because, during the backup you will have enough cool time… but while restoring you will get under hell of pressure.
Install Windows Server Backup
Let’s start with the configuration of the backup, to configure your exchange server backup with the traditional method or using windows backup. We first need to install the feature of Windows Backup on the Exchange server.
To install Windows server backup feature, there are two methods
- GUI Method
- CUI Method
GUI Method:
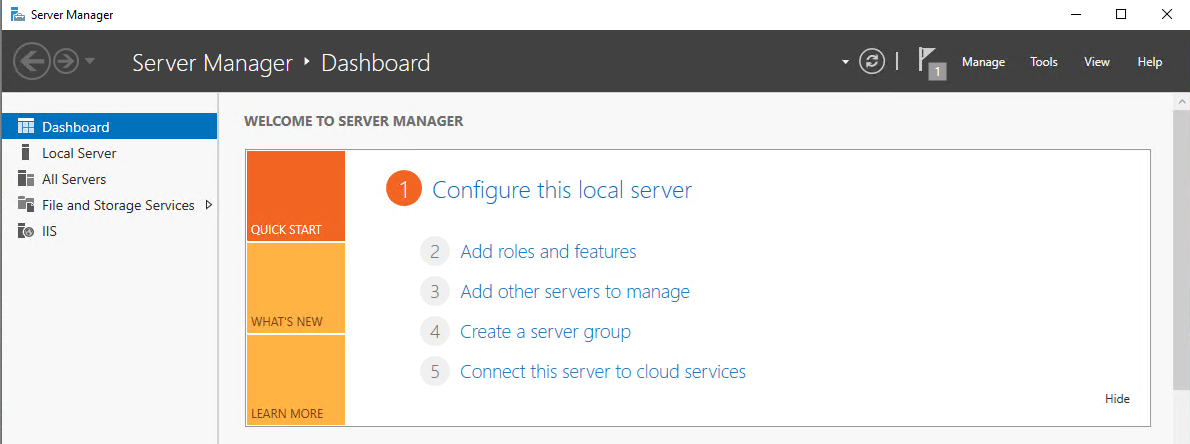
To start installation of the feature, go to the Server Manager and select ‘Add roles and features’.
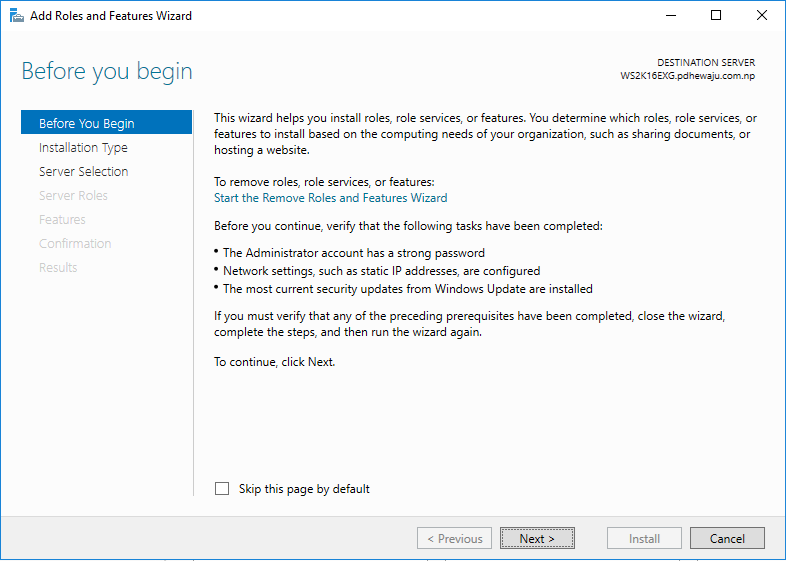
On your ‘before you begin’ screen click on ‘Next’.
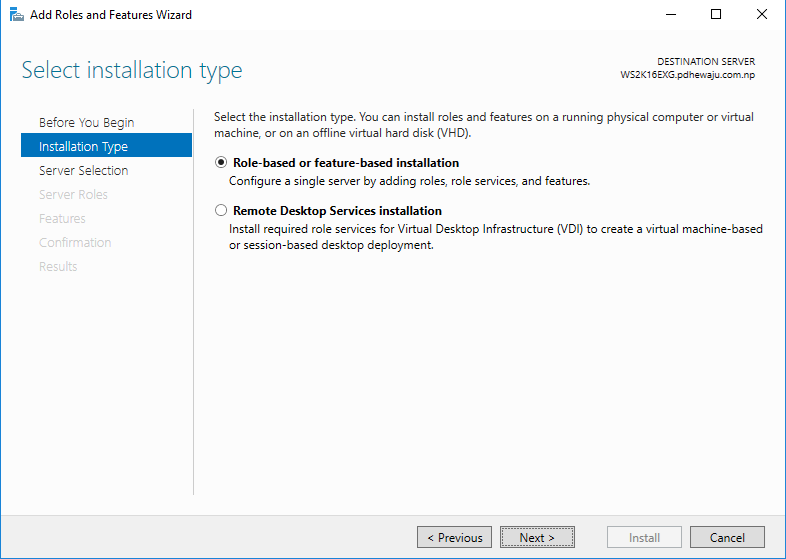
Select ‘Role-based or feature-based installation’ and click on ‘Next’.
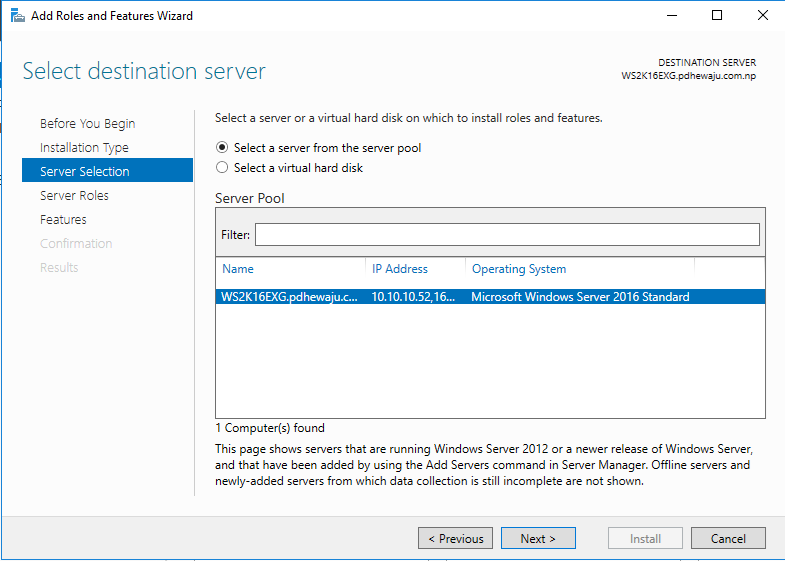
Select the server on which you want to take backup and click on ‘Next’.
As we are not installing any server roles skip the ‘Select Server Roles’ and click on ‘Next’.
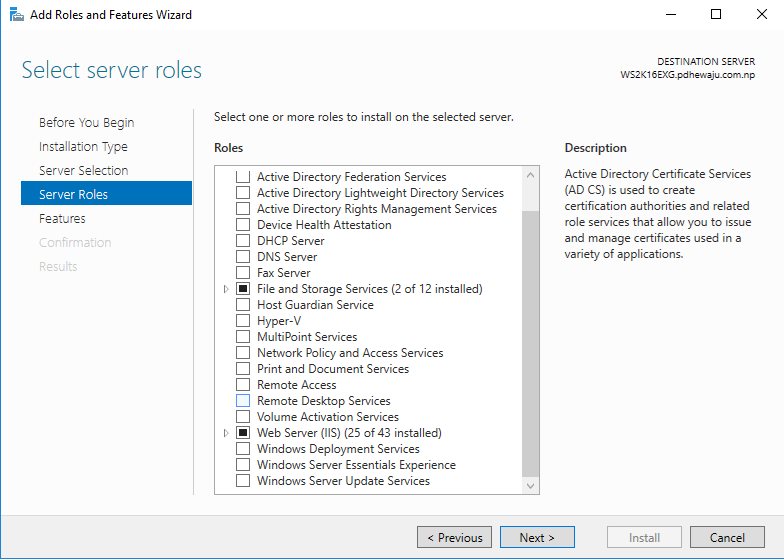
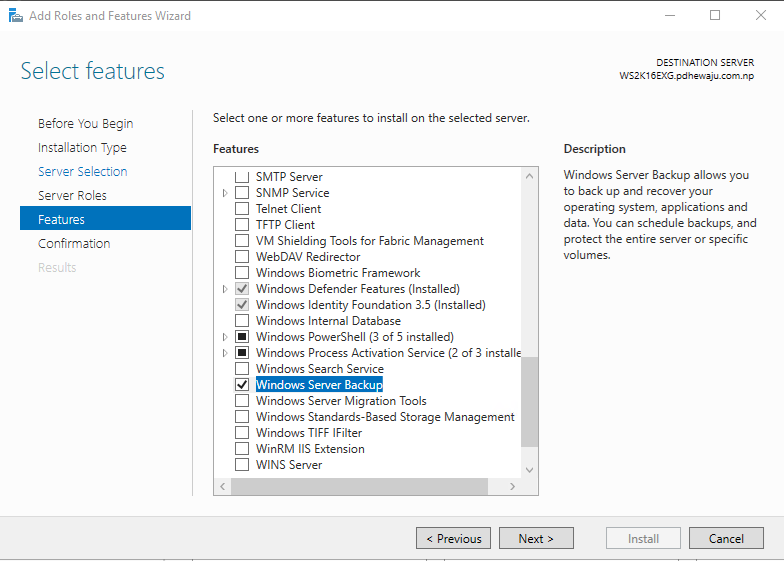
Now, on the ‘Select Features’ select ‘Windows Server Backup’ and click on ‘Next’.
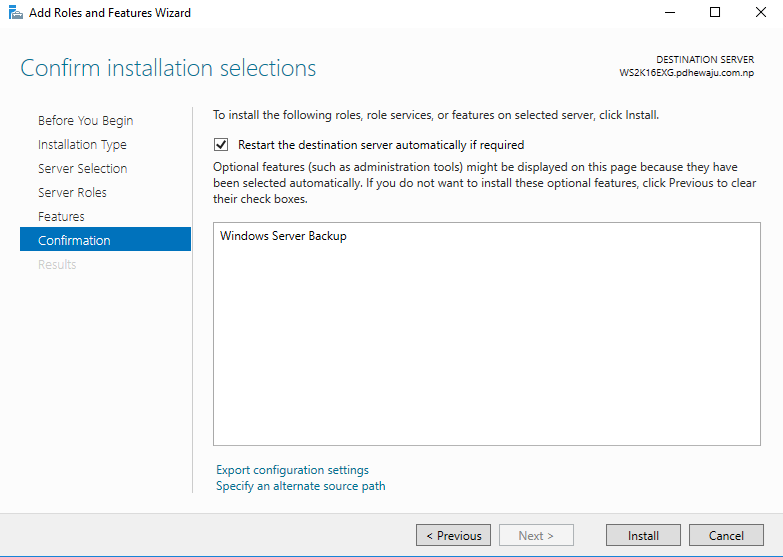
At the ‘Confirm installation selection’ confirm your settings and click on ‘Install’.
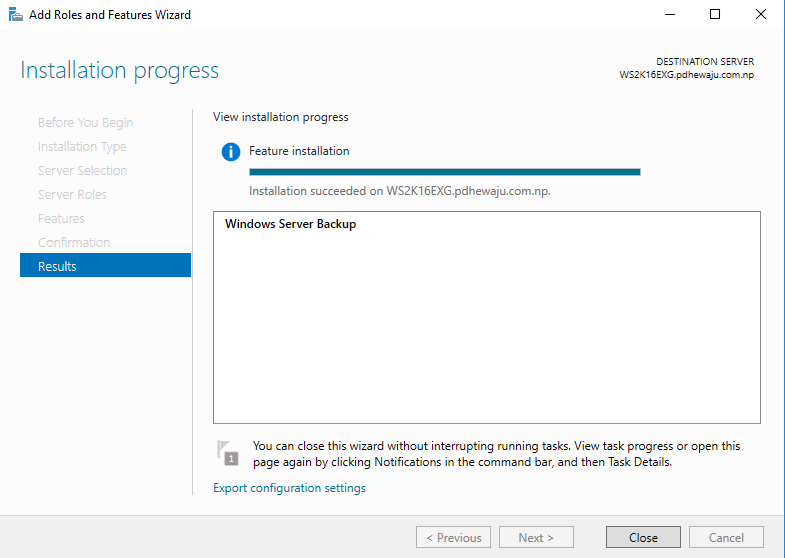
it might take while to complete the installation, once the installation is complete click on close.
CUI Method:
To start the process of installation using CUI method, you first need to run PowerShell with admin rights.
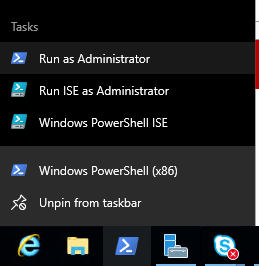
Run the below cmdlet to install windows feature
PS C:\Users\Administrator> Install-WindowsFeature Windows-server-backup

It will take while to complete the backup process…. After completion of the installation, you can close the PowerShell.

Configuring Backup:
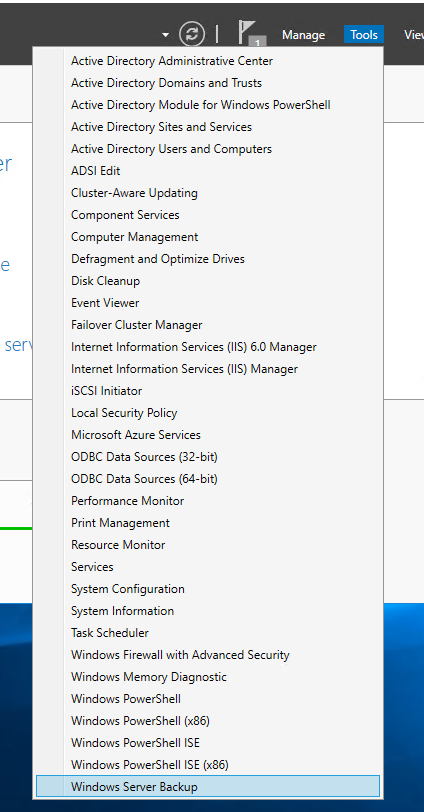
Getting start with the configuration of ‘Windows Server Backup’, Open the console of ‘Windows server Backup’ from the tool.
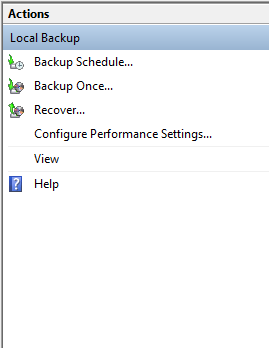
When the console gets open, on the right side of the console, you will see the ‘Action’ with multiple options of the Backup. Let me start with the ‘Backup Schedule’.
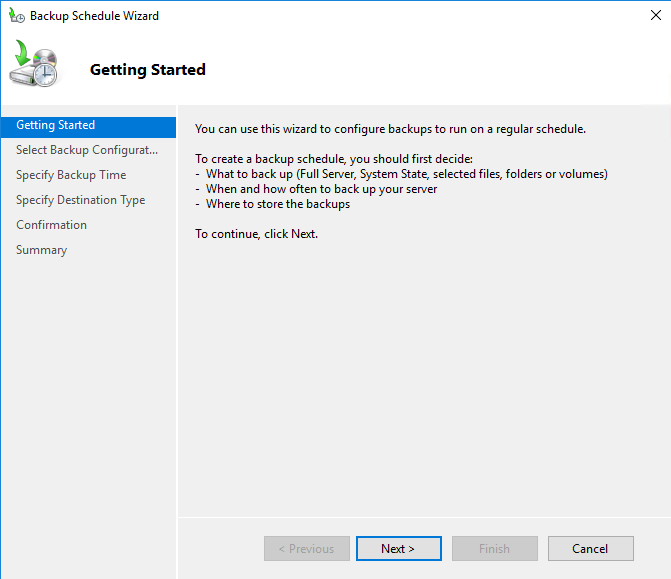
When you click on the ‘Backup Schedule’, Backup Schedule wizard will get open… click ‘Next’ on it.
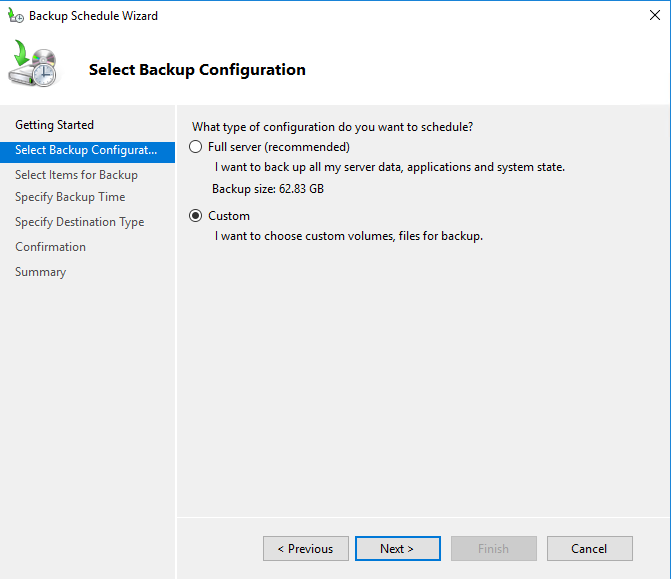
On ‘Select Backup Configuration’, as we are just going to take the backup of the Database and log. Select on ‘Custom’ and click on ‘Next’.
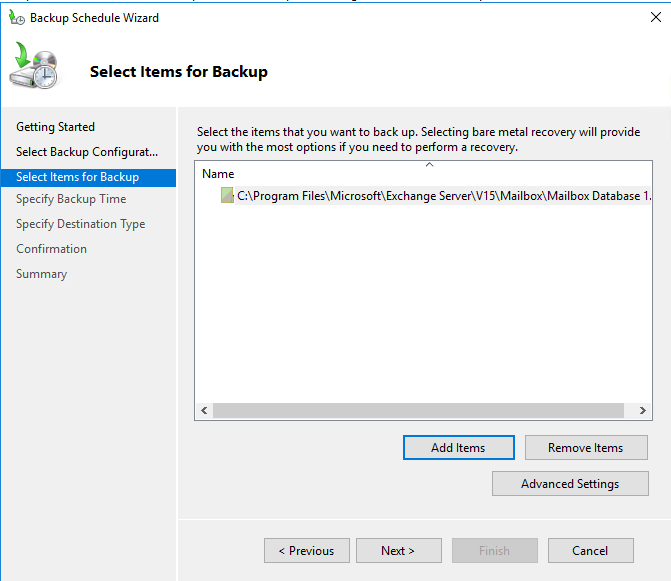
For the ‘Select Items for Backup’ click on ‘Add Items’.
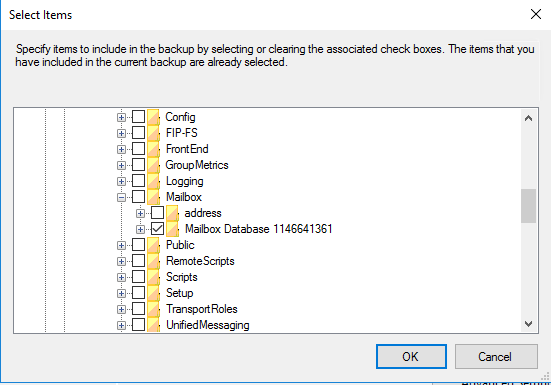
A new window to select the item will get open, browse to your Exchange Database and log folder, select it and click on ‘OK’.
Once that is done, click on the ‘Advance Settings’
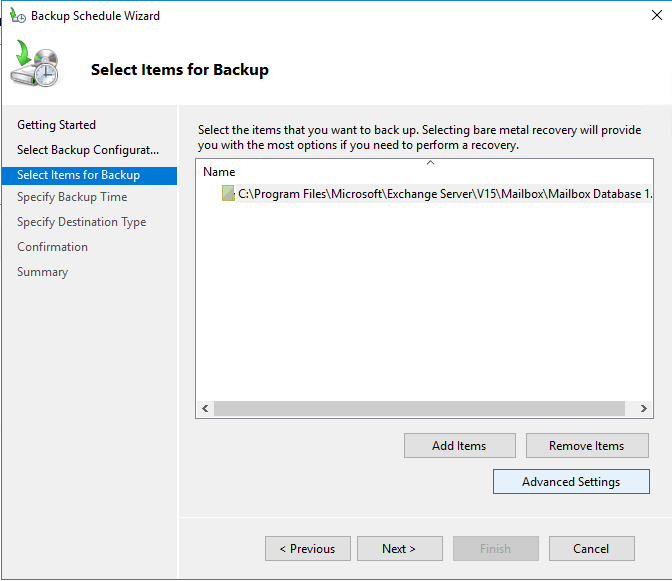
Now this is the most important part for the setting of any application backup (like Exchange). On the ‘VSS Settings’ tab and select on ‘VSS full Backup’, this option will help us to clear the log after taking the backup of the data.
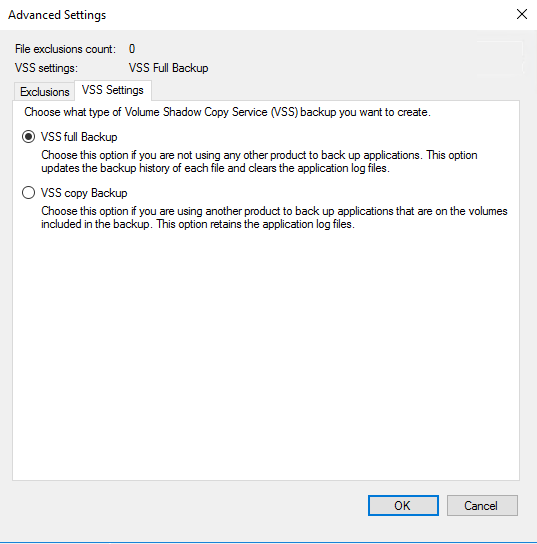
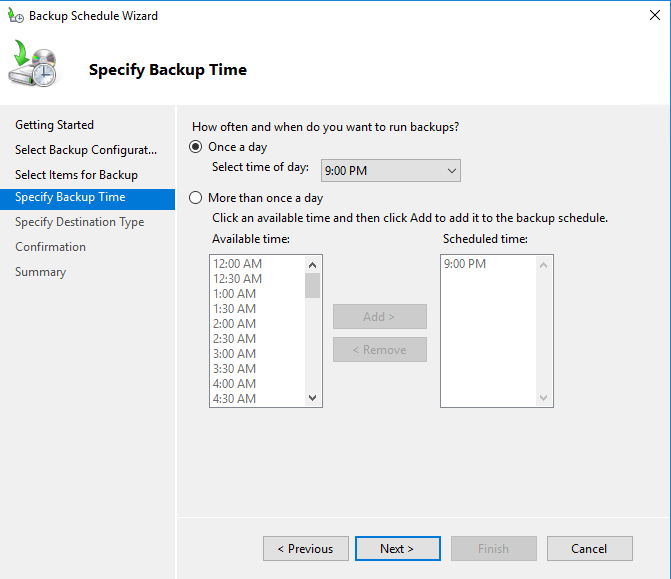
It’s time to specify the Backup time, at which hour we want to take backup. Once this is selected, click on ‘Ok’.
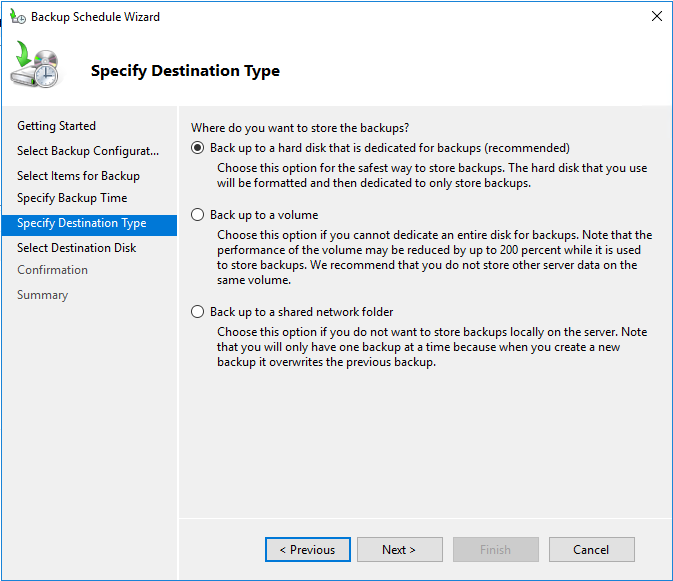
Again, time to specify the location, where you want to store your backup. After selecting the option click on ‘Next’. For this demo purpose, I have selected the first option ‘Back up to a Hard disk that is dedicated for backups’.
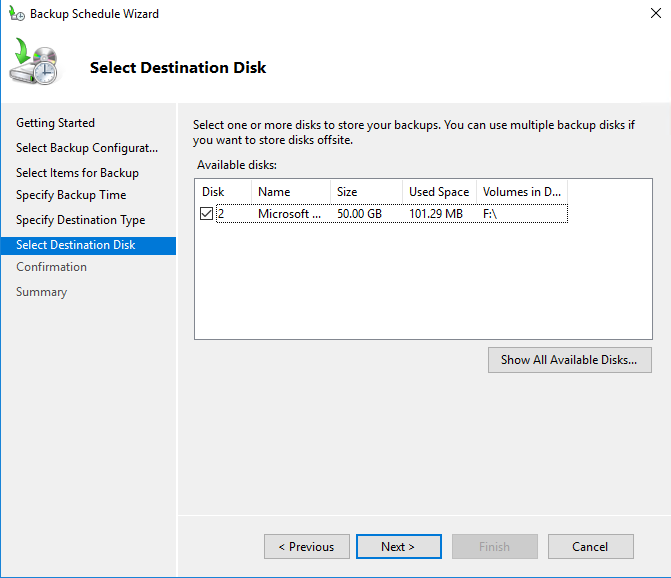
Now, select the destination disk and click on ‘Next’.
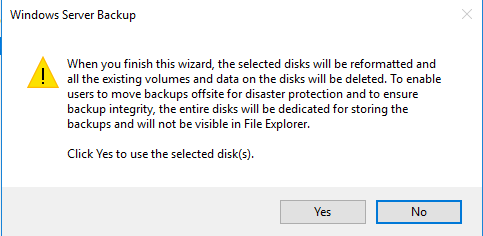
If you get any kind of warning, click on ‘Yes’ to proceed ahead.
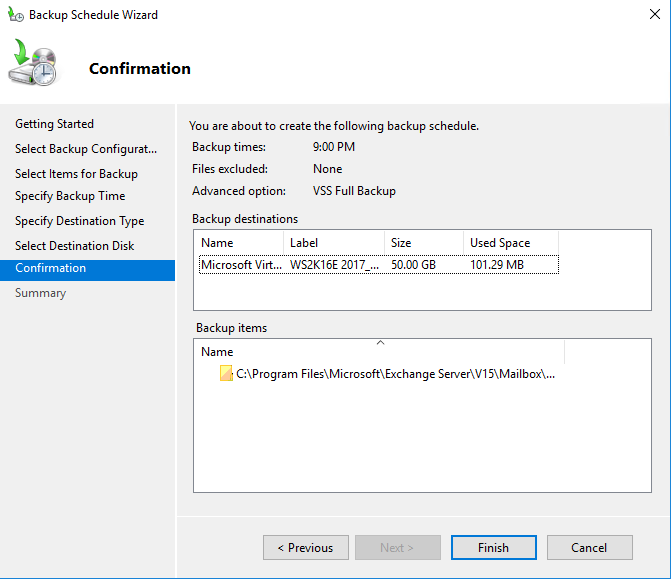
Now, confirm your backup setting and click on ‘Finish’.
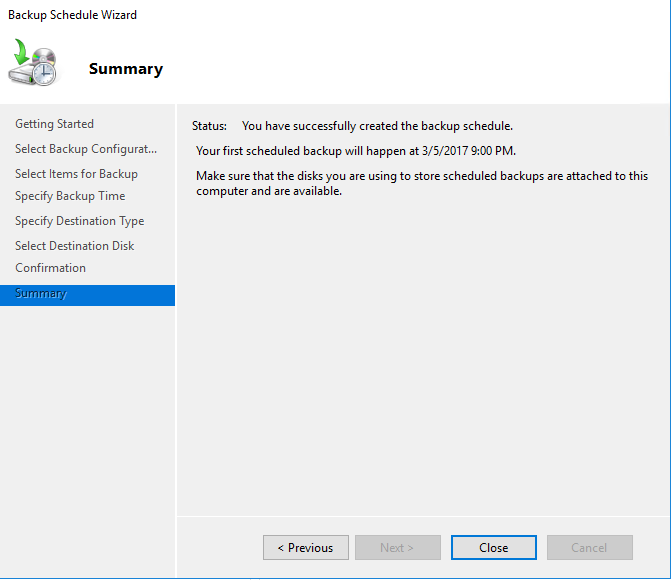
It will take while to finish the setting, after the completion you can click on ‘Close’.
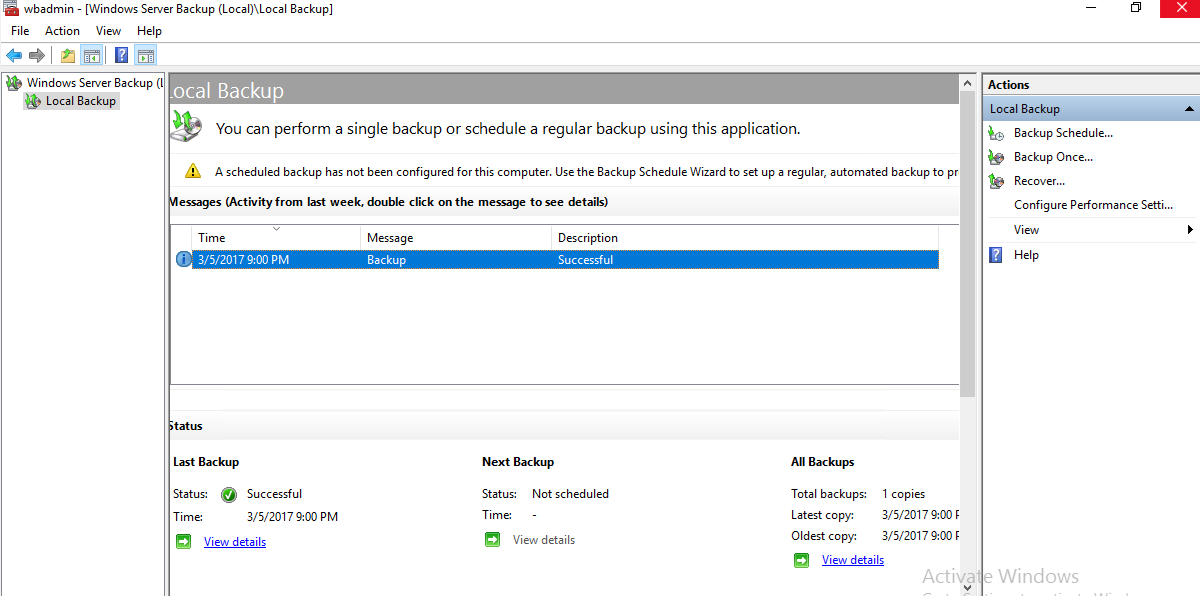
After the scheduled date, you will find the backup has been taken successfully. 🙂
So… with these configuration, you will have your backup schedule with the specific time on your desired location. Hope this blog has given you an idea about the Exchange backup using Windows server Backup.

![[error]The Single Instance Store (SIS) component is not installed](/wp-content/themes/ribbon-lite/images/nothumb-related.png)

Are you trying to find effective advertising that has no per click costs and will get you new customers fast? Sorry to bug you on your contact form but actually that was the whole point. We can send your ad copy to websites via their contact forms just like you’re receiving this ad right now. You can specify targets by keyword or just do bulk blasts to websites in any country you choose. So let’s assume you’re looking to push through an ad to all the real estate agents in the US, we’ll scrape websites for only those and post your advertisement to them. As long as you’re advertising something that’s relevant to that business category then your business will get an awesome result!
Shoot an email to alfred3545will@gmail.com to find out more info and pricing