[Step by Step] Instant Messaging Integration between Exchange 2016 OWA and Skype for Business 2015
Hey hi again, on my previous blog we had talked about installing and configuring Exchange server 2016 and Skype for Business 2015. Although these are two separate servers but do have same kind of functionalities. Exchange serves us with the functionalities of mailing system whereas, Skype for Business help us with the messaging. So, we can say where it should be done in chat or we work with email. But what if we can have both on single screen, like I can have Email and I can have Instant messaging too.
On this blog, I will be talking about the integration of Skype for Business 2015 with the Exchange 2016 OWA. So, we can have the Instant Messaging (IM) integration on our WEB Application too. To get start with the integration process, first verify the installation of ‘Unified Communication Managed API 5.0‘ on Exchange 2016 server by checking on the ‘Programs and Features’.

Usually it is installed with the Exchange Server 2016, but if it is not then you can download this from the link here. Unified Communications Managed API 5.0 (UCMA)
Installing UCMA 5.0
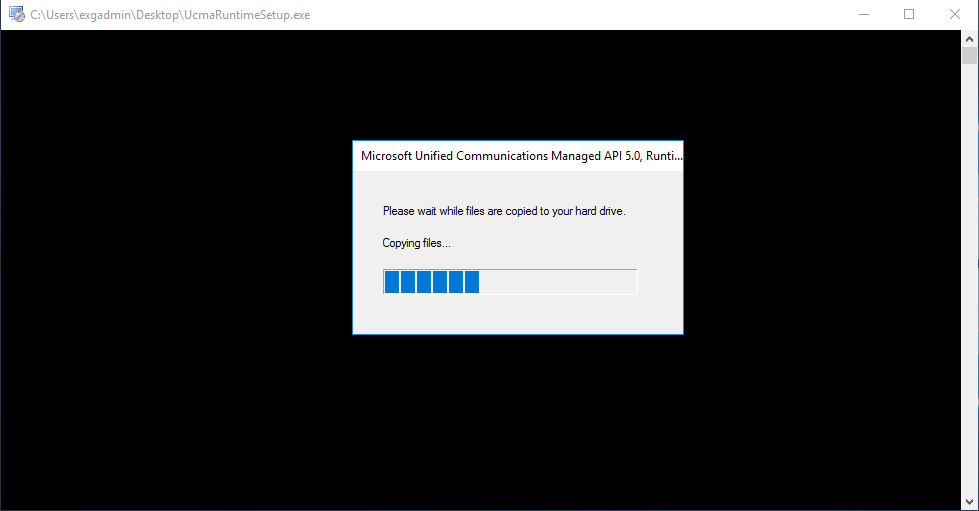
To install the UCMA 5.0, run the downloaded exe from the above link.

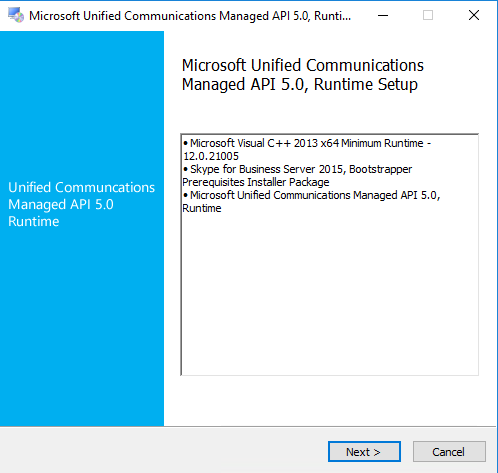
Click ‘Next’ to get install the UCMA 5.0
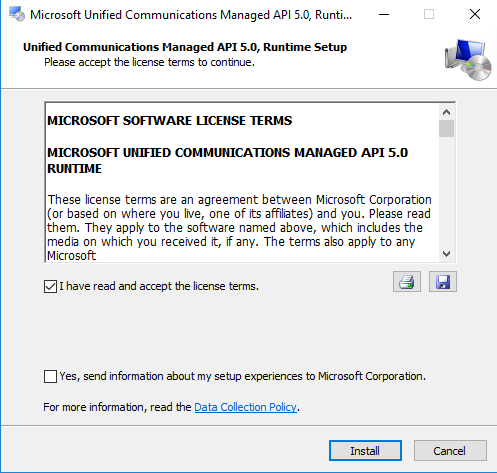
On license terms, select ‘ I have read and accept the license terms’ and click on ‘Install’.
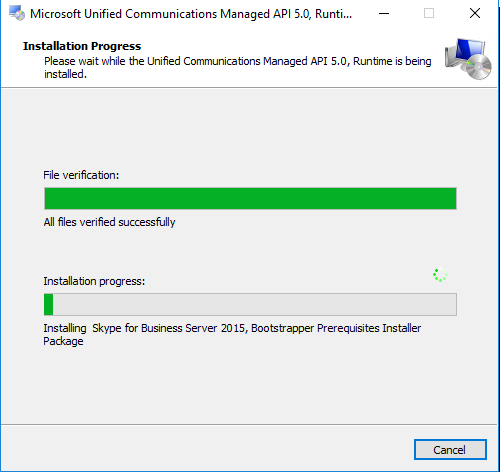
It will take while to complete the installation process.
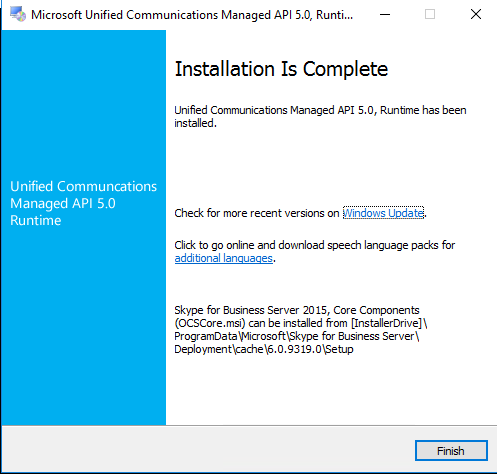
Once the installation is complete, click on Finish and now you are ready for the integration process.
Exchange Server Configuration
Before configuring on the Exchange server, check the certificate thumbprint that has been assigned to the IIS of Exchange server. i.e. to the Outlook Web Application. To perform this action run this cmdlet.
[PS] C:\Windows\system32>Get-ExchangeCertificate

We can also verify the certificate thumbprint of the certificate by navigating to the IIS certificate of the Default website.
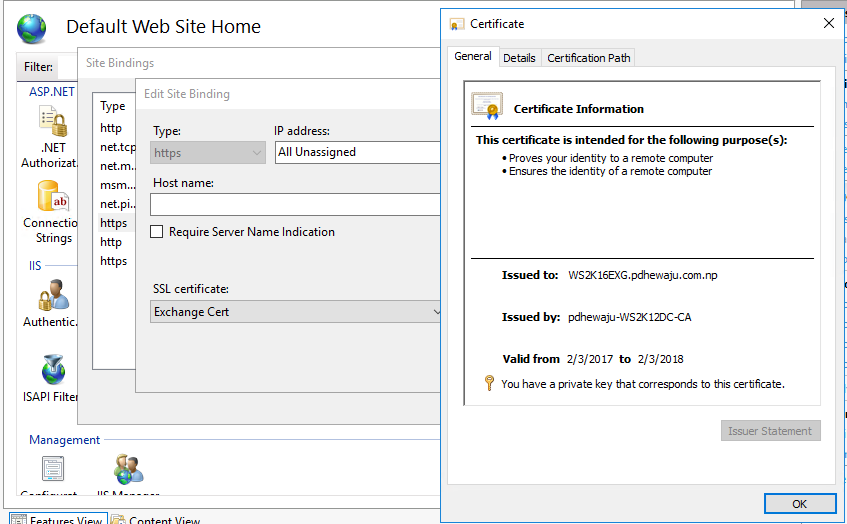
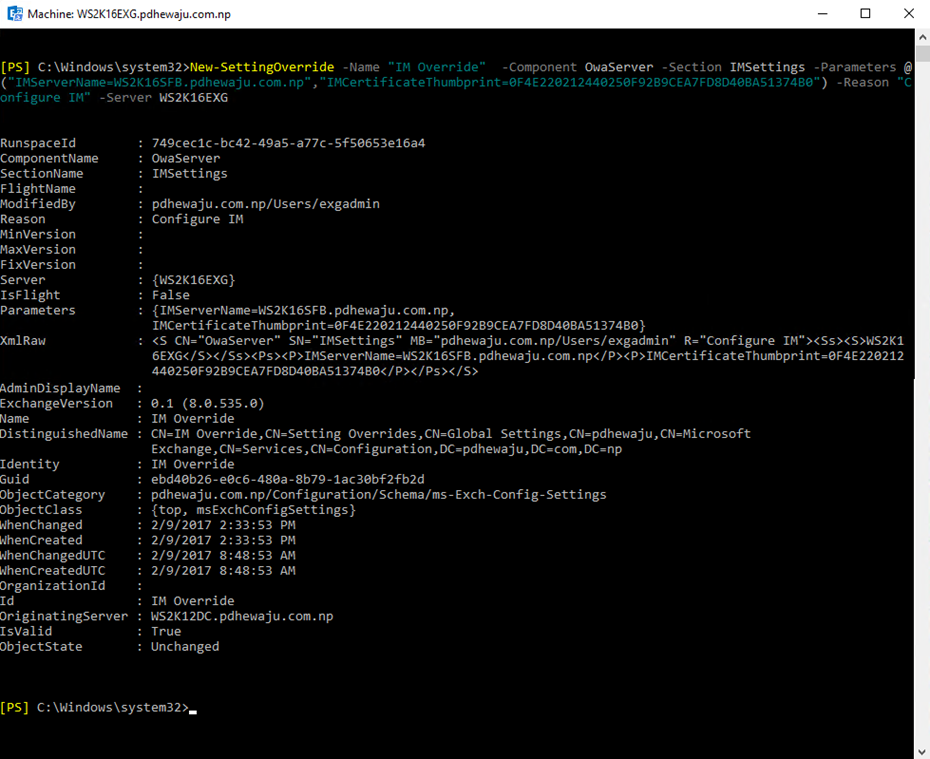
Now, let’s start the configuration with creating new IM Setting override on Exchange PowerShell. To do it you need to have thumbprint of your OWA certificate as verified from the previous step. You need to run this process for all the Exchange server
[PS] C:\Windows\system32>New-SettingOverride -Name "IM Override" -Component OwaServer -Section IMSettings -Parameters @("IMServerName=WS2K16SFB.pdhewaju.com.np","IMCertificateThumbprint=0F4E220212440250F92B9CEA7FD8D40BA51374B0") -Reason "Configure IM" -Server WS2K16EXG
Now, let us verify the Exchange Diagnostic information using below cmdlet
[PS] C:\Windows\system32>Get-ExchangeDiagnosticInfo -Server WS2K16EXG -Process Microsoft.Exchange.Directory.TopologyService -Component VariantConfiguration -Argument Refresh
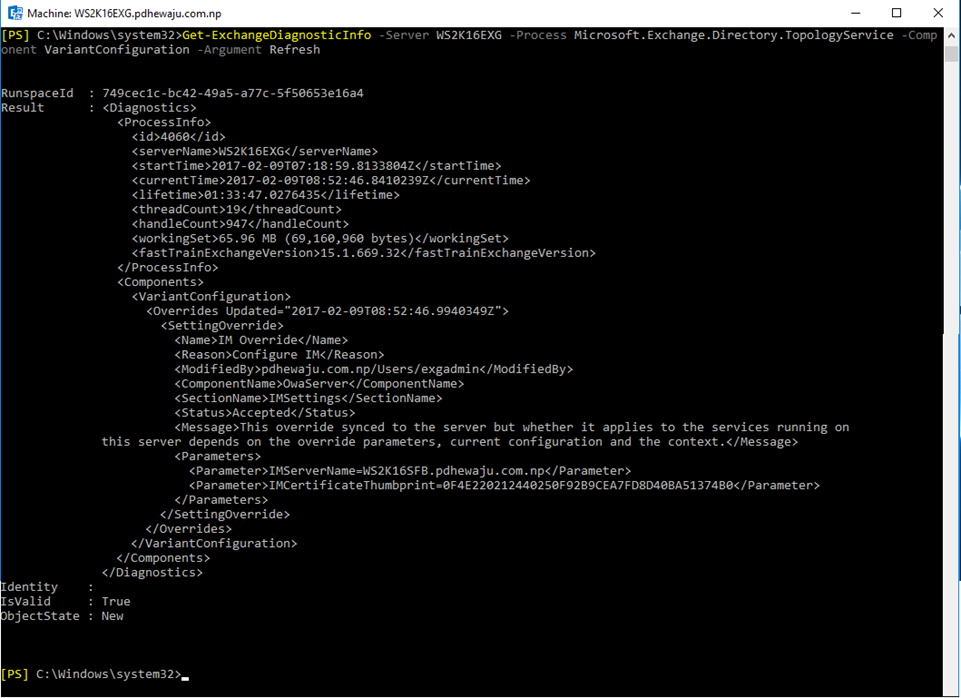
Once the verification is done and it is okay, we need to re-start the Web Application Pool of Exchange server for the service restart.
[PS] C:\Windows\system32>Restart-WebAppPool MSExchangeOWAAppPool

Once this is done, now it’s time to set the Instant Messaging in our OWA Virtual Directory with below cmdlet.
[PS] C:\Windows\system32>Get-OwaVirtualDirectory | Set-OwaVirtualDirectory -InstantMessagingEnabled $True -InstantMessagingType OCS

And again, to the OWA mailbox policy too…
[PS] C:\Windows\system32>Get-OwaMailboxPolicy | Set-OwaMailboxPolicy -InstantMessagingEnabled $True -InstantMessagingType "OCS"

By this time, you will see on your OWA that ‘There’s a problem with instant messaging. Please try again later.’ This is because we have not yet configured IM on SFB side.
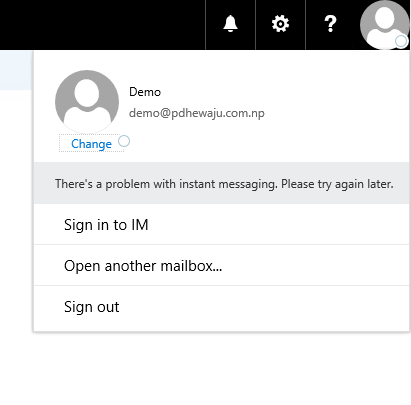
Before switching the configuration on SFB, you can also verify the IM setting on the exchange server by running below command.
[PS] C:\Windows\system32>[xml]$diag=Get-ExchangeDiagnosticInfo -Server ws2k16EXG.pdhewaju.com.np -Process Microsoft.Exchange.Directory.TopologyService -Component VariantConfiguration -Argument Config; $diag.Diagnostics.Components.VariantConfiguration.Configuration.OwaServer.IMSettings

SFB 2015 Server Configuration
To configure on the Skype for Business side you need to perform activity to Create Trusted Application pool and enable it. Which can be done with GUI as well as cmdlet mode, here I have shown both the method
GUI:
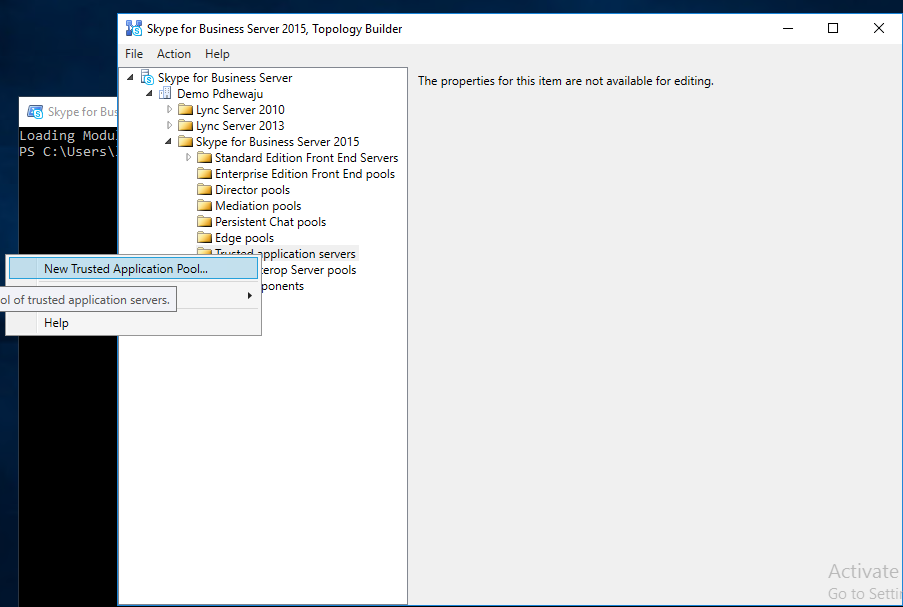
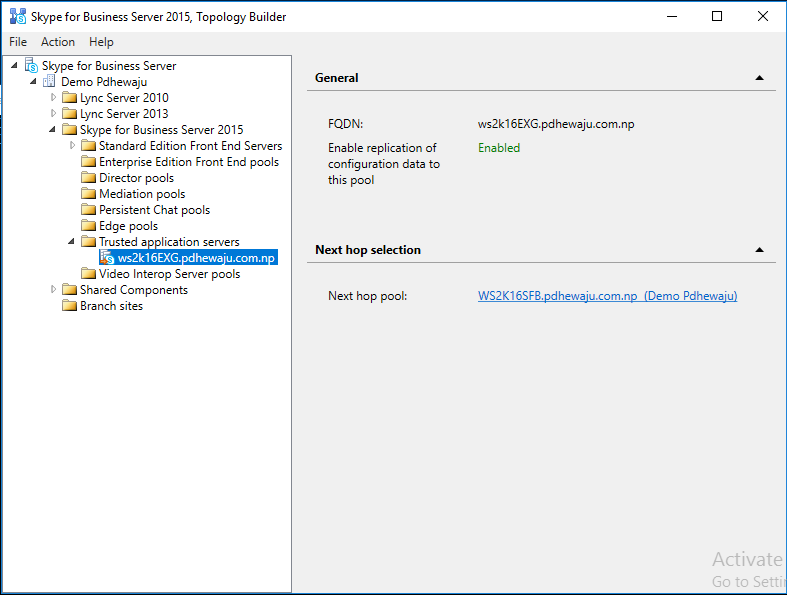
On GUI process, open the topology builder and open the current topology of your Skype for Business server. Expand the ‘Skype for Business Server 2015’ and on ‘Trusted application servers’ create a ‘New Trusted Application Pool’.
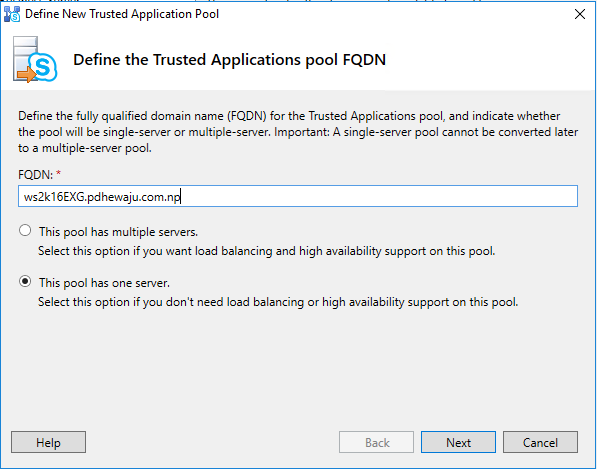
On ‘New Trusted Application Pool’ select if you do have multiple or single server, As I have single selected on single and provided the FQDN of the Exchange server.
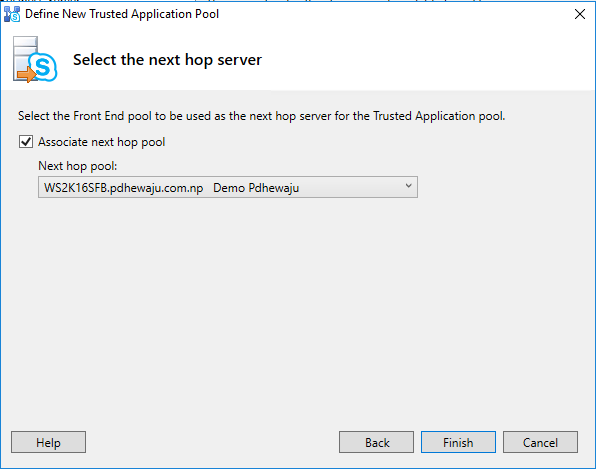
Selected the Hop of the server as the Front End server and clicked on Finish.
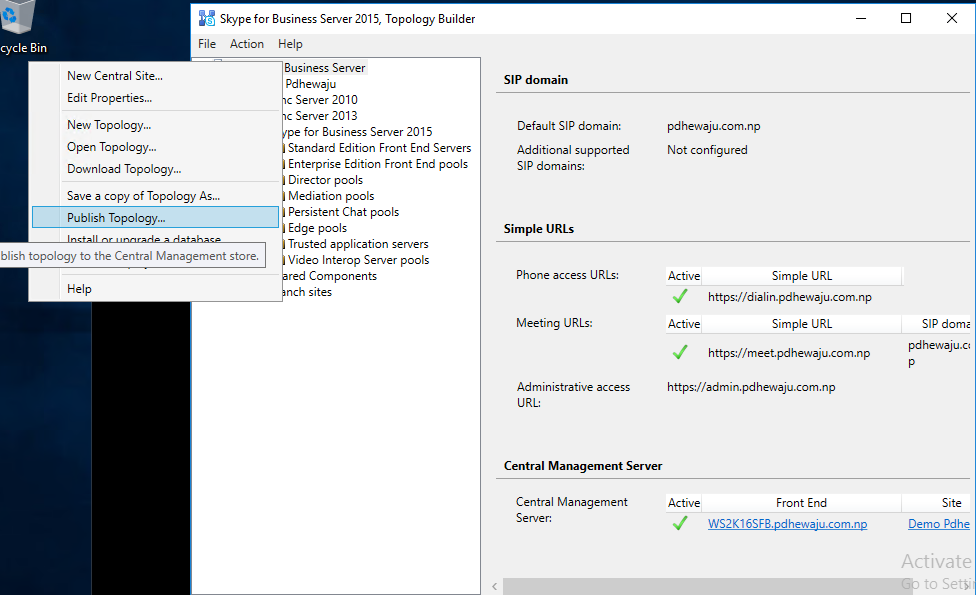
Once the configuration is done, now it’s time to publish the topology.
Go to file or right click on ‘Skype for Business Server’ and select on ‘Publish Topology’.
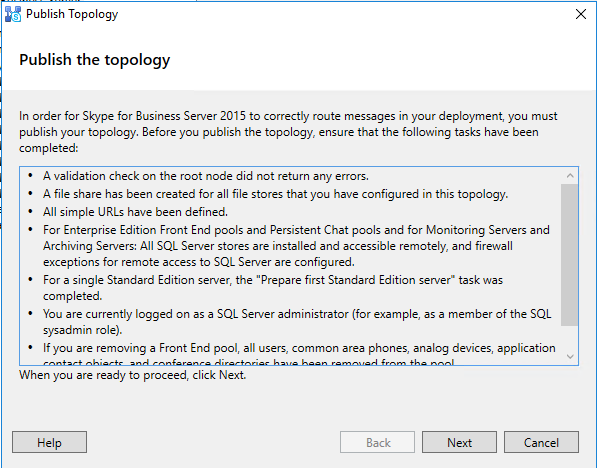
On ‘Publish Topology’ click on ‘Next’.
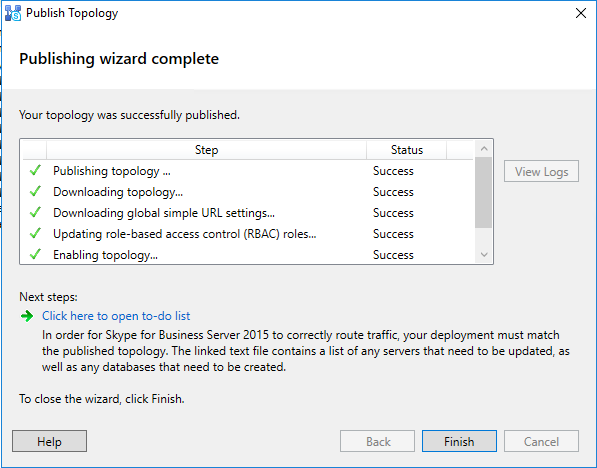
Once the Topology is publish successfully click on Finish.
This is now we can do on GUI, but if it comes with Cmdlet, it’s single cmdlet. You can just use below cmdlet to create a Trusted Application Pool.
PS C:\Users\lyadmin> New-CsTrustedApplicationPool -Identity ws2k16EXG.pdhewaju.com.np -Registrar WS2K16SFB.pdhewaju.com.np -Site "Demo Pdhewaju" -RequiresReplication $False
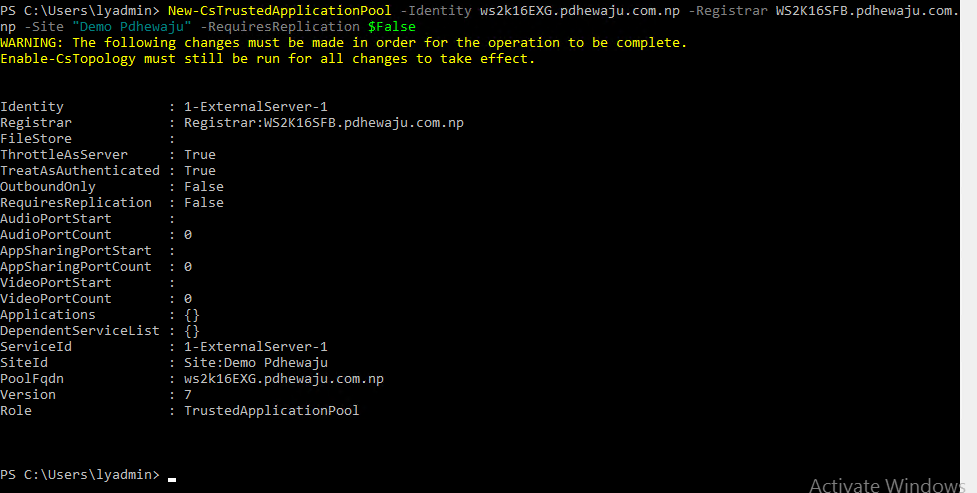
After creating Trusted Application Pool, it’s time to create a Trusted Application. To Create a Trusted Application you can just use below cmdlet.
PS C:\Users\lyadmin> New-CsTrustedApplication -ApplicationId OutlookWebApp -TrustedApplicationPoolFqdn WS2K16EXG.pdhewaju.com.np -Port 5199
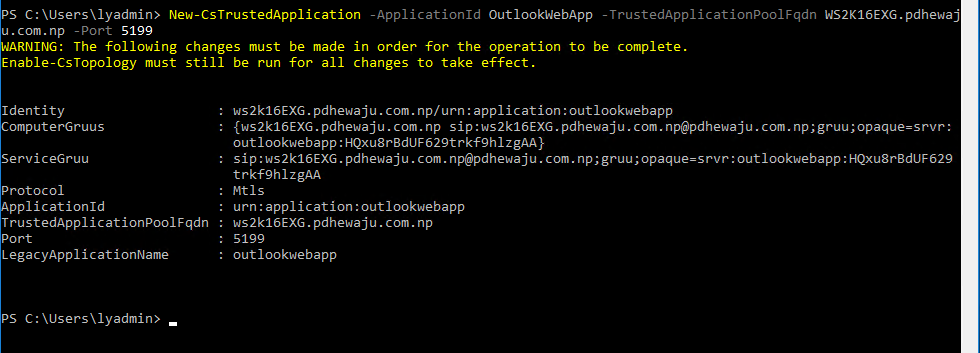
Now finally, it’s time to Enable the Cs Topology
PS C:\Users\lyadmin> Enable-CsTopology

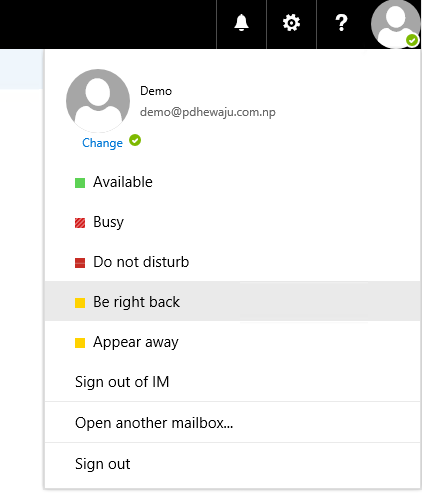
And after completing all these things, if you go to your browser. You will find the Availability of your IM in OWA browser.
Not only that you can receive message from IM
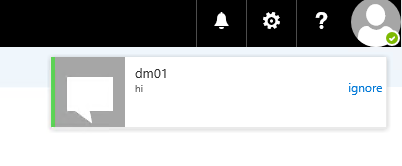
As well us it as chatbox too. J
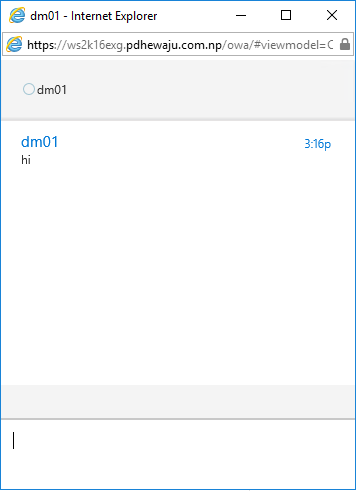
And this is how you can integrate your Skype for Business 2015 on your Exchange server 2016. I hope this was helpful to you guys… if any issue please comment below J


Once integration is done, Will user logged in OWA be able to start IM? or IM has to start by a user from Skype of Business Client/Lync Web app and then user from OWA can respond?
Hi,
Can we use a wildcard certificate in Exchange 2016 for the integration with Skype for Business 2015?
regards
Yes it’s possible. I did it with a wildcard certificate om Exchange
Thanks man, you are a genius. You saved me a lot of time on this little piece that already took much of my time