Creating Azure Active Directory Service
On my previous blog, I have gone through ‘Enabling the Azure Active Directory Domain Services‘. Now on this blog, we will go through how we create an ‘Azure Active Directory services’. So, to have an ‘Azure Active Directory service’, first we need to have a Virtual machine on Azure. As we are doing everything on Azure, precisely I recommend you all to have Azure subscription to perform all these action.
Now Let’s start with the creation of Azure Active Directory. As I have explained earlier, to create an Azure active directory we need to have a virtual machine installed with Windows server on it. Whether it be 2012 or 2016, it doesn’t matter to us. Just we need to have a windows server machine installed.
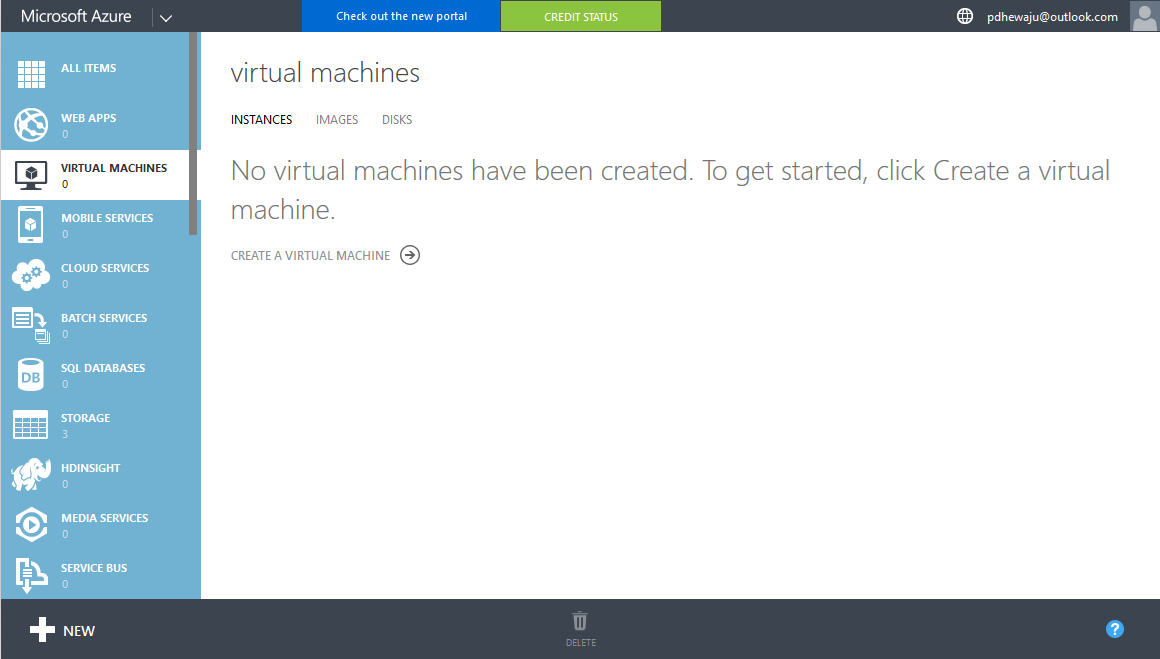
To Create a Virtual Machine, we first need to select ‘Virtual Machines’ section and click on ‘Create a Virtual Machine’ or we can just click on the ‘+’ icon on the below hover bar.
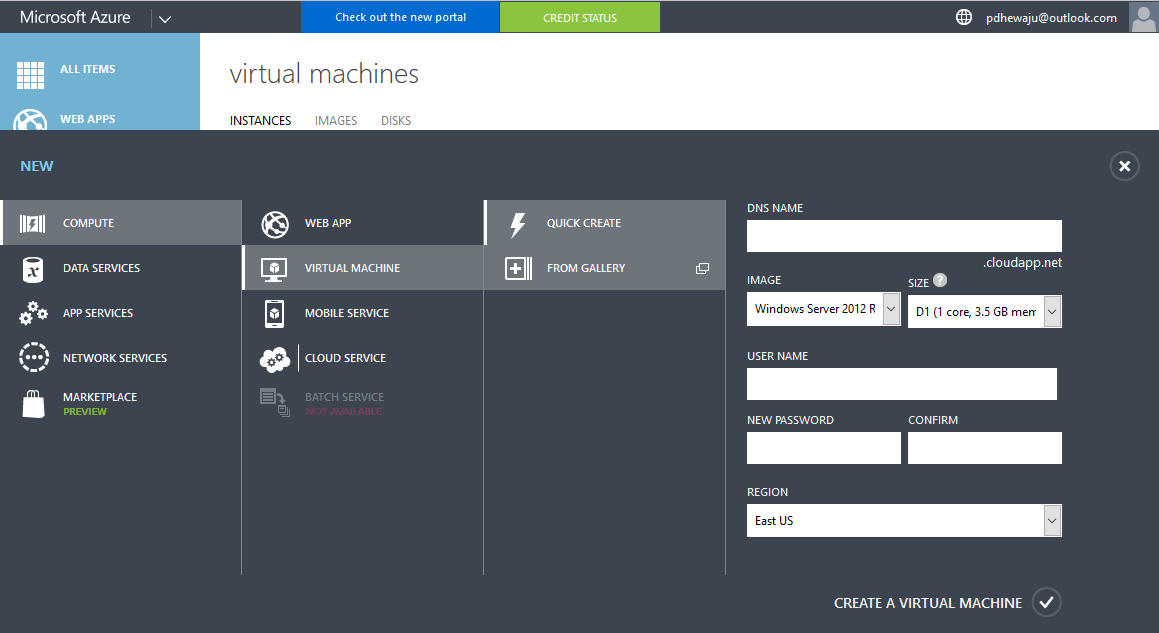
On, Create Virtual Machine, select ‘Virtual Machine’ and select ‘From Gallery’.
Once you select ‘From Gallery’ a new window will get open with all the available windows server, you need to select one. For this Demo, I have selected the one below.
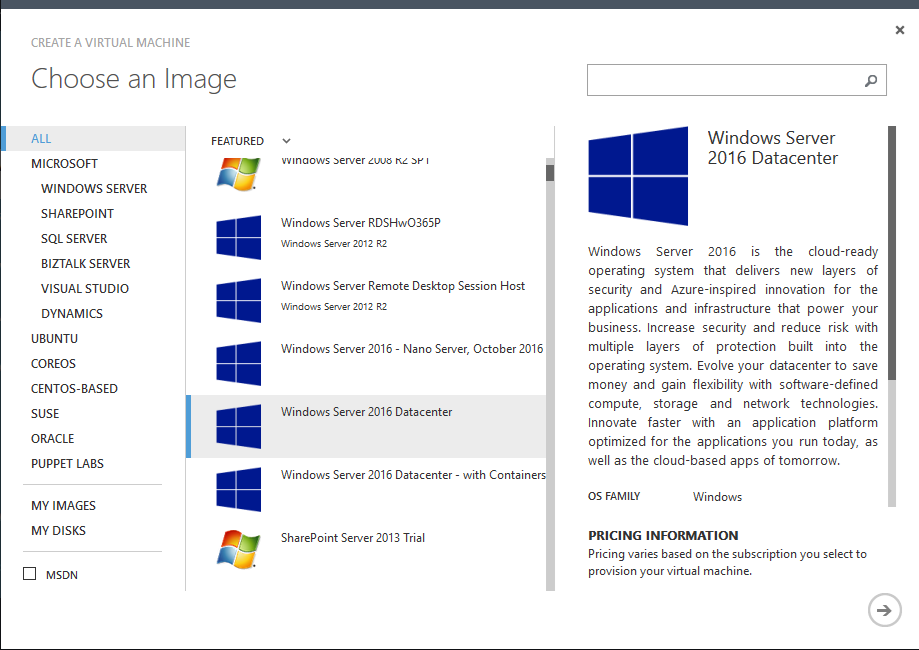
On the Virtual Machine, I selected the release date as the nearest one with my date. Because this date is for the lasted update and patches for the Server, which I am going to select. After that fill the form as per the requirement. Here username and password are the local machine Administrative privilege.

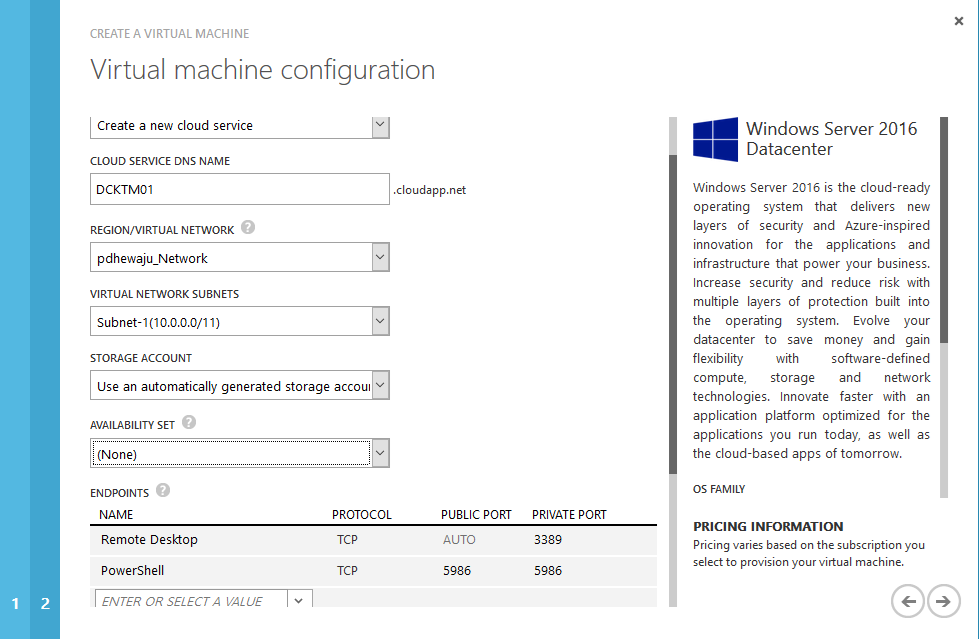
Once you provide the initial Configuration of the Machine, now it is time to select the network and Subnet of the machine. When it is done, click on next.
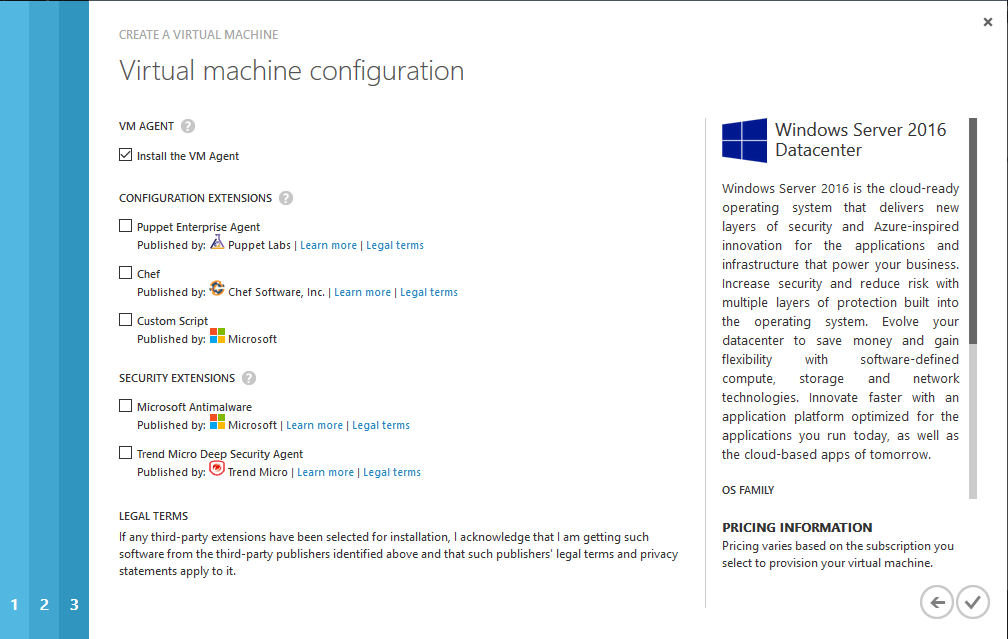
On the next step of the ‘Virtual Machine Configuration’, you can need to make sure that you check on ‘Install the VM Agent’ and if you like to configure any extensions you can check it on optional method.
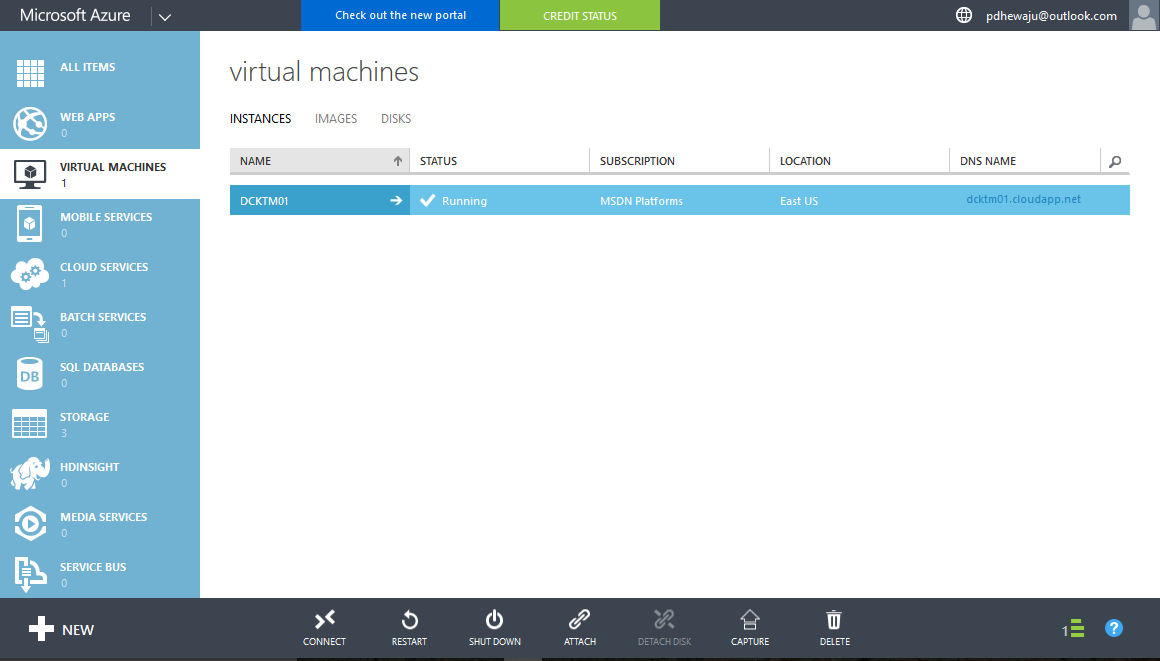
After the completion of the ‘Virtual Machine Configuration’, it will take 10-15 minutes to setup your machine and make it running. At this extend we create a Virtual Machine with Windows server 2016 installed on it.
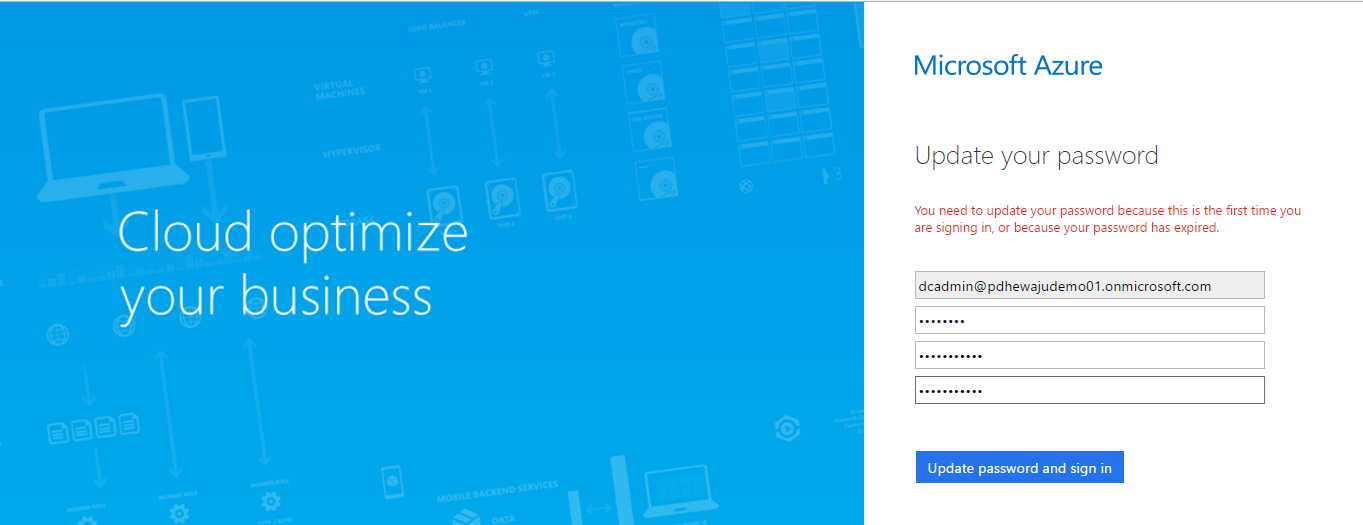
On my previous blog ‘Enabling Azure Domain Service‘ , I have mentioned that create an Azure Domain Directory Administrator users must be on ‘AAD DC Administrators’ Group. But when we create a user for first time we need to change the password of the user. So, to change the password of the user, browse ‘https://azure.portal.com‘ and try to login with the administrator account you have created before as on the below snapshot so you can change the password of the user. Once password is change, you can move forward with connecting the virtual machine which you have recently created.
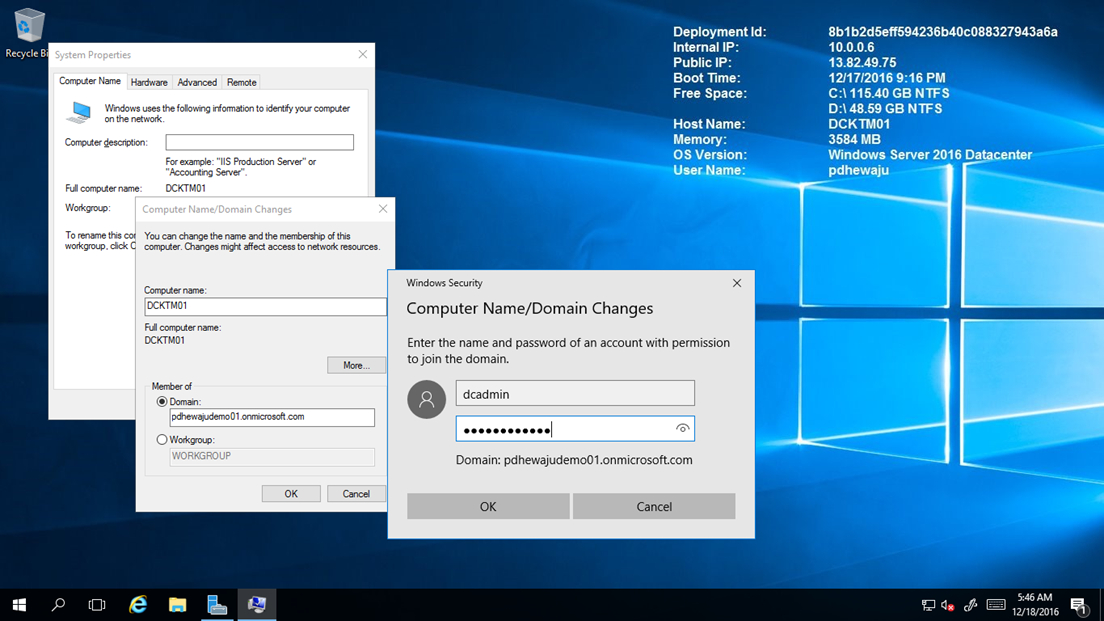
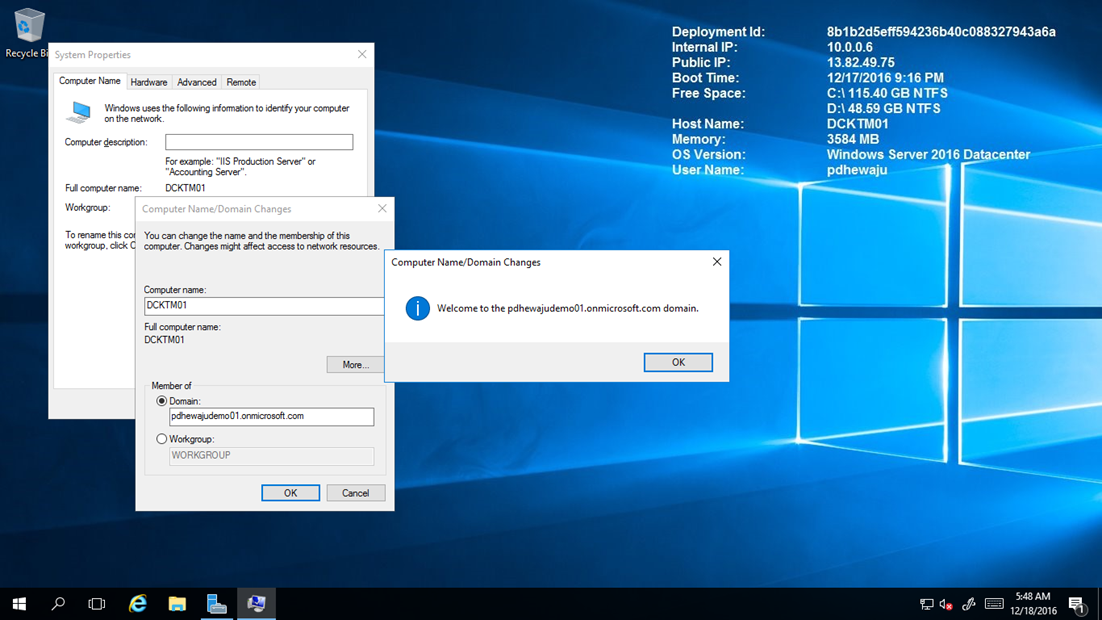
Connect your virtual machine with the local administrative privilege, which you have created earlier. In my case ‘pdhewaju’ is my local administrator. Once you connect to the your newly created Virtual machine on Azure, join this azure machine to your ‘Azure Domain Directory Services’ by running system properties (sysdm.cpl). And to join this virtual machine use your Domain controller administrative account.
After you join your server into the domain, you will receive a welcome message click on ‘ok’ and reboot the server.
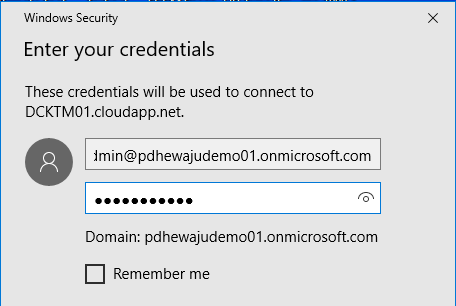
Now, when server comes back to online. Login in the server with you admin credential, the user which is the member group of ‘AAD DC Administrators’ in my case it is ‘dcadmin@pdheawjudemo01.onmicrosoft.com’.
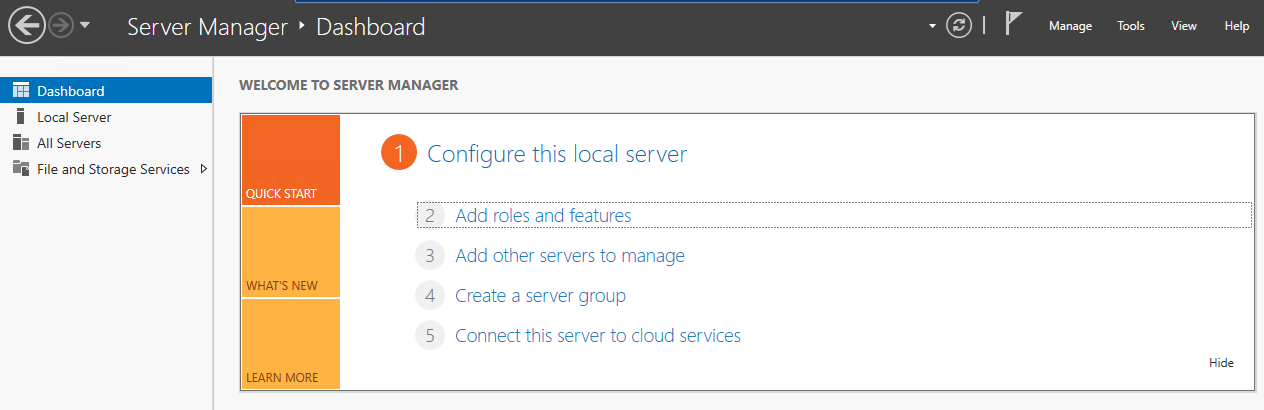
Once the machine is joined into the domain, now let’s us add the feature of LDAP on this Exchange server.
To add the role of AD LDS, feature on Server manager click on ‘Add roles and features’.
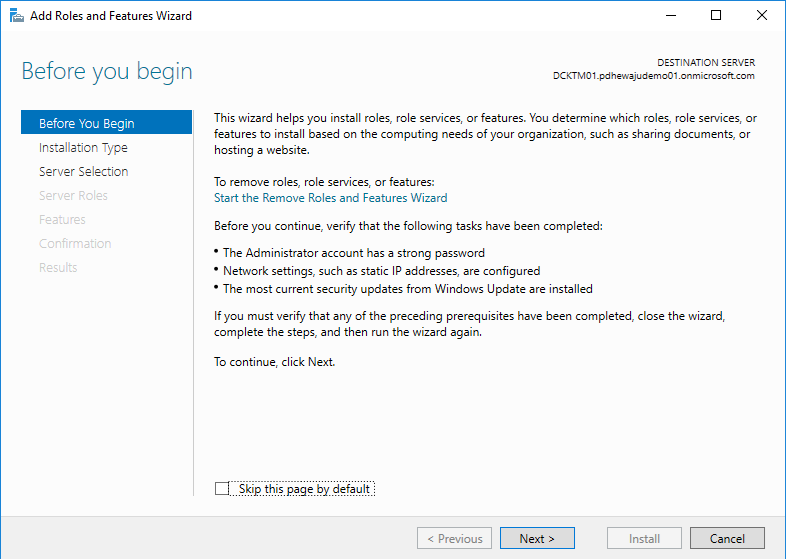
Click Next on ‘Before you begin’ window.
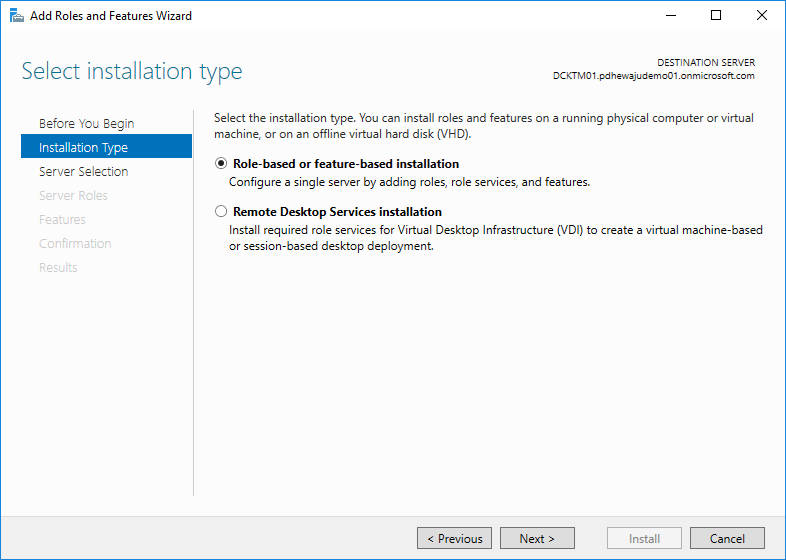
On ‘Select installation type’ select ‘Role-based or feature-based installation’ and click on ‘Next’.
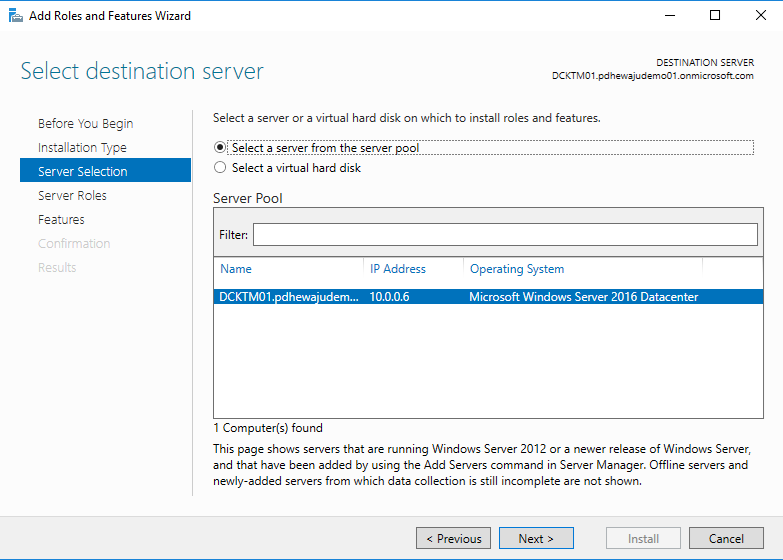
On ‘Select destination server’ select the server on which we need to add this role and click on ‘Next’. As I had only one server, I let it as it is and clicked on ‘Next’.
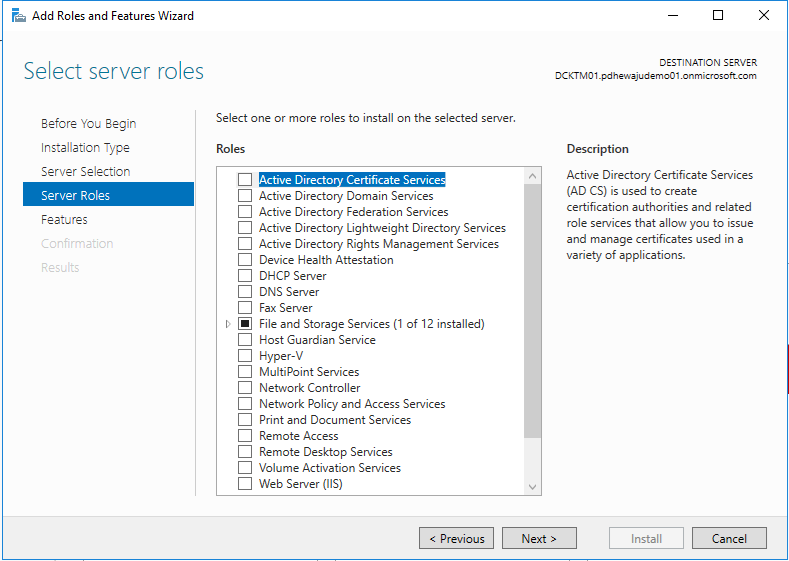
As we are just installing the ‘AD LDS’ feature, on ‘select server roles’ leave it as it is and click on ‘Next’.
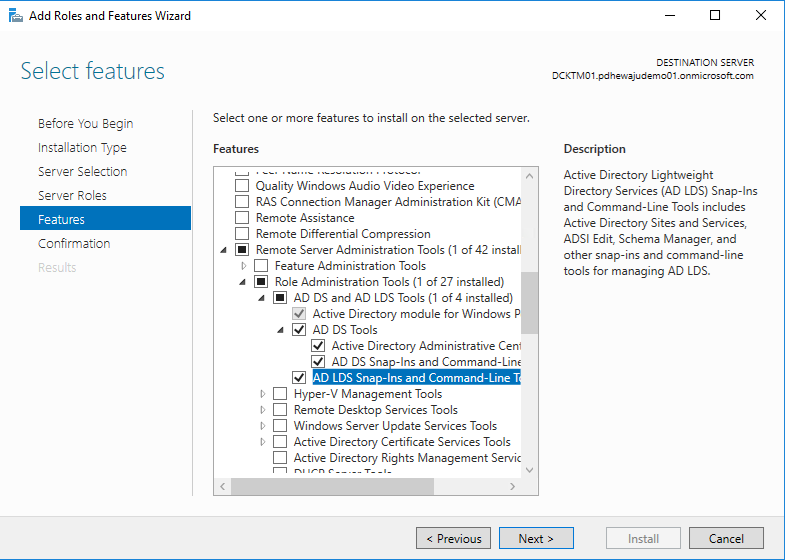
On feature, select ‘AD DS Tools’ and click on ‘Next’.
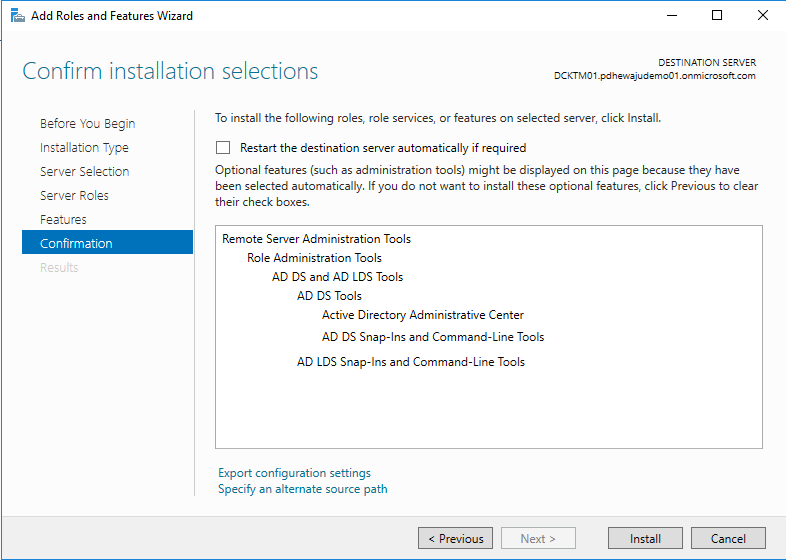
On Confirmation window, click on ‘Install’.
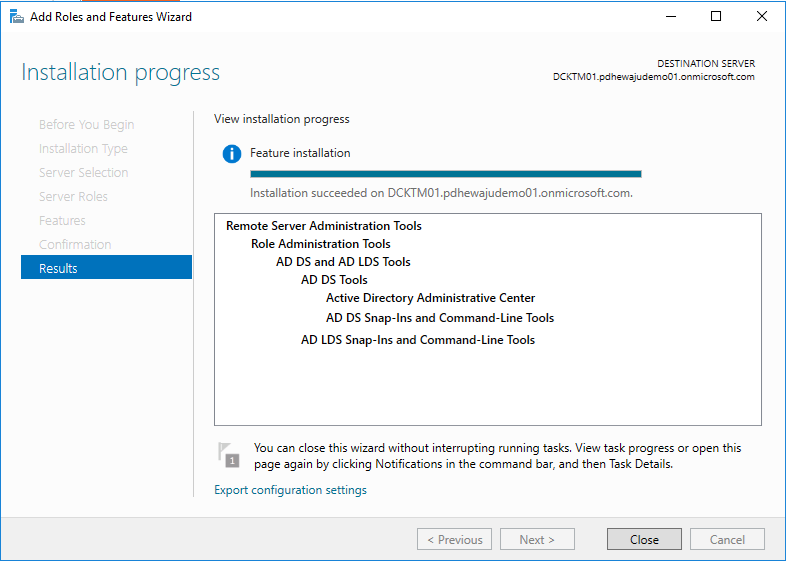
After the complete of the configuration, click on ‘Close’.
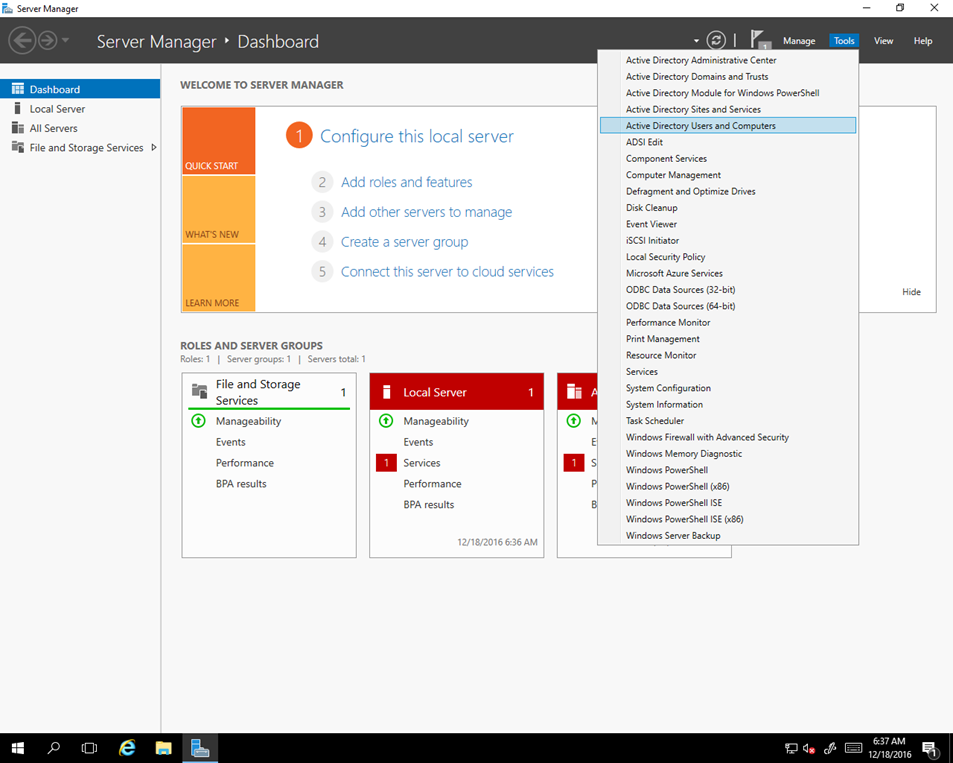
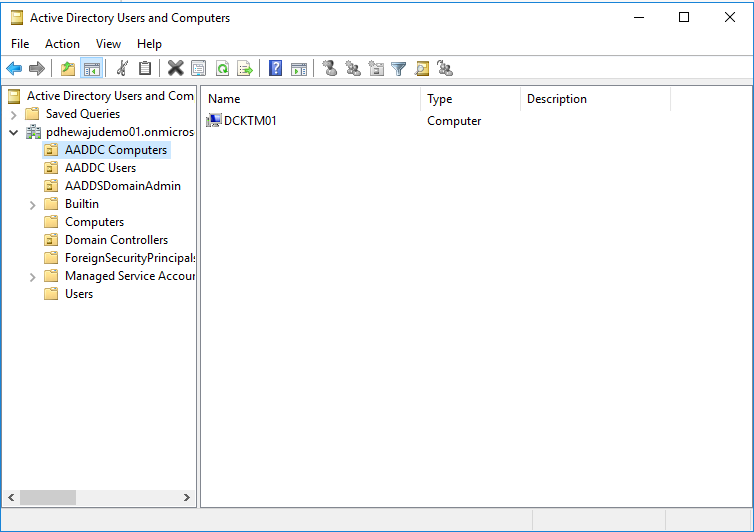
Once the installation is complete, on tools menu you can see ‘Active Directory Users and Computers’ .
And you can finally get this window where you can see the ‘AADDC Computers’ and your machine.
That was all the part of managing your ‘Azure Active Directory Domain Services’, but how can I manage my DNS server too. So, to get manage your DNS server let’s start.
Managing DNS Server:
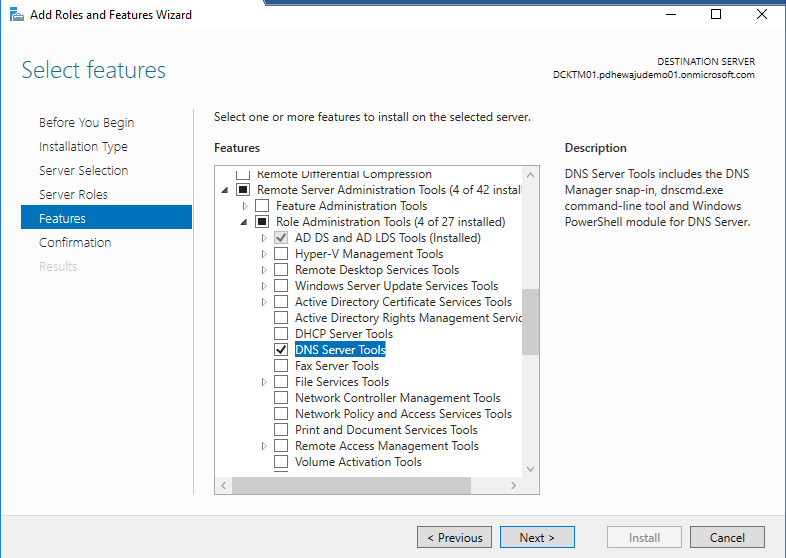
To get manage DNS server, as of the installation of AD DS and AD LDS Tools. You can select DNS Server Tools on ‘Select Feature’ window.
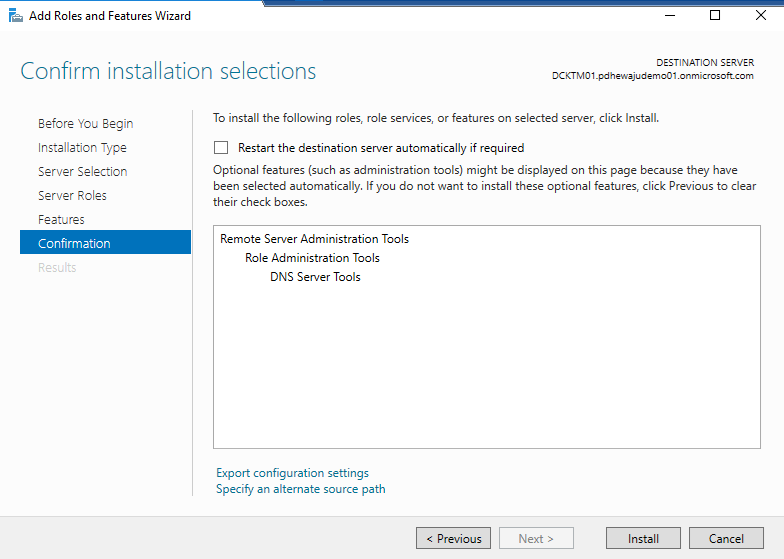
On confirmation screen, click on ‘Install’ and wait to complete the installation.
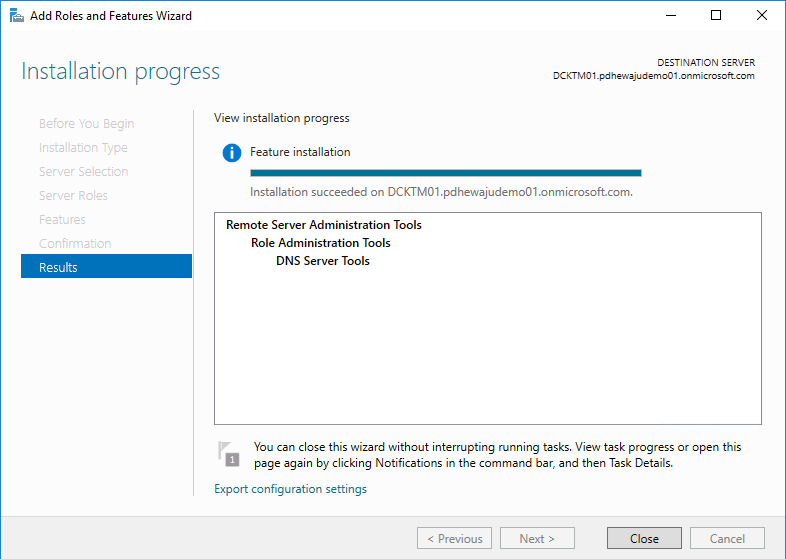
Once the installation complete, click on ‘close’.
Now, when you go the Tools. You will see ‘DNS’ on the Menu.

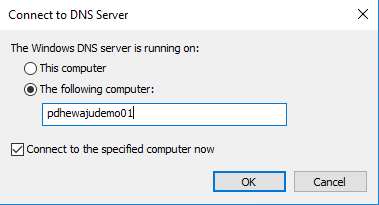
Click ‘DNS’ from the ‘Tools’ to get start DNS Manger. For the first time, you need to select your domain and click on ‘OK’.
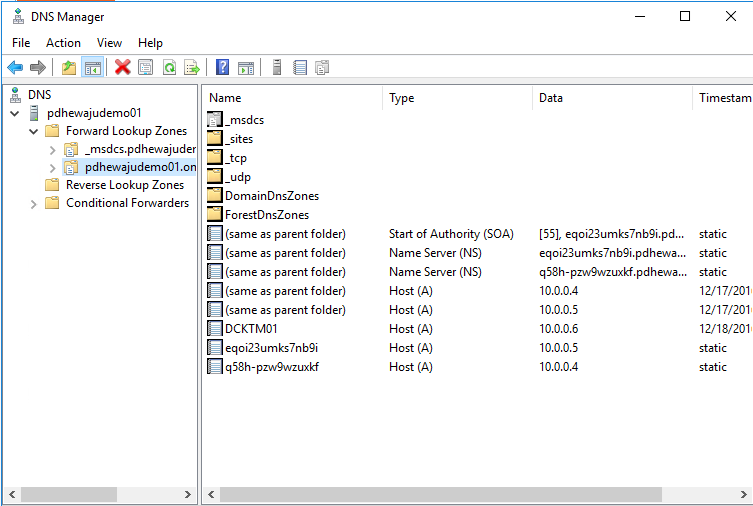
Once this is done, you can see the DNS record of your ‘Azure Domain Directory’ on DNS Manager.
I hope this blog will help you to understand how we can configure ‘Azure Active Directory Domain services’. Keeping posting comment if you have any. Thank you.
Exchange 2019 Pre-requisites

[solved] Office Click-to-Run Installer encountered a Problem
![[How to] Document DLP with Exchange Server](/wp-content/themes/ribbon-lite/images/nothumb-related.png)
[How to] Document DLP with Exchange Server
About Author
pdhewjau
Prashant Dhewaju is a Microsoft MVP and Microsoft 365 Adoption Consultant with deep expertise in cybersecurity and modern workplace solutions. He advises organizations across Nepal and the broader region on securely adopting Microsoft 365, improving productivity, strengthening security posture, and driving effective change management. His prior position as a Modern Work Security Specialist at Microsoft saw him providing invaluable guidance to major clients in Bangladesh, Brunei, Cambodia, and Myanmar, assisting them with their foundational security needs. Awarded the esteemed Microsoft Most Valuable Professional (MVP) accolade in 2017, Prashant is recognized globally among Microsoft peers. Since 2010, he has imparted his expertise as a Microsoft Certified Trainer (MCT), conducting specialized training across Nepal.