Enable Nested Virtualization on Windows Server 2016
Optimum utilization of resource has been major concern of today’s infrastructure. Where it be on the Hardware level or in Software level, moreover virtualization has been commonly adopted technology worldwide. Whether it be VMware or Hyper-V every IT Admin wants an efficient virtualization technology for the better performance and ROI of their resource. On this blog, I will be sharing my knowledge on how to Enable Nested Virtualization on Windows Server 2016.
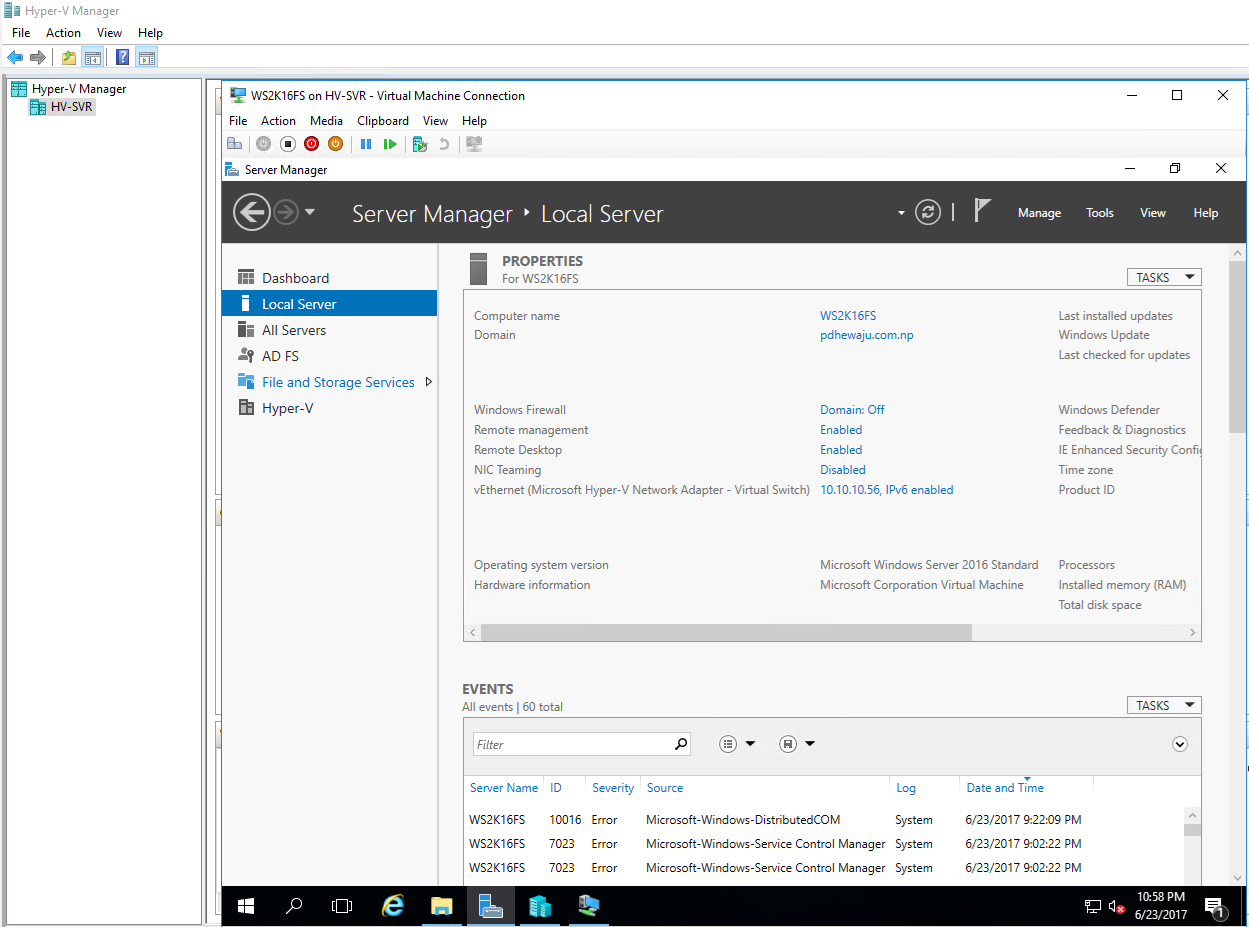
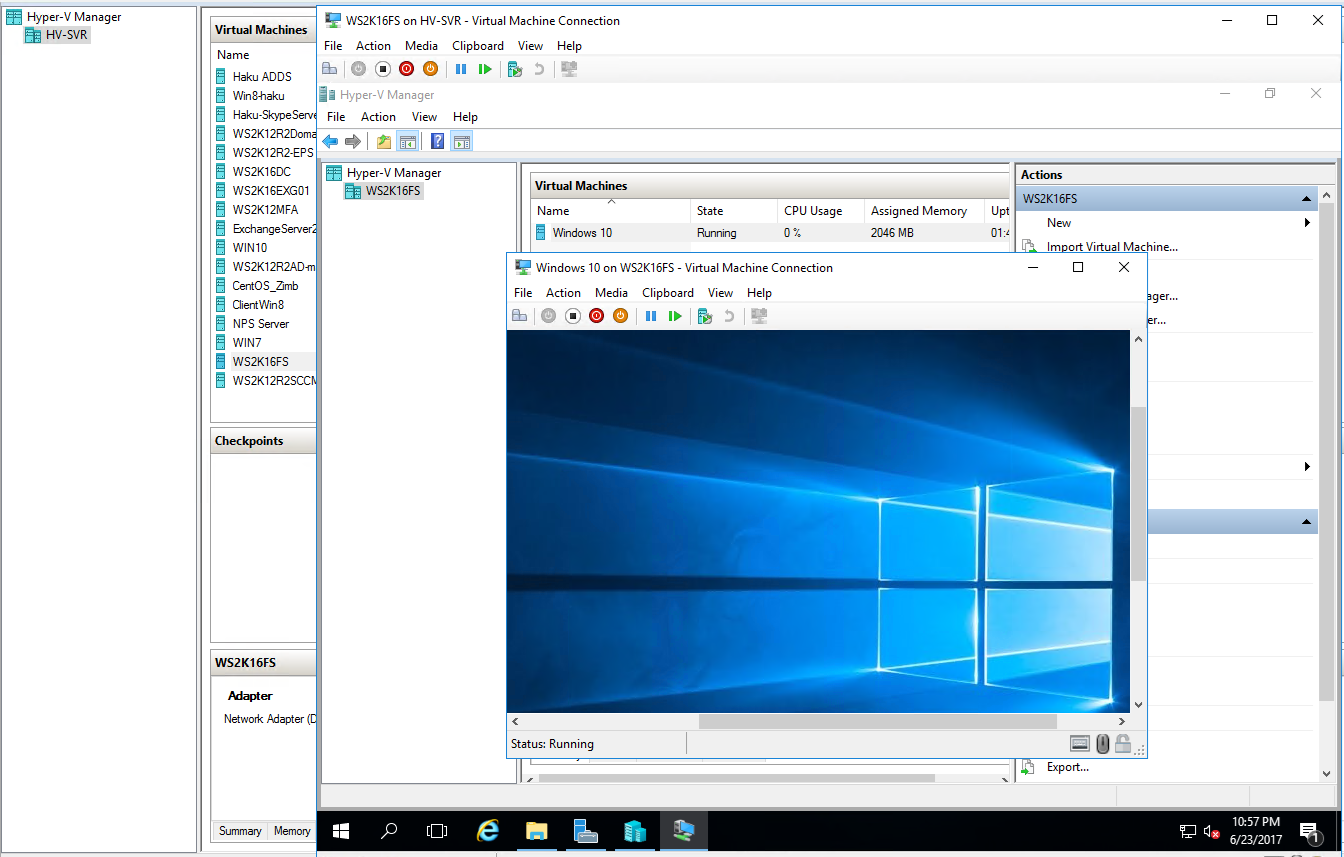
Simple Virtualization is no big deal for the Architect or IT Admin, but what actually is the nested virtualization. Nested virtualization is a feature that allows you to run Hyper-V inside of a Hyper-V virtual Machine acting as the Hyper-V machine as Host Machine (like in inception dream under dream ). Since I have heard about the nested virtualization on Windows server 2016, I was eager to do it on my lab environment so prepared it as of below:
Prerequisites
- A Hyper-V host running Windows Server 2016 or Windows 10 Anniversary Update.
- A Hyper-V VM running Windows Server 2016 or Windows 10 Anniversary Update.
- A Hyper-V VM with configuration version 8.0 or greater.
- An Intel processor with VT-x and EPT technology.
Configuration
In my lab environment, I have created a virtual machine with Windows server 2016 for nested virtualization purpose and kept it shut down for the configuration. Once my testing machine was shut down, I ran this command on my PowerShell to enable nested virtualization for my testing machine.
As for the VM machine which we are using for nested VM must be disable for the dynamic memory. Even dynamic memory is enabled, the amount of memory will not fluctuate.
Set-VMMemory -VMName <VMName> -DynamicMemoryEnabled $false
In order for network packets to be routed through two virtual switches, MAC address spoofing must be enabled on the first level of virtual switch
Get-VMNetworkAdapter -VMName <VMName> | Set-VMNetworkAdapter -MacAddressSpoofing On
And finally you need to power VMProcessor for the ability of virtualization.
Set-VMProcessor -VMName <VMName> -ExposeVirtualizationExtensions $true

After successfully completing these command, Now you need to following things.
- Start the virtual machine.
- Install Hyper-V within the virtual machine, just like you would for a physical server. For more information on installing Hyper-V
- Restart your VM Machine.

After completion of installing Hyper-V on the VM Machine, create a Virtual Machine inside the virtual machine and enjoy.

I hope this was great experiment for you to utilize your resource on better way.

![[How to] install SMTP on Windows 8 Developer Preview…](/wp-content/themes/ribbon-lite/images/nothumb-related.png)