Enabling Azure Domain Directory Services
Cloud has been an essential component of the IT Administrator, in this blog I would like to share knowledge on how we can enable Azure Domain services. On my previous blogs, I have been blogging on O365 but to be the O365 also in backend we require Azure Domain Service. Fortunately, for those who only purchase O365 Package their Azure Domain is managed from Microsoft Cloud team. But the cons are, they can edit their Azure Domain services.
Here on this blog, I am sharing how we can enable this enable Azure Domain Service. For this you need to have an Azure account with at least few dollar credit. Because we will be requiring to create one windows server machine too.
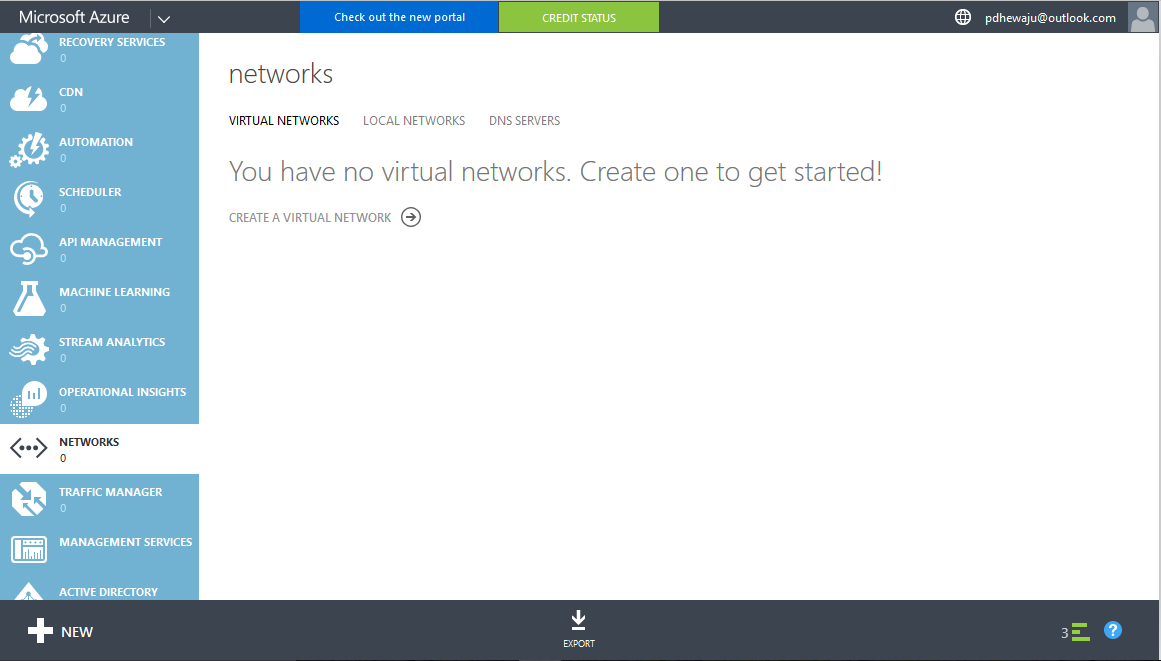
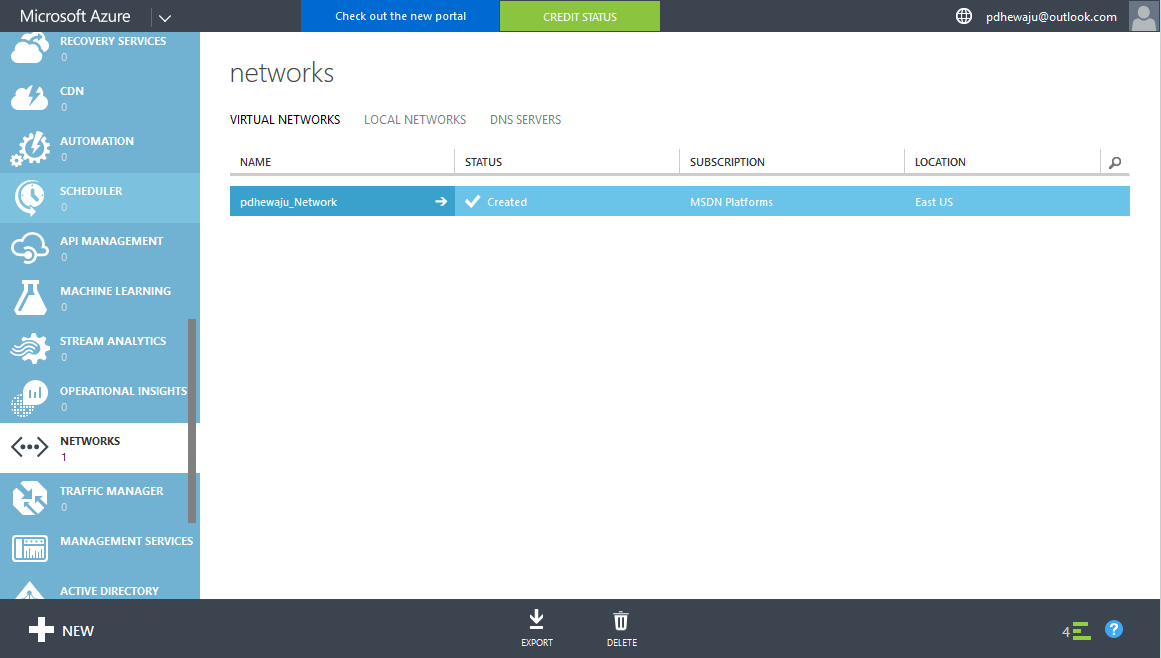
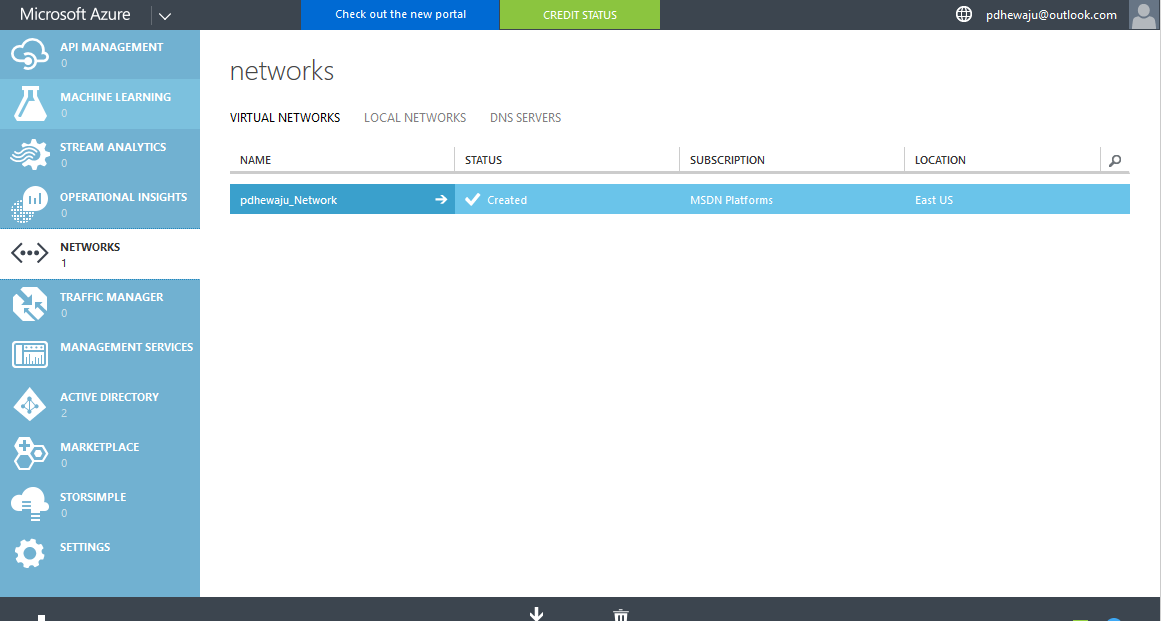
Before enabling Domain service, we first need to create a virtual network to associate it with our domain services. Hence over here, I will start everything with Network. As on the below snap you can see, I have selected Networks on left panel and on the right side there is an option of ‘create a virtual network’.
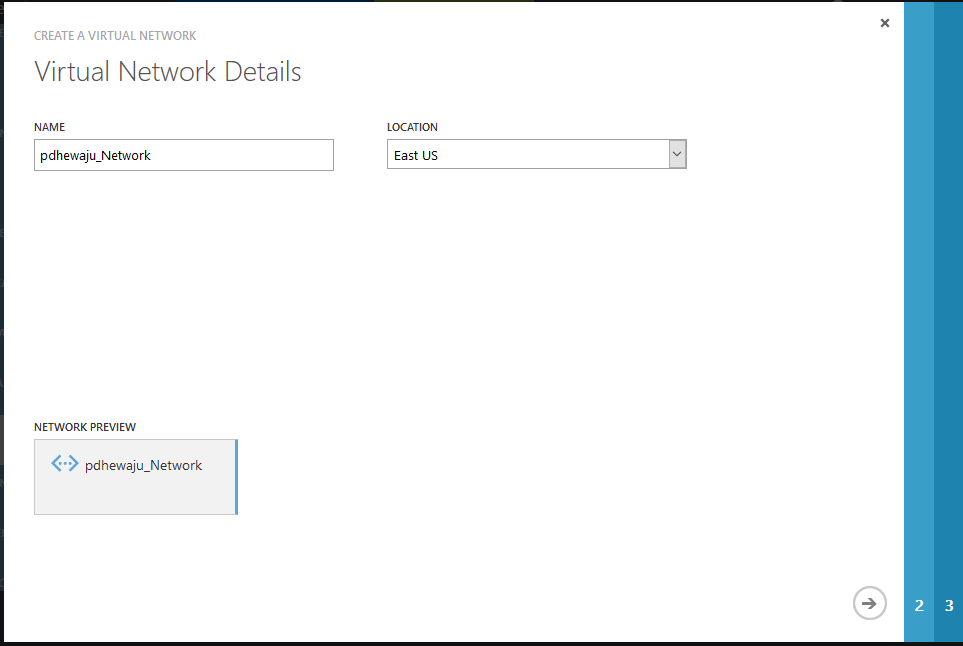
Once you click on ‘Create a virtual network’ a new window will open, on first page we define the name of network and the location near to us.
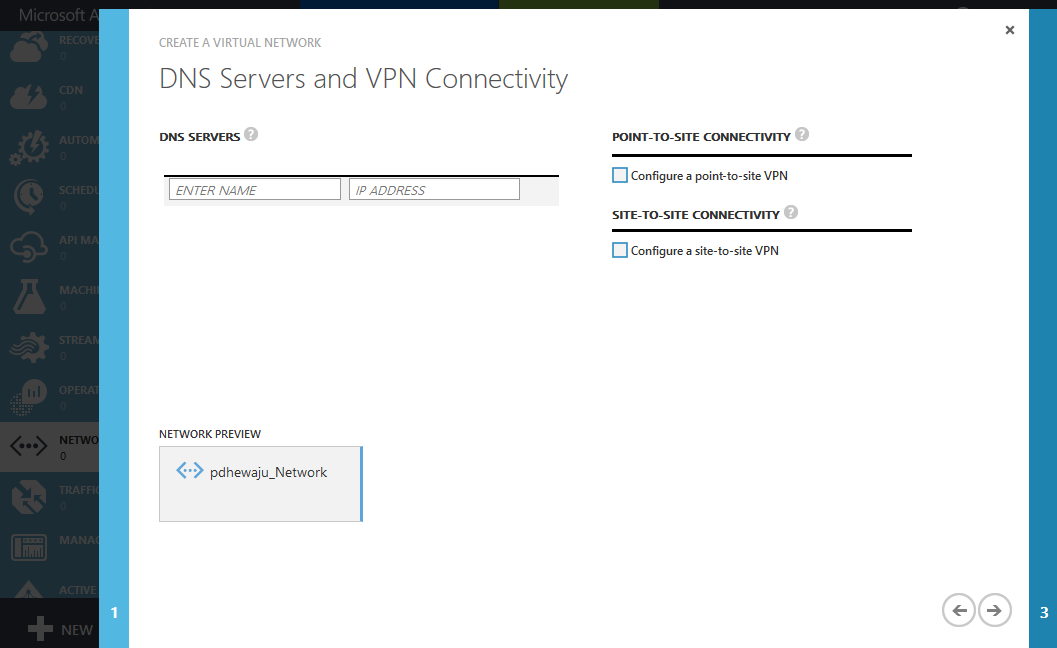
On second page of Network, you will see the information for ‘DNS Servers and VPN connectivity’ for now leave it as it is and click on next.
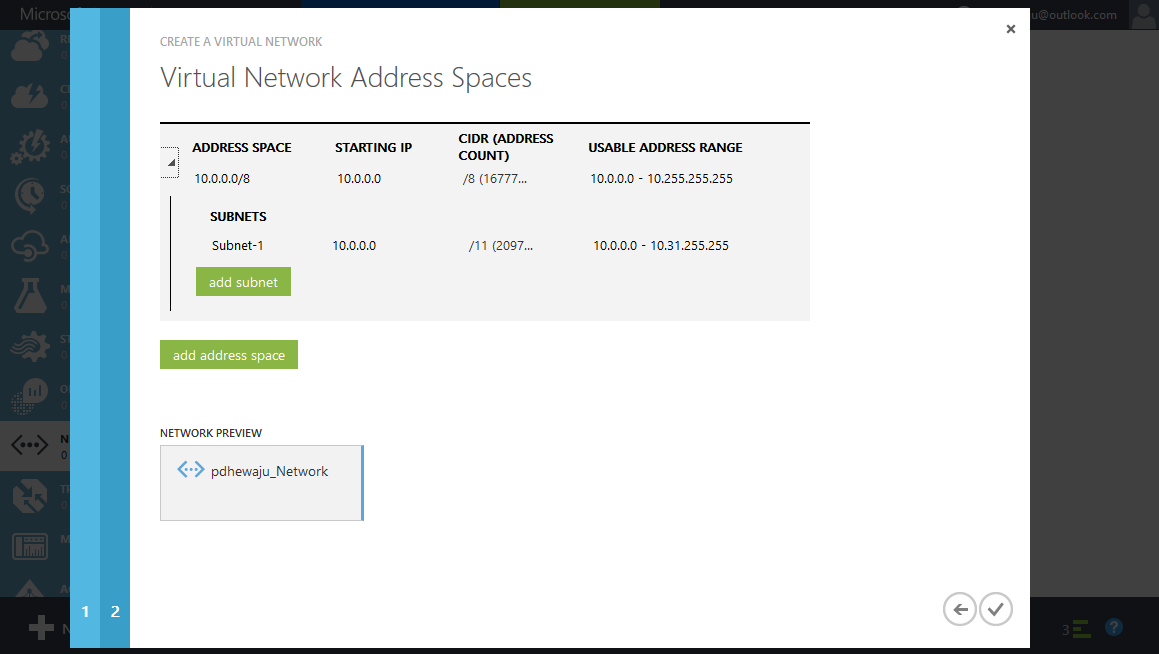
On Third page, you will find the ‘Virtual Network Address Spaces’ that has been assigned to you. Click on ‘Finish’.
Now, on the Networks you can see a new Virtual Network that you have created recently.
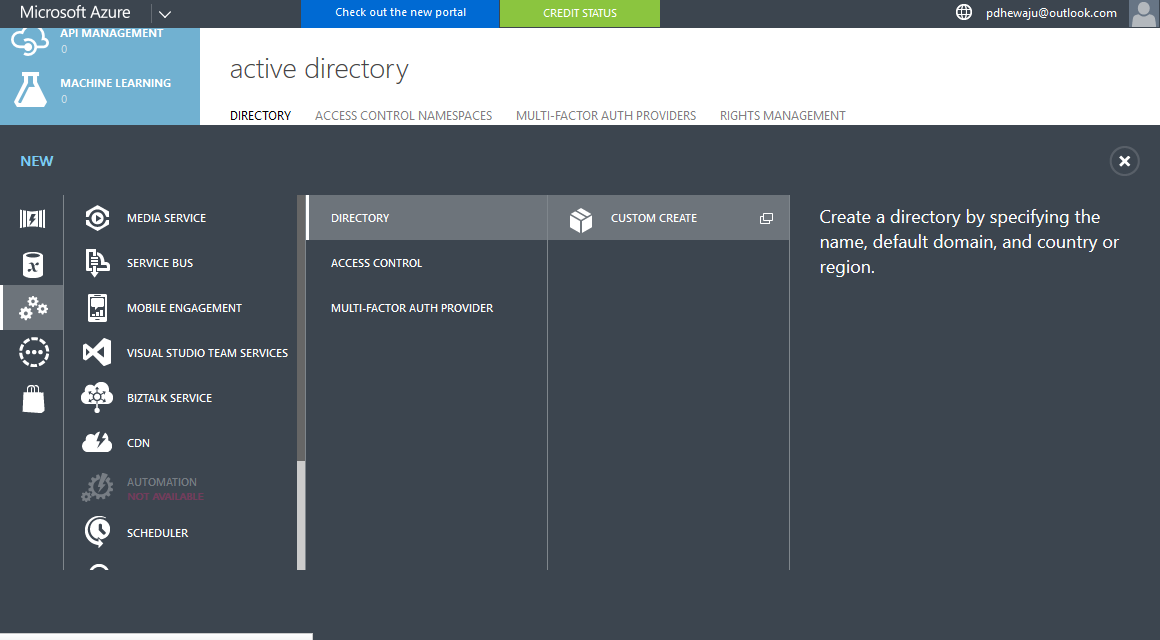
It’s time to create a domain which we want to use as Directory Service. For it scroll your right and select ‘Active Directory’, on the bottom of the windows you can see the ‘+ New’ icon click on it to add new domain. Once you click on ‘New’ a new window will appear on which Select ‘Directory’–>’ Custom Create’.
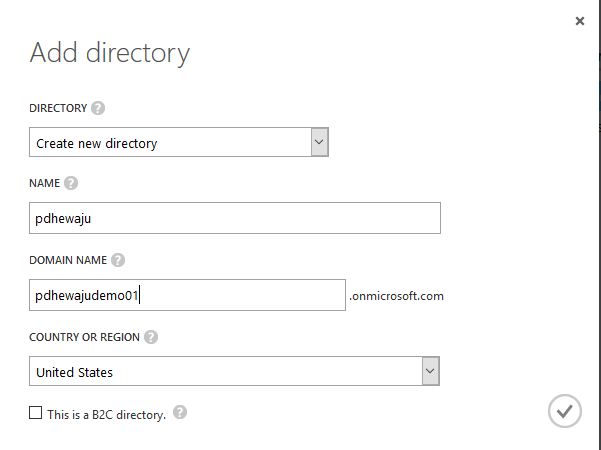
To Create a custom directory a new window will get open, provide your information on this window and click on save.
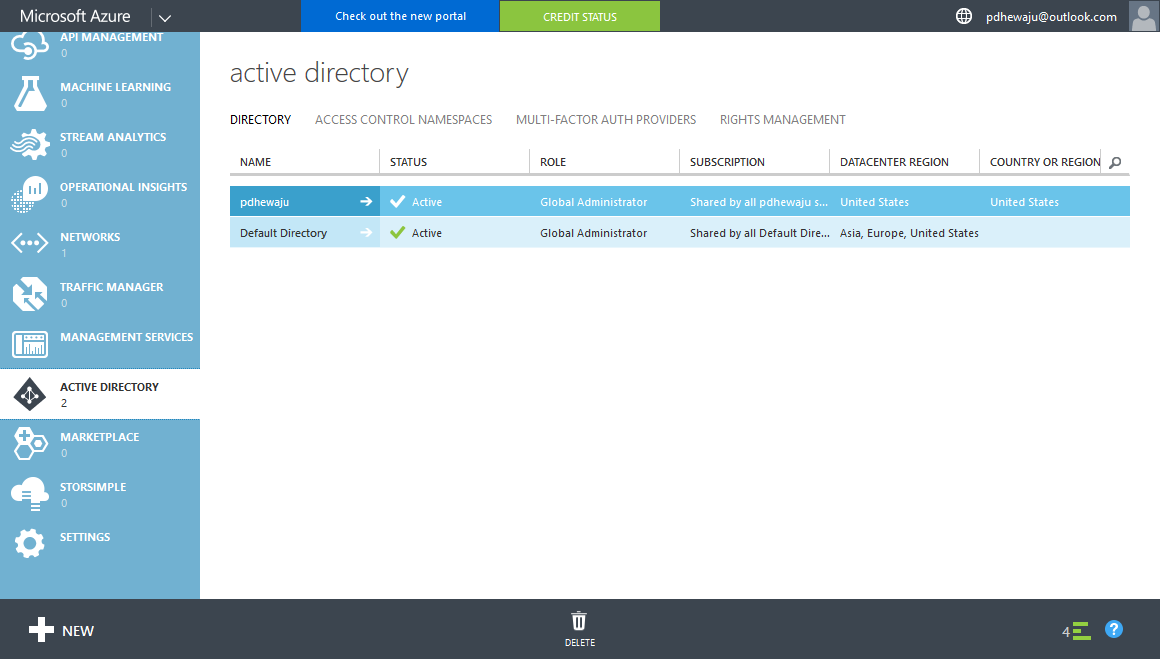
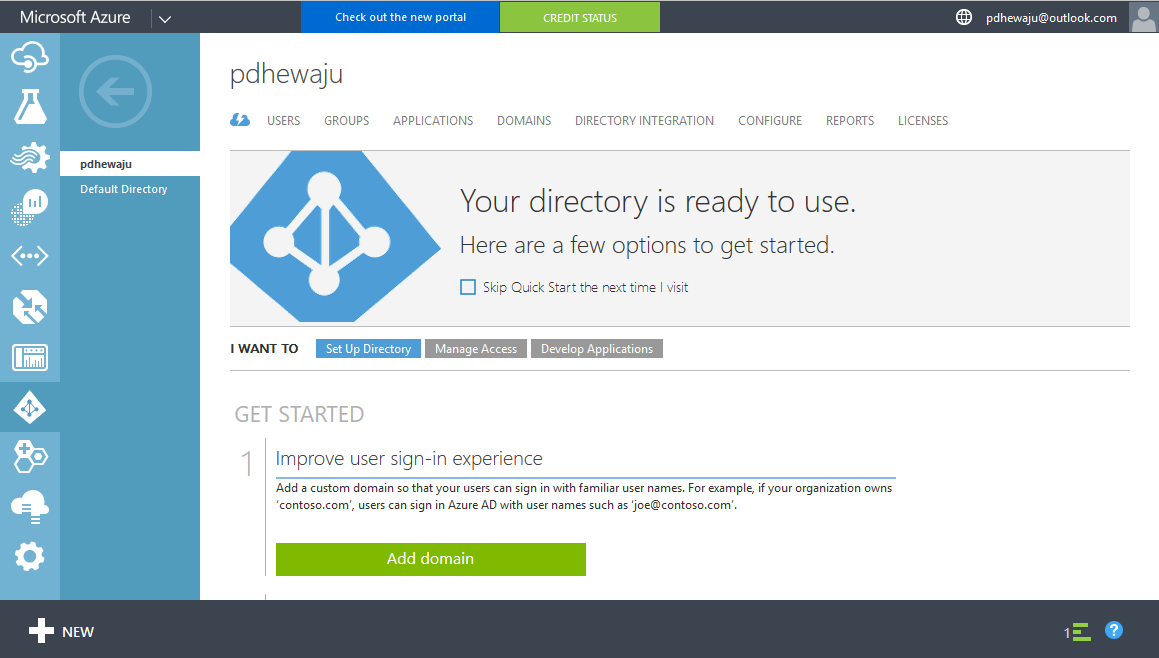
Now, I do have one new Domain added to my Azure ‘pdhewaju’, which I will be enabling for Azure Domain Services.
Once you select ‘pdhewaju’, you will get the drill down settings for this domain as of below snap.
Click on ‘Configure’, Once you click on it. You will able to see the configuration of your new domain.
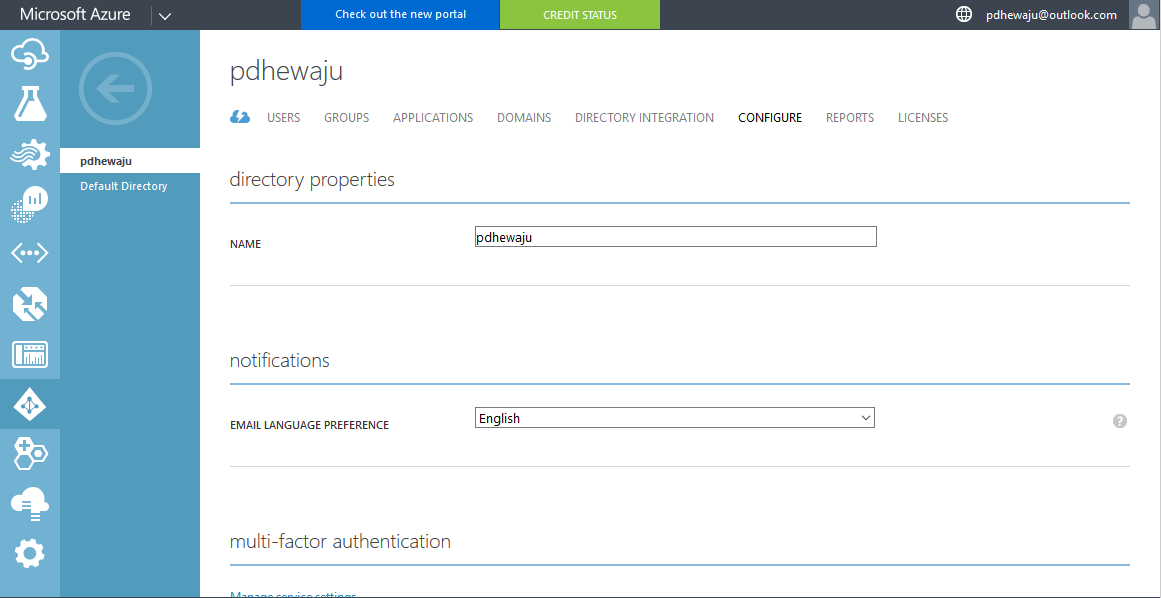
On devices, you can have a flexibility that ‘users may join devices to Azure AD’, ‘Users may register their devices with Azure AD’ and etc.

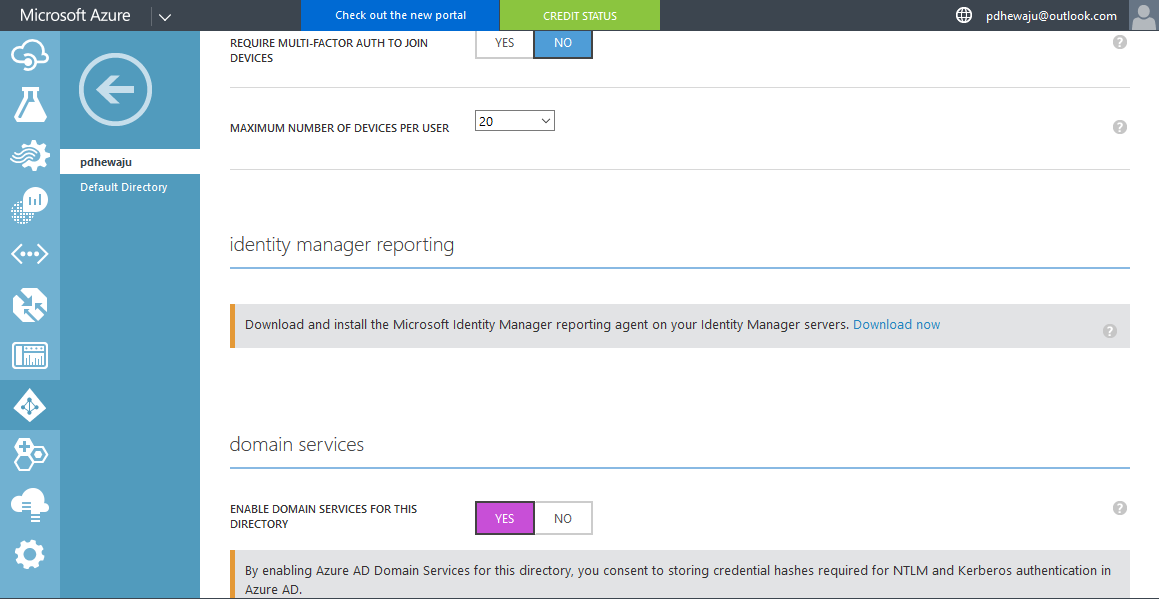
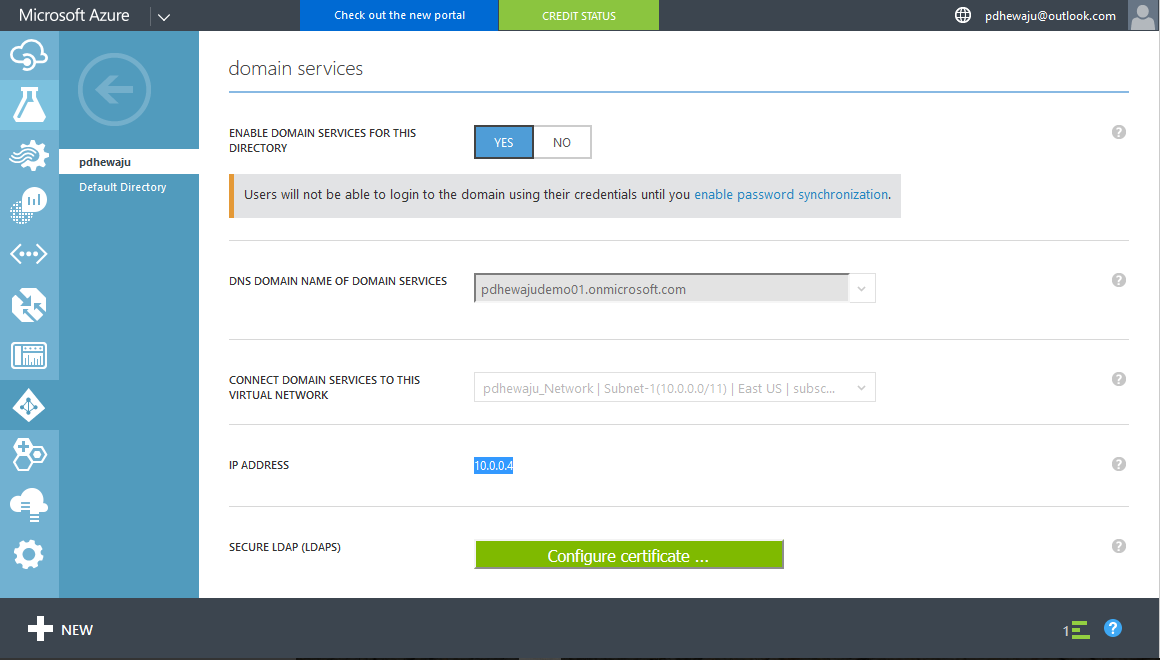
But the most import part for us is to configuring ‘enabling domain service for this directory’ as of below snapshot.
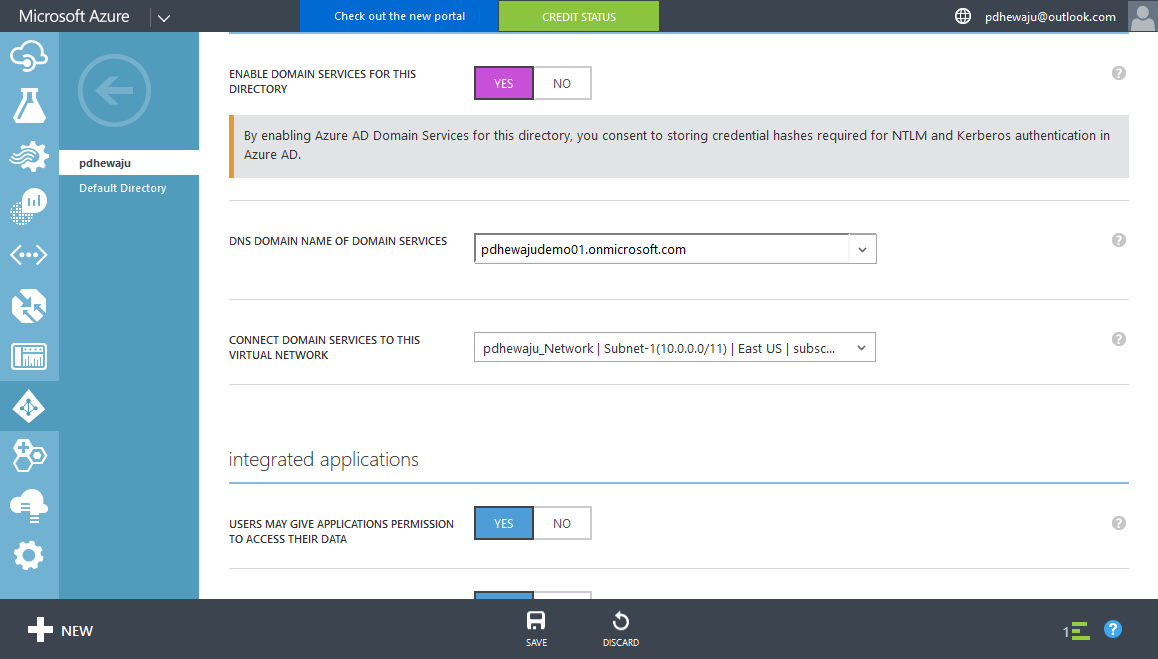
Once enabling domain service for this directory, check the ‘DNS Domain Name’ and click on ‘Save’.
It will take around 20-30 Minutes to get complete the configuration. Once the configuration is complete, you will get the IP Address of your DNS.
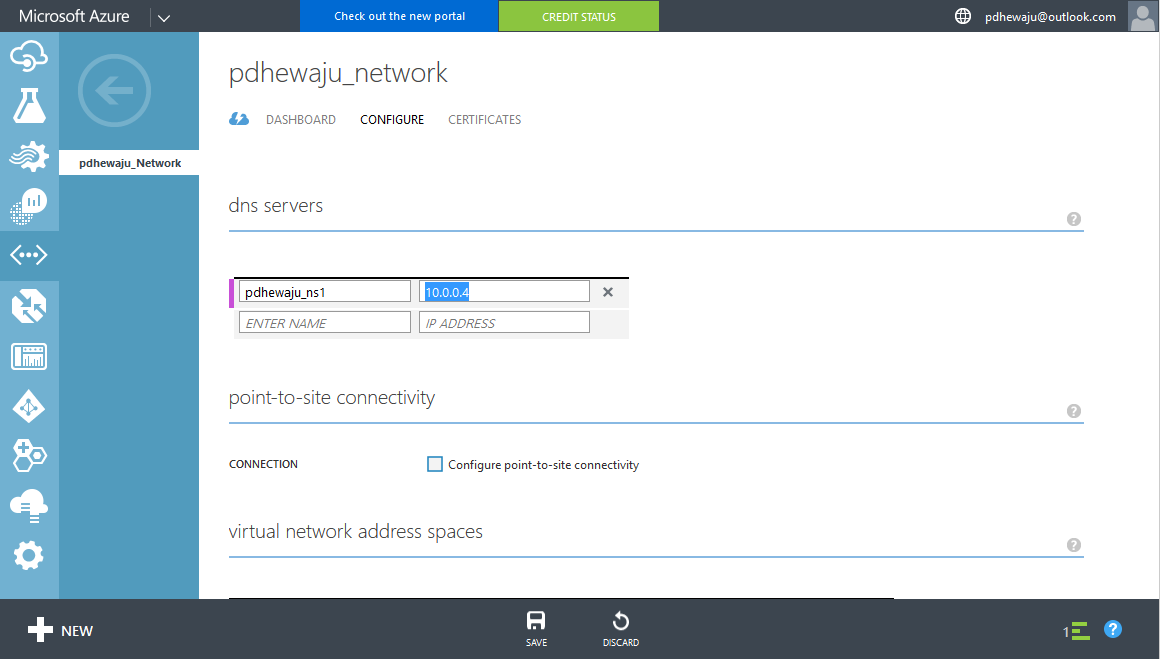
Now, it is time to configure the Network side DNS which we have left earlier while configuring Virtual Network.
ON the Virtual Network, click on Configure and add the DNS server IP as retrieved earlier while enabling domain services for this Directory.
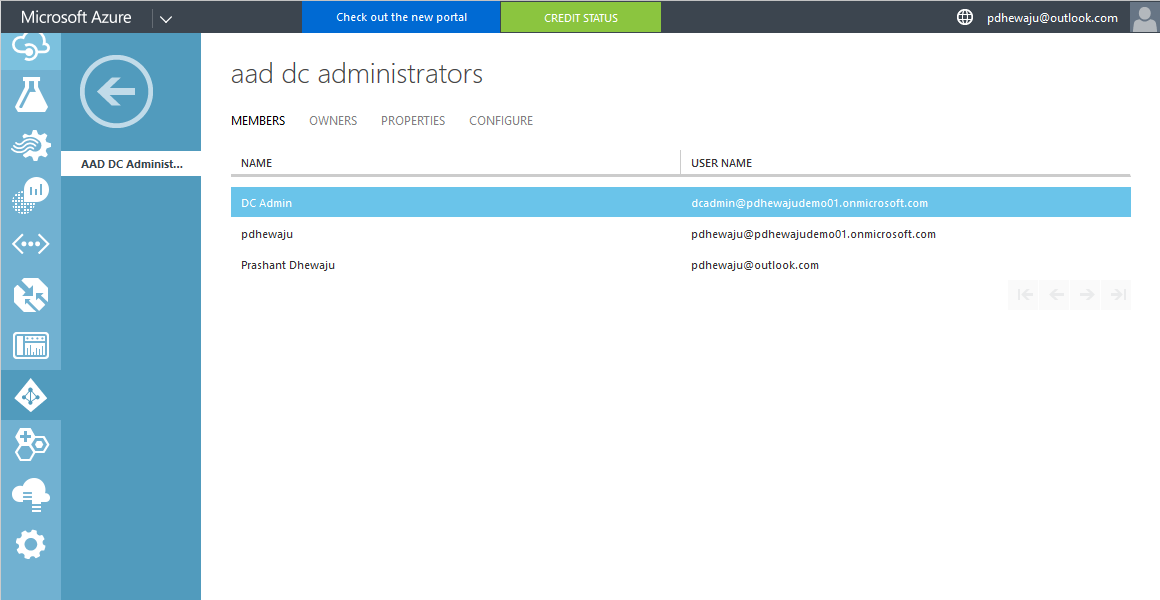
After completion of this work, now you need to create a Domain Administrator for your Domain. To create an administrative group you must create a group with name ‘ AAD DC Administrators’.
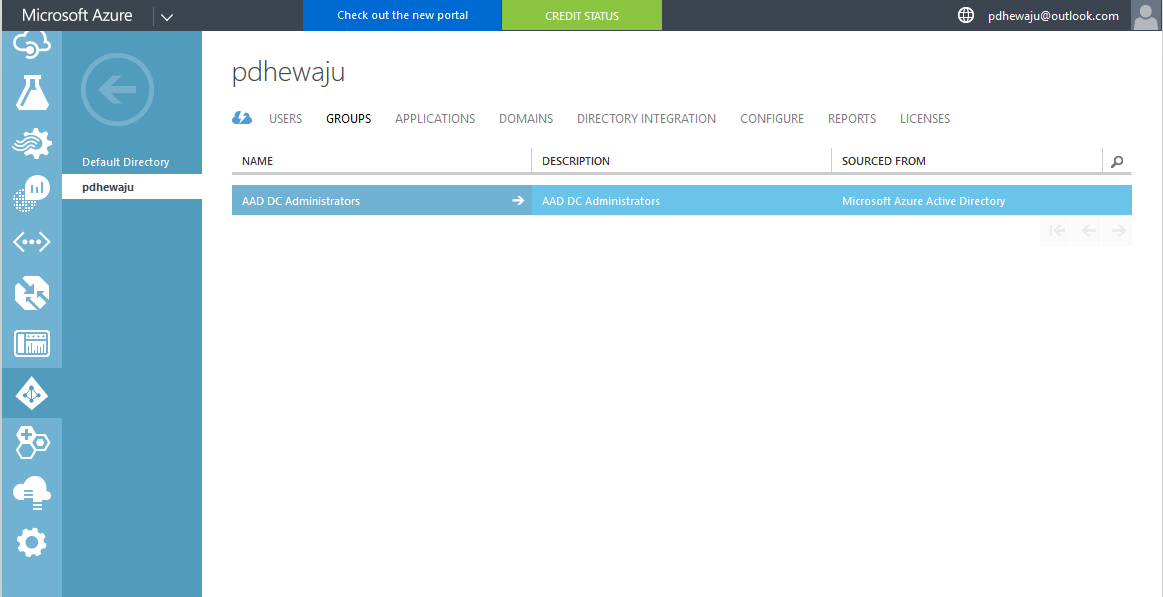
Once the group is created, now you can add the administrative members on this group.
Thank you for reading. On this my next blog, I will be blogging about creating a Domain services domain controller on Azure.
![[error]The Single Instance Store (SIS) component is not installed](/wp-content/themes/ribbon-lite/images/nothumb-related.png)
[error]The Single Instance Store (SIS) component is not installed
[Solved]convert .vbs script to .exe
Unlocking the Power of Message Recall in Outlook Online: A New Era of Email Management
About Author
pdhewjau
Prashant Dhewaju is a Microsoft MVP and Microsoft 365 Adoption Consultant with deep expertise in cybersecurity and modern workplace solutions. He advises organizations across Nepal and the broader region on securely adopting Microsoft 365, improving productivity, strengthening security posture, and driving effective change management. His prior position as a Modern Work Security Specialist at Microsoft saw him providing invaluable guidance to major clients in Bangladesh, Brunei, Cambodia, and Myanmar, assisting them with their foundational security needs. Awarded the esteemed Microsoft Most Valuable Professional (MVP) accolade in 2017, Prashant is recognized globally among Microsoft peers. Since 2010, he has imparted his expertise as a Microsoft Certified Trainer (MCT), conducting specialized training across Nepal.