[step by step] Configure Office Online server on Skype for Business 2015
Hey Guys, I am back again with Office Online Server (OOS) just thinking to complete its part with Skype for Business (SFB) too. On my previous blog, I have shared knowledge on How to Install OOS on windows server 2016. Windows Server 2016 is new version of Operating system and I am under testing of it on how we can do it and sharing my experience on it. On this blog, on I am sharing my experience on how we can configure Office online Server on Skype for Business 2015.
There might be the question that why should I need OOS on SFB 2015. So, let me put some light on it that why do we need OOS for SFB 2015
- OOS provides enriched PowerPoint presentation view to Lync/SFB end-users.
- OOS performs encryption and saves the file to Lync/SFB content file share.
So, this means if I have to use presentation mode or OneNote share on the SFB, I am going to need OOS on my infrastructure configured with SFB.
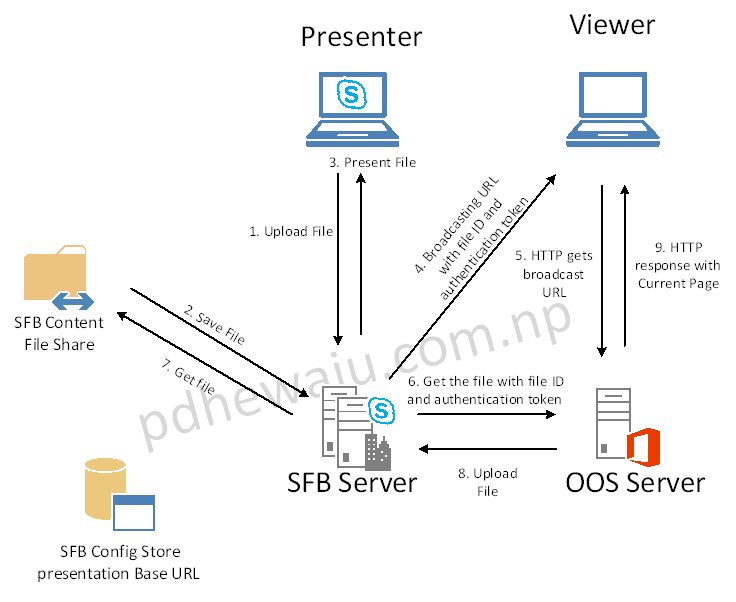
Over below I have shared how actually presenter going to get communicated with viewer for the presentation sharing step by step.
Installing Prerequisites for OOS:
Before installing the OOS, we need to install the pre-requisites. Below is the Windows feature that are mandatory to install for the OOS in Windows Server 2016.
Install-WindowsFeature Web-Server, Web-Mgmt-Tools, Web-Mgmt-Console, Web-WebServer, Web-Common-Http, Web-Default-Doc, Web-Static-Content, Web-Performance, Web-Stat-Compression, Web-Dyn-Compression, Web-Security, Web-Filtering, Web-Windows-Auth, Web-App-Dev, Web-Net-Ext45, Web-Asp-Net45, Web-ISAPI-Ext, Web-ISAPI-Filter, Web-Includes, Windows-Identity-Foundation

Installing OOS:
After the installation of Windows Features, now it’s time to install the OOS. To install OOS mount the download DVD from Volume License Service Center, and execute it.
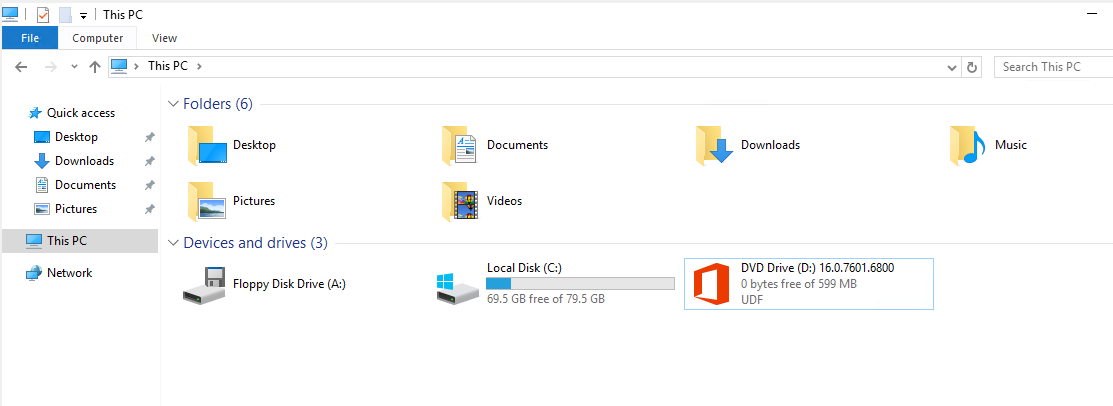
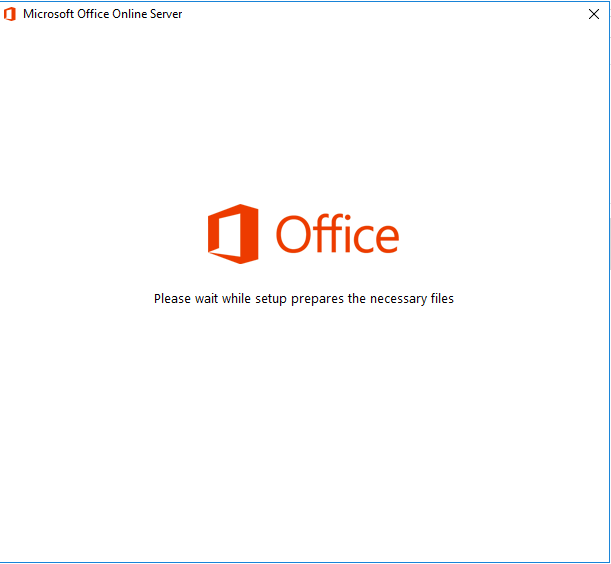
Once the DVD is executed, it will prepare the necessary files that are required for the installation.
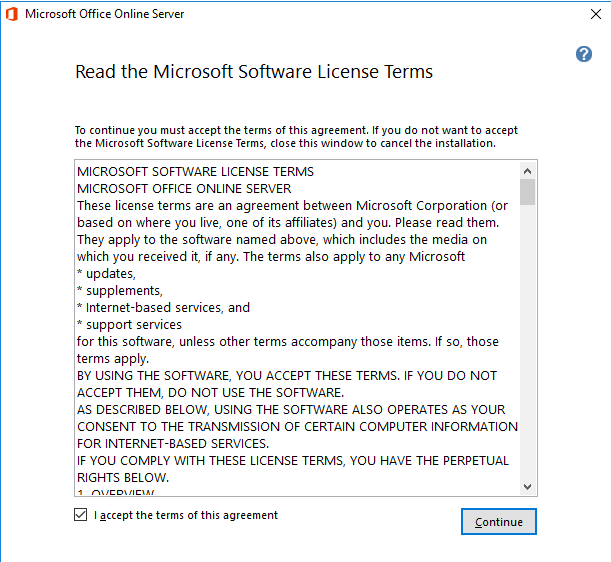
Once the preparation of files is complete, Check on EULA and click on ‘Continue’.
On the ‘File Location’ provide the path where OOS is needed to be installed and click on ‘Install Now’.
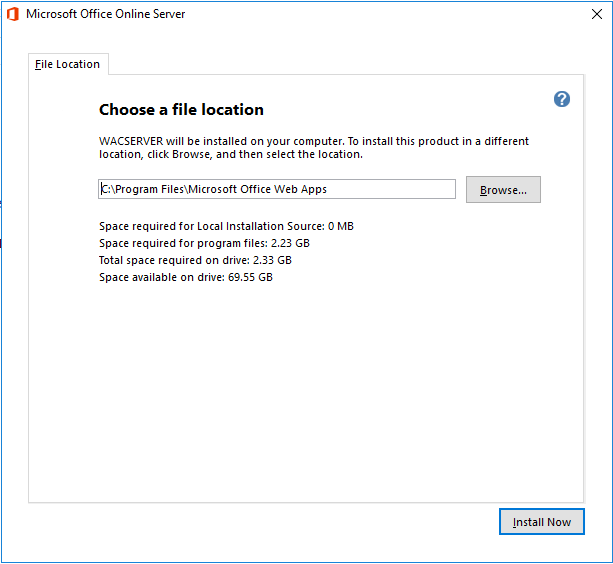
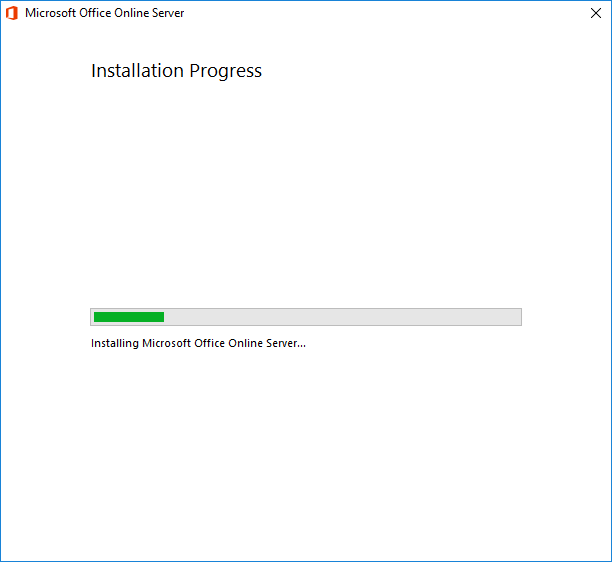
It will take around 10-15 minutes depending upon the specs of hardware to get complete the installation.
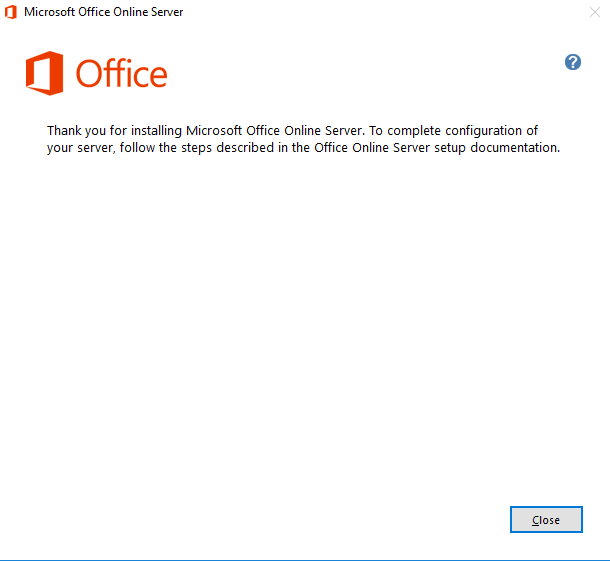
Once the installation is complete, click on ‘Close’.
Configuring OOS:
Unlike other application, it was quite easy for us to install OOS. Now the time is to configure it. Configuring OOS only contains the management of the certificate. Hence if your machine is in the domain and you just want the feature of OOS within your private intranet, it’s okay to use Local Certificate Authority (CA). But if you want to use it on the External organization too, you need to have public SSL. For my demo lab, I just needed private certificate, hence created the one using Local CA.
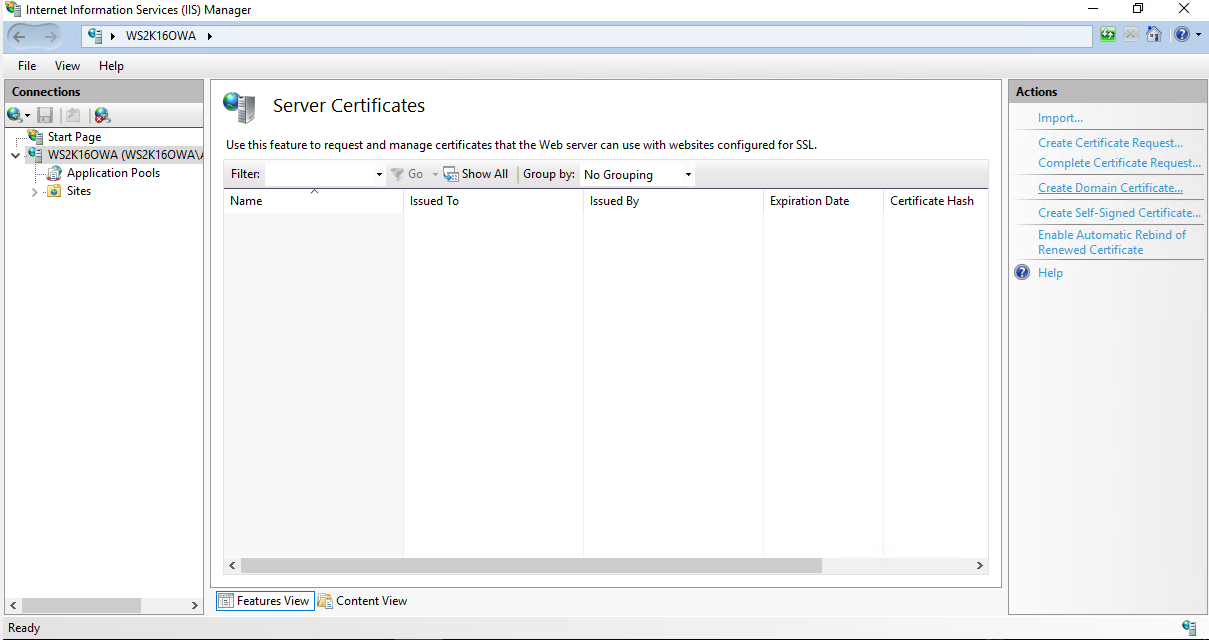
To create the local certificate, Open IIS Manger-> Expand your hostname and open ‘Server Certificates’.
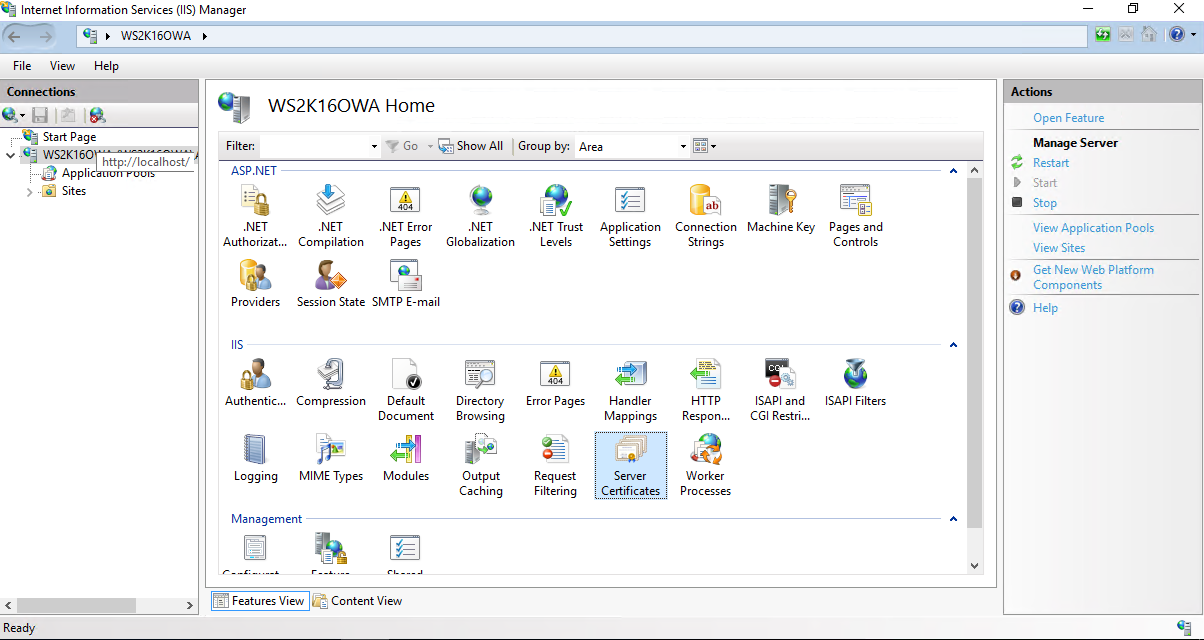
On the ‘Server Certificates’ right side at Action Panel, click on ‘Create Domain Certificate’.
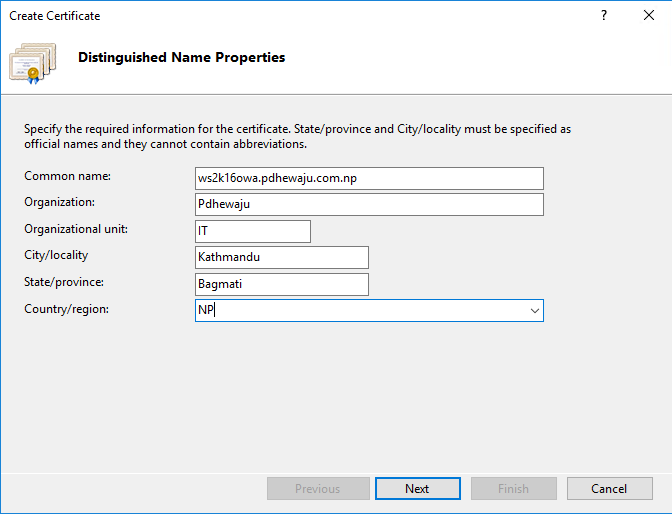
A new window will get open, Provide the detail of Certificate on this window. The most important thing over here is, on the ‘Common Name’ you need to provide FQDN of your server. Else the certificate will not be valid and trusted. ( I have faced few problems year back with this issues, so sharing my experience on it).
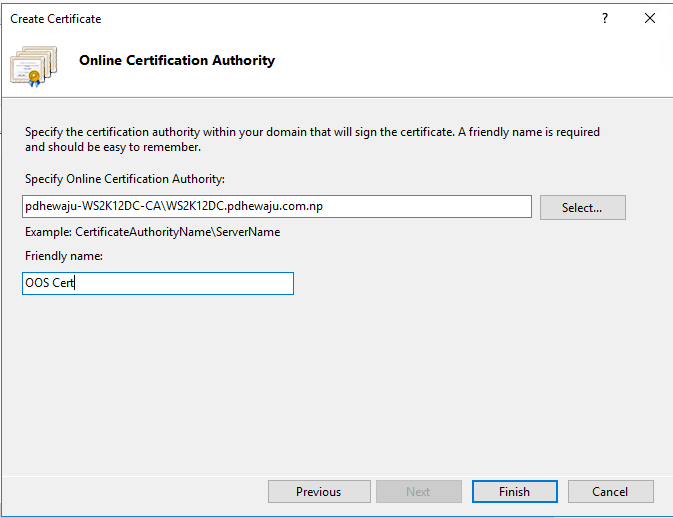
On ‘Online Certificate Authority’, Select the Certificate Authority server and provide the ‘Friendly Name’ this could be anything and click on ‘Finish’.
Now you can see your newly certificate on you ‘Server Certificates’.

To Configure the OOS, we just need to assign the newly created certificate for the OOS Farm with below cmdled.
PS C:\Users\Administrator>New-OfficeWebAppsFarm -InternalURL “https://WS2K16OWA.pdhewaju.com.np” -ExternalURL “https://WS2K16OWA.pdhewaju.com.np” -CertificateName “OOS Cert”
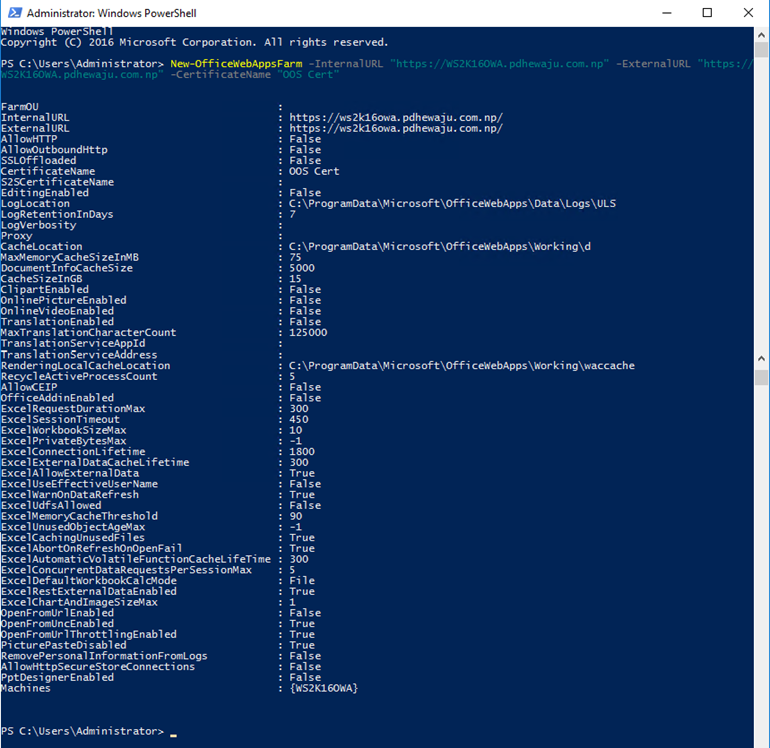
And now our OOS Server is installed and configured completely to integrate with other application like SharePoint, Exchange and Skype for Business.
Configuring OOS for SfB 2015:
If are still on the process of Installing SFB, you can visit this blog on which I have shared the knowledge on how to Install Skype for Business 2015 on Windows server 2016.
After the installation of both SFB and OOS server, now it’s time to get configure these servers for the integration. To Configure OOS for the SFB server, first need to open the current Topology for the SFB server.
It is recommended to keep the existing topology as it is and edit the copy of it. Now after opening of the copy of current topology, expand Skype for Business Server 2015 and Select your Front End Server for the Skype for Business
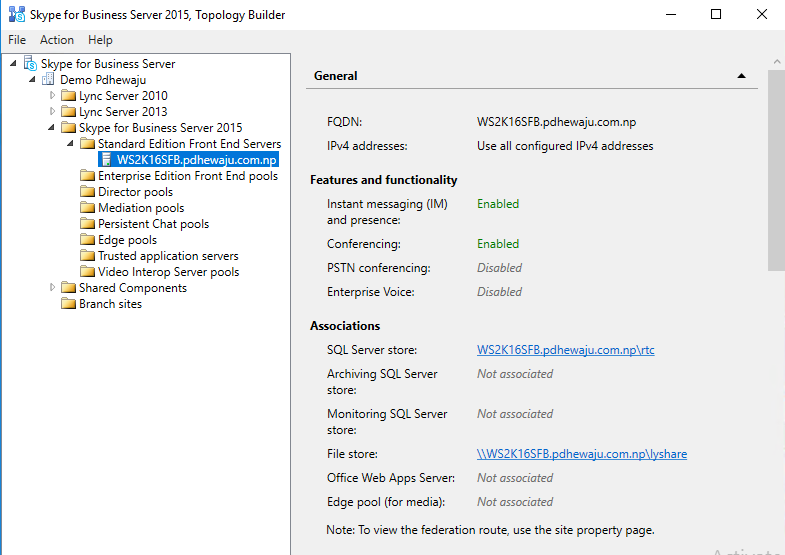
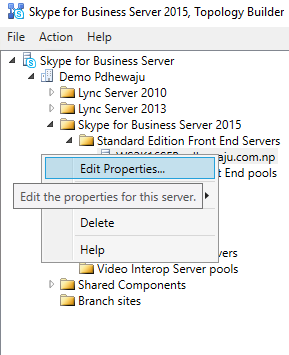
On the Front end server of SFB, right click and Edit the properties of it.
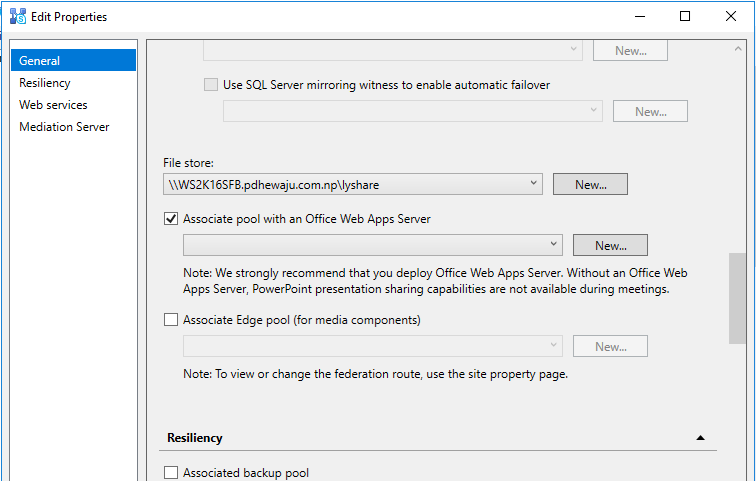
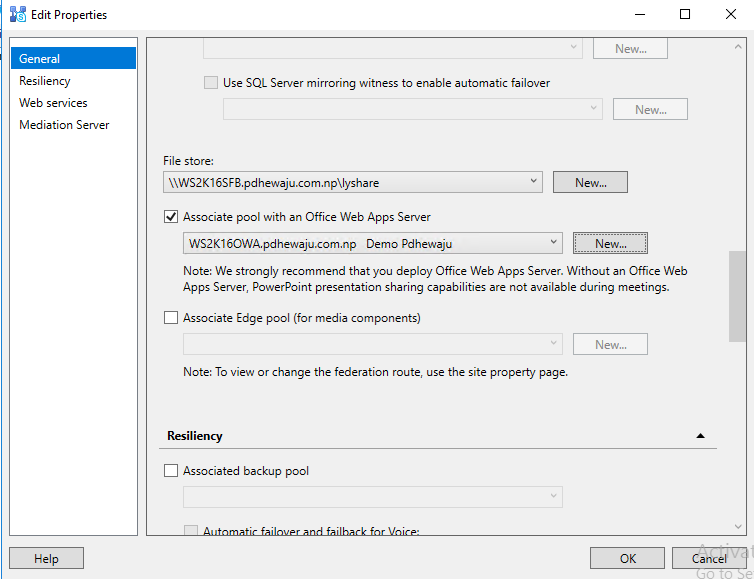
On the properties of Front End server or Front End pool, check mark on the ‘Associate pool with an Office Web Apps Server‘ and click on ‘New‘.
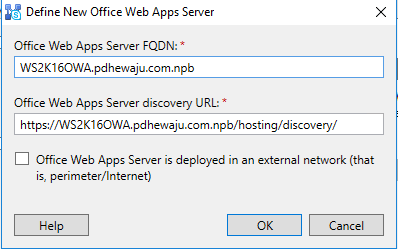
A new window will get open, on which provide the FQDN of the OOS (Formerly Office Web Apps Server) and click on ‘OK‘
Once done, click on ‘OK‘ and close the Edit Properties window.
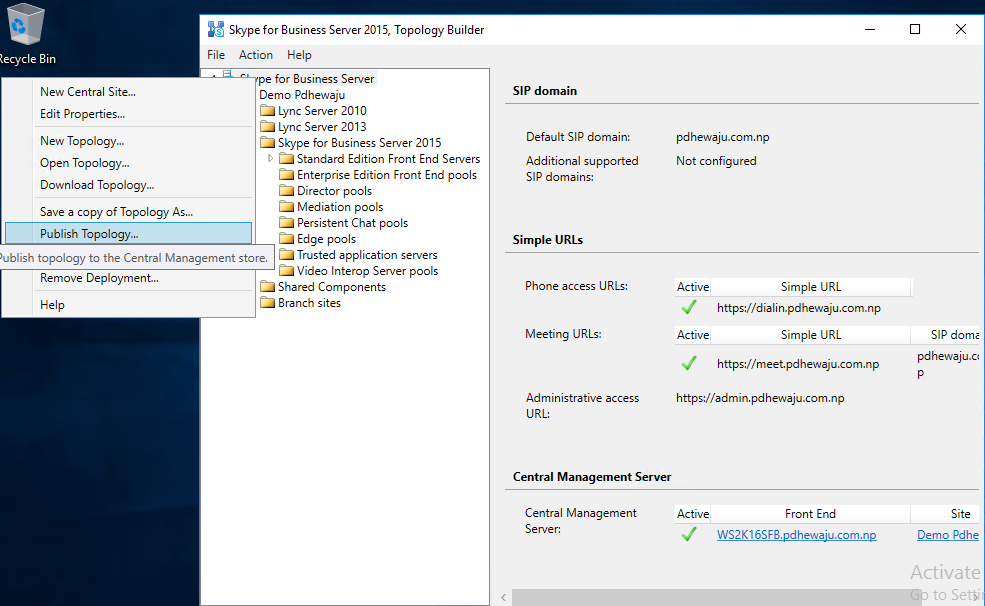
Now, it’s time to get publish our newly build topology. So right click on the ‘Skype for Business Server‘ and select ‘Publish Topology‘.
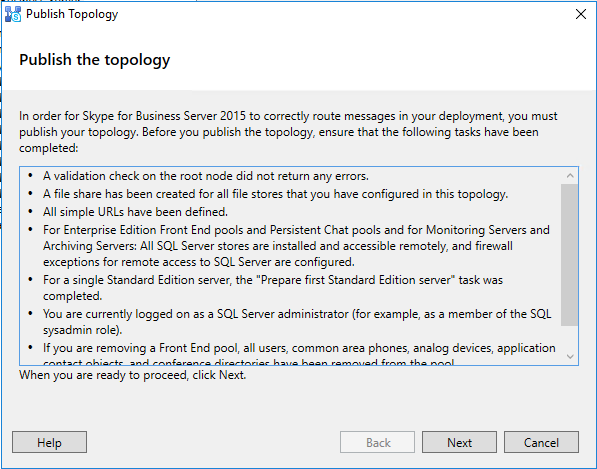
On ‘Publish Topology‘ click ‘Next‘ to start the publishing part.
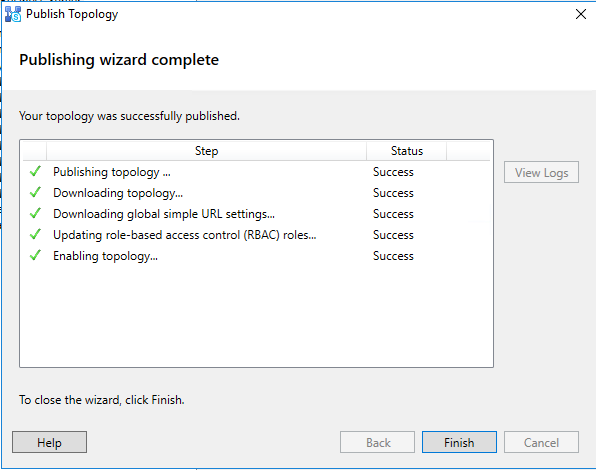
Verify all the steps of the publishing is successful and click on ‘Finish‘.
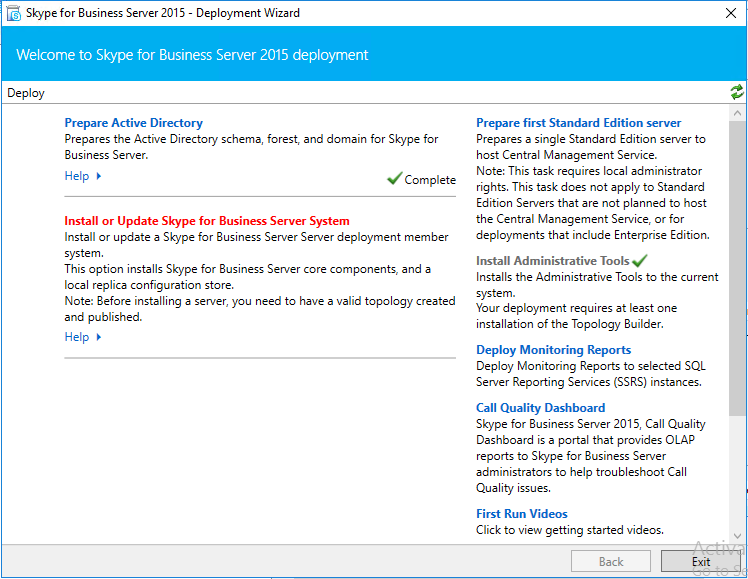
Now, it’s time to update the Skype for Business system. To update the Skype for Business system, open SFB 2015 Deployment Wizard.
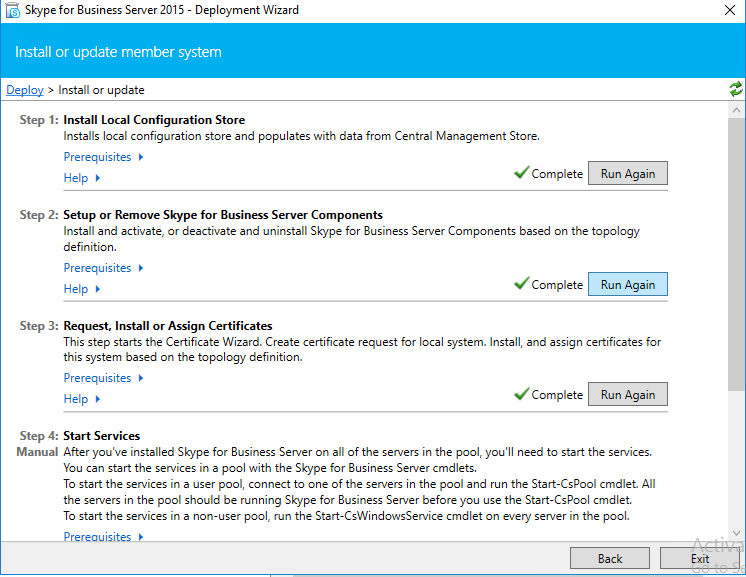
On Deployment Wizard, Click ‘Run Again‘ on ‘Setup or Remove Skype for Business Server Components‘
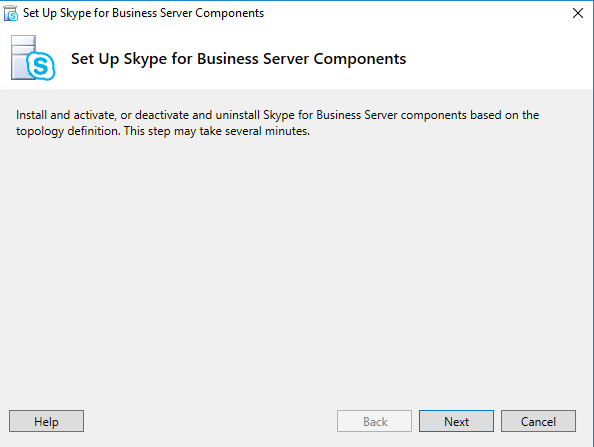
Click on ‘Next‘ to run Set up SFB server components.
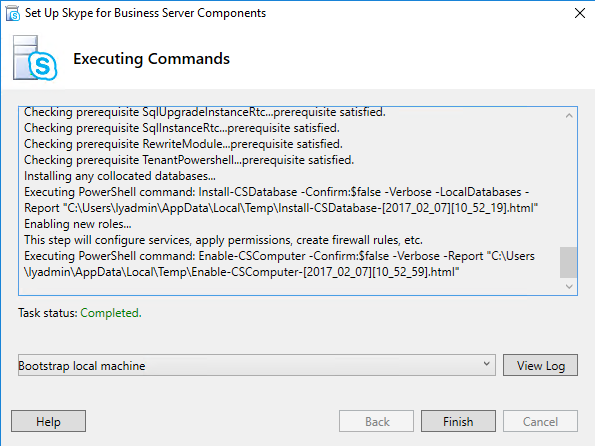
Verify the task status is complete and click on ‘Finish‘.
After the completion of above task restart the CsWindowsService using below cmdlet.
Restart-CsWindowsService.


Now try to share the Presentation from your SFB, I hope now you can present your presentation smoothly . 😀
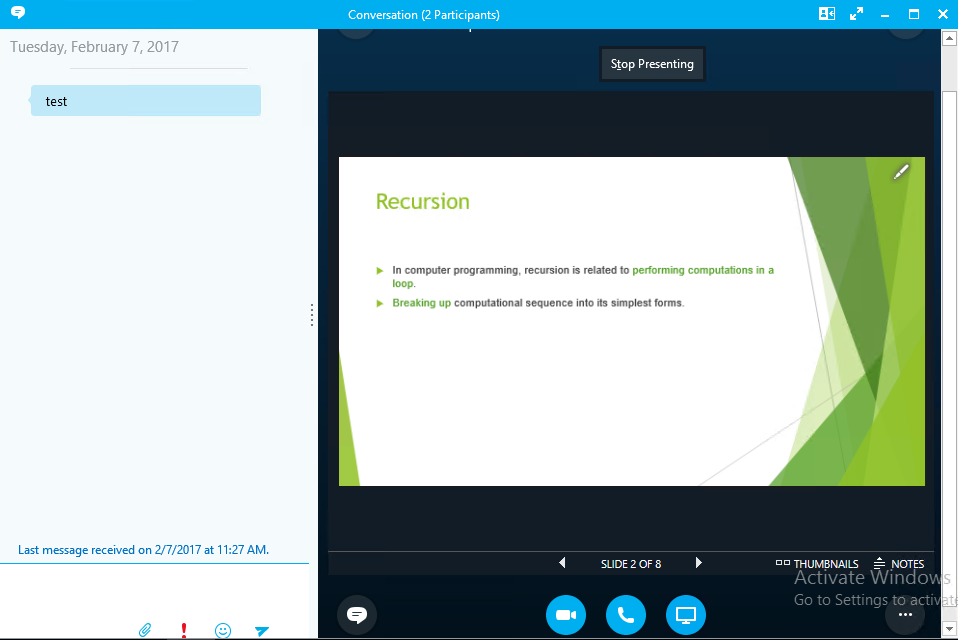
This is how we can configure OOS on SFB 2015. Hope this was quite helpful to you guys, hoping to get comments if you guys do have any issues 😀

![Configure WordPress on Microsoft Azure [step by step]](/wp-content/themes/ribbon-lite/images/nothumb-related.png)