Configure WordPress on Microsoft Azure [step by step]
Azure has been of the most popular cloud service these days and one of the survey says, in total 60% of cloud service is getting provided by Azure. For us Azure provides both PaaS and IaaS service. Today, let’s check on the one of the PaaS service of the Microsoft Azure. As all of us know that WordPress is one the most popular blogging site, not only on WordPress.com we can also install it on our own space to blog with the WordPress framework.
On today’s blog, I will try to share my knowledge on, how we can use WordPress as PaaS Service with Microsoft Azure. As on my earlier blog, first we need to have a Azure subscription to initiate this process or for demo purpose you can use 30 days trial (https://azure.microsoft.com/en-in/free/) of Microsoft Azure.
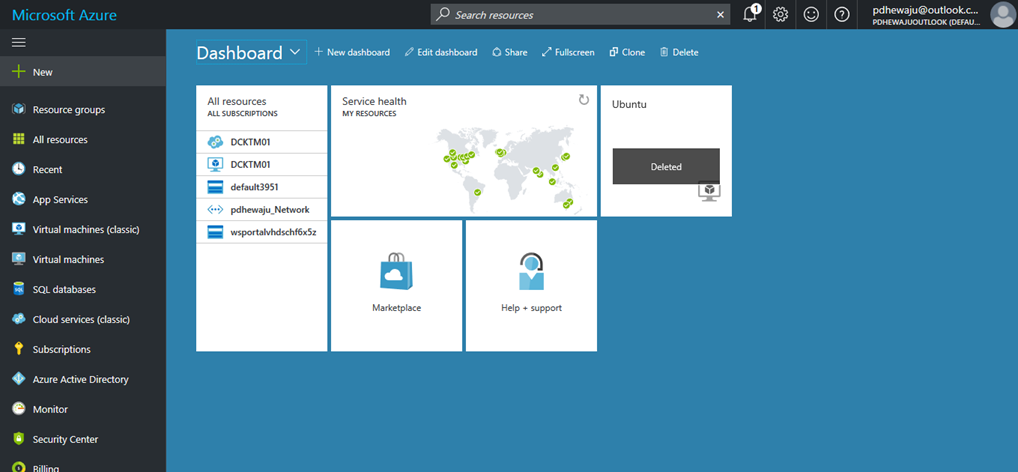
To start the Service of WordPress on Microsoft Azure, login to your Azure account and click on ‘+New’.
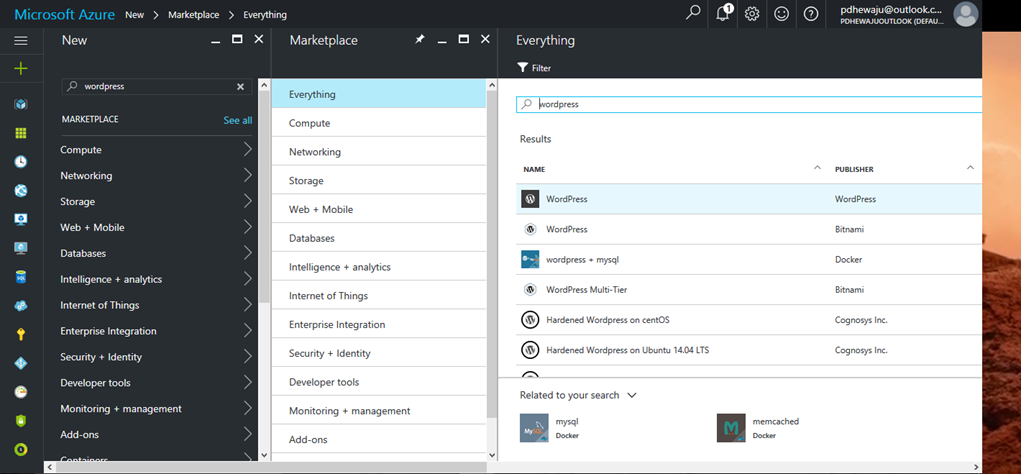
A new Search bar will get open, on Search Bar type ‘WordPress’ and click on Search. At the end of the search you will ‘WordPress’ and publisher WordPress. I don’t know how the WordPress of Bitnami is so I selected the one with publisher WordPress.
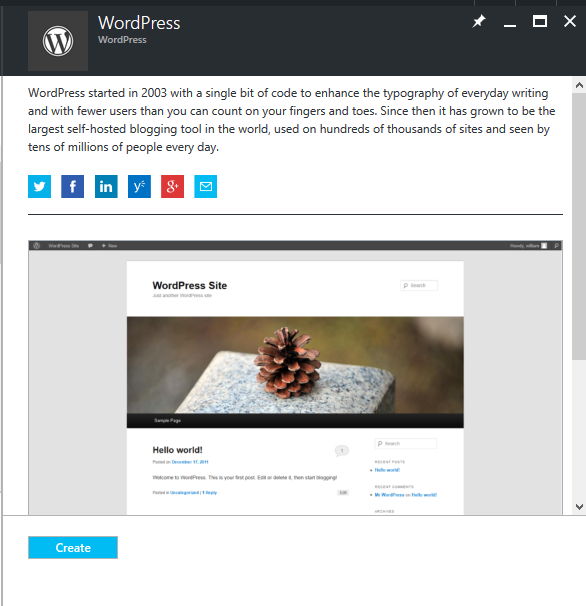
When I selected the WordPress, a new window got open on which there was description of WordPress and at below there is a button ‘Create’. Click on ‘Create’ to create a service of WordPress.
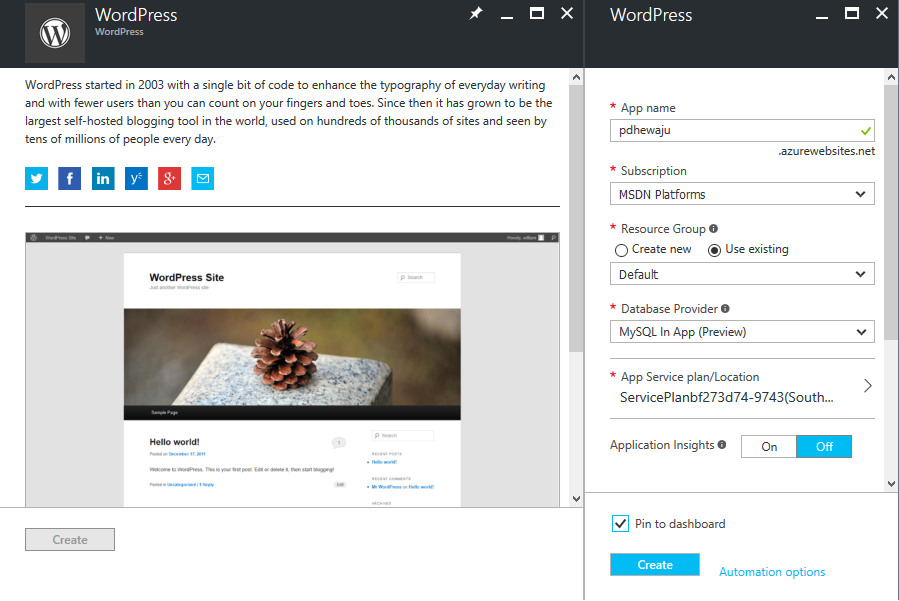
Once you click on ‘Create’ a new Window will pile up with your ‘Subscription’ information, provide you App Name and database type. In my case I have used MySQL In App although it is recommended to have dedicated SQL for production environment which you can buy with separate plan, as I am using this option to minimize the cost. Once your configuration is complete, click on ‘Create’.
Now, the creating is done. It will take around 5-10 minutes to make ready your WordPress machine. As below on your Dashboard, you will see Deploying WordPress.
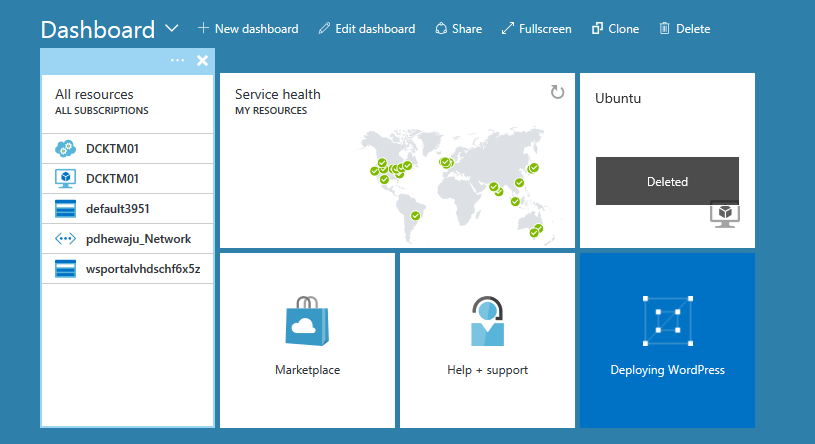
Once the deployment is complete, double click on you app. It will get expand and you can have detail view of your newly created WordPress app.
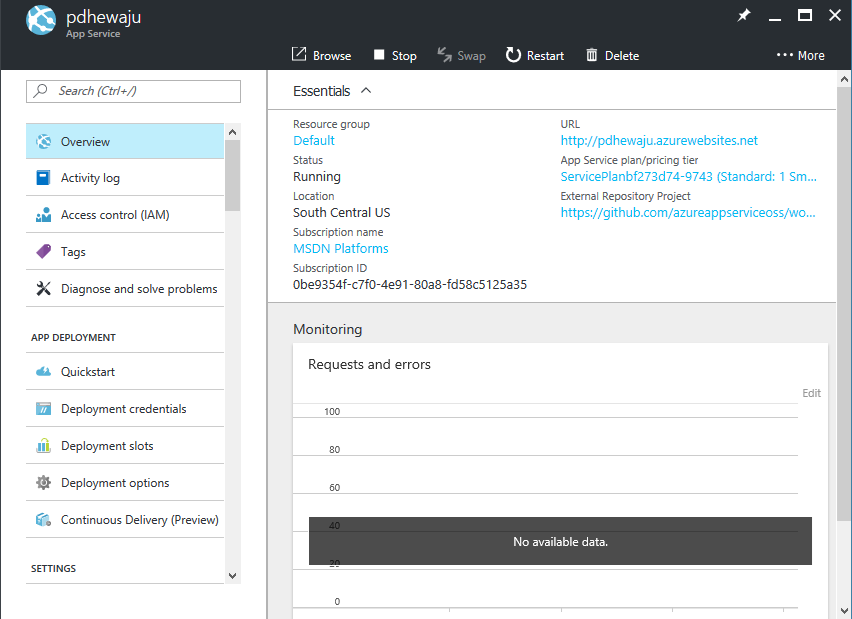
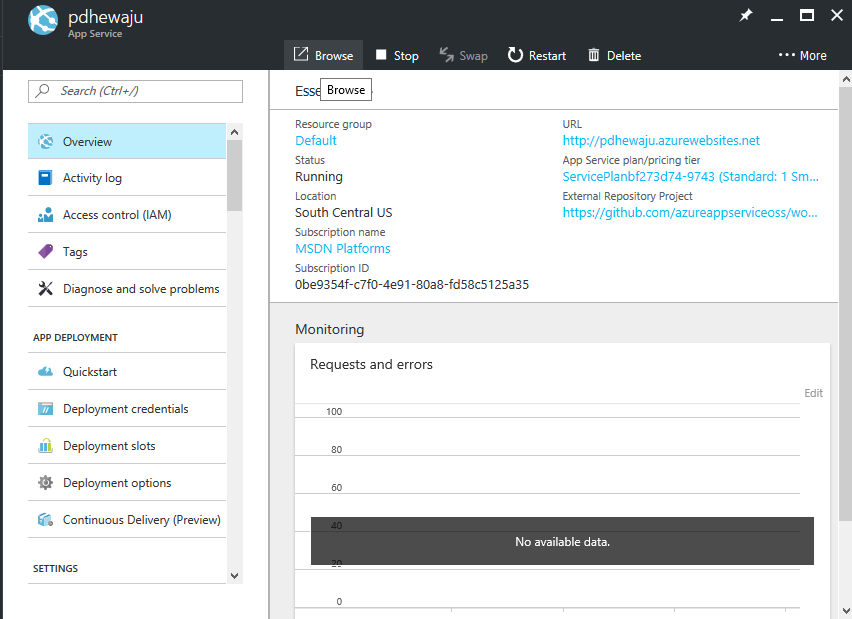
On the expansion of app, click on ‘Browse’ to browse your newly created WordPress page.
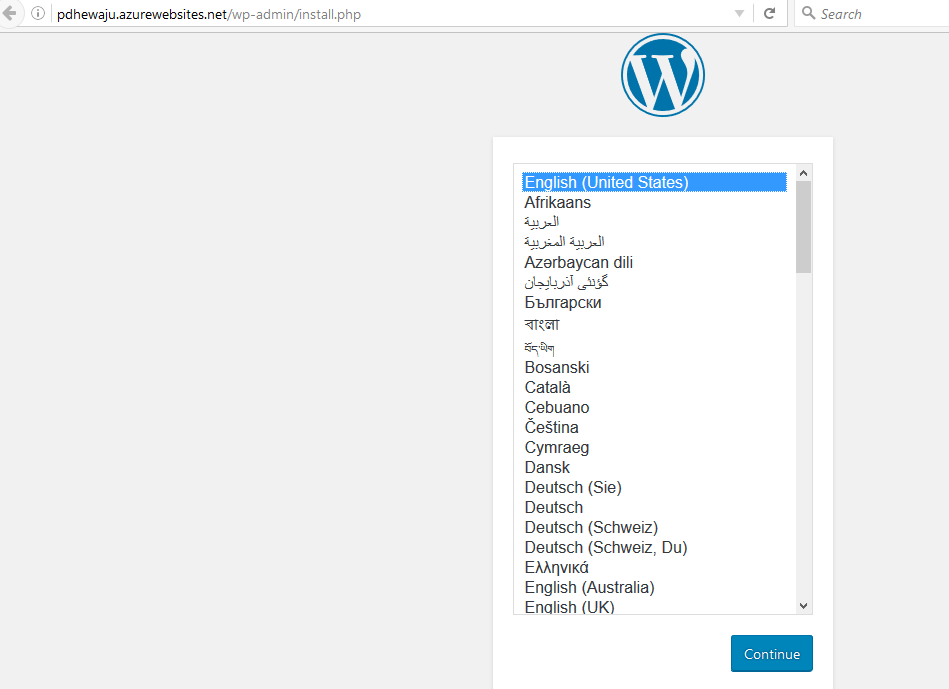
Here it looks like this, on the browser click on the language on which you prefer and click on ‘Continue’.
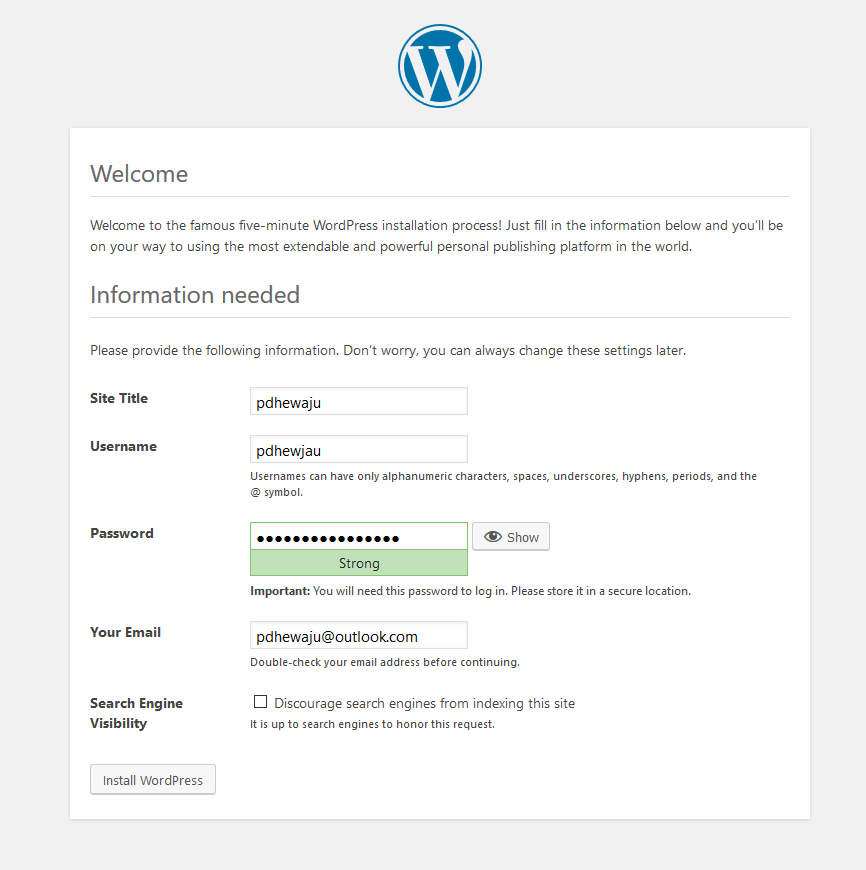
On the next screen, fill the required information like username, email address, password for the WordPress Setup and click on ‘Install WordPress’.
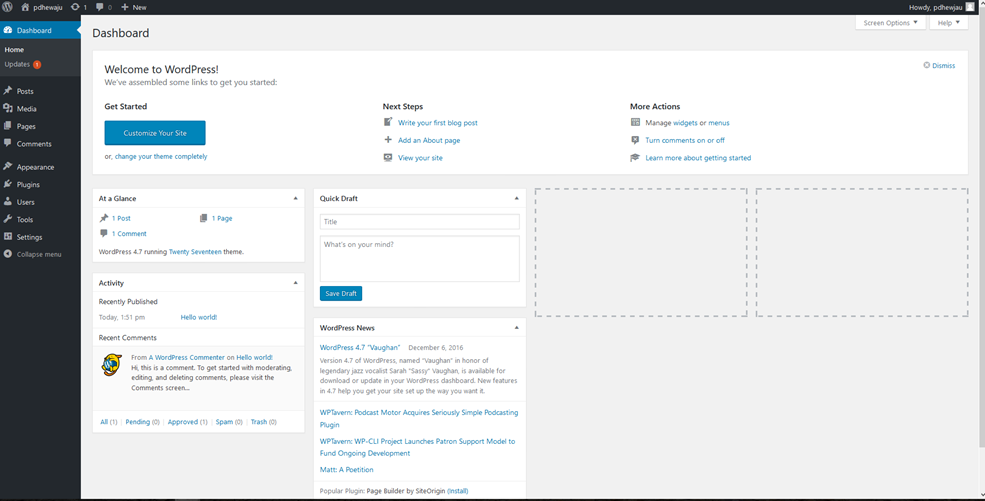
Once the process of installation is complete, you will see the WordPress Dashboard. That’s all to create a WordPress hosting machine on Microsoft Azure.
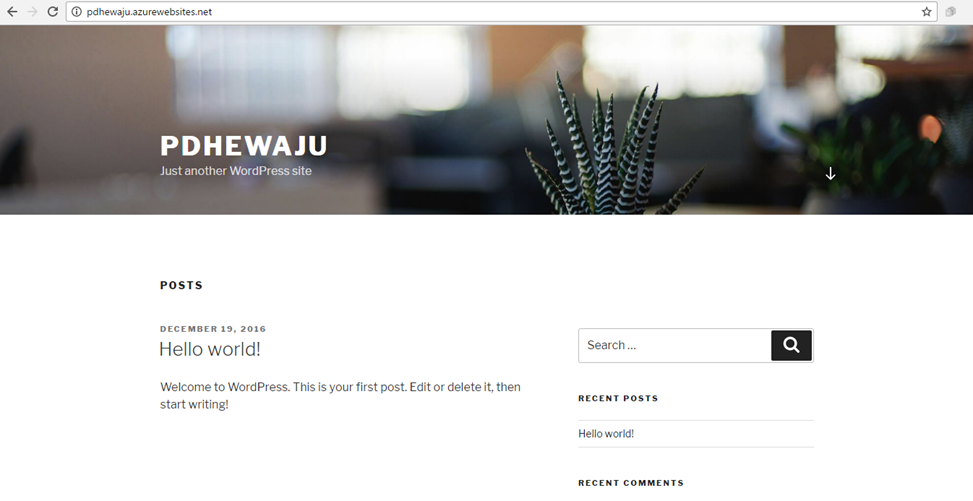
And finally, you can browse your WordPress blog. That all you need to do for hosting WordPress blog on Microsoft Azure.
Thank you for reading this blog. By the way my blog is hosted on Microsoft Azure too. And I am happy with the performance of it. 🙂
On my next blog will be posting on detail of branding your Azure hosted WordPress.
Keep making comment…. also continue with Branding your Azure WordPress.

