Installing Exchange Server 2016 Step by Step
Let’s get to the Installation procedure, it has been almost week that I have been blogging about the Exchange server 2016. Before Installing Exchange 2016, I would like to get back to my Perquisites of exchange server. Specifically, on Hardware part, it might be varying but yet at least we need this one.
| Component |
Requirement |
| Processor |
|
| Memory | Varies depending on Exchange roles that are installed: |
- Mailbox 8GB minimum
- Edge Transport 4GB minimum
Paging file sizeThe page file size minimum and maximum must be set to physical RAM plus 10 MB, to a maximum size of 32778MB if you’re using more than 32GB of RAM.Disk space
- At least 30 GB on the drive on which you install Exchange
- An additional 500 MB of available disk space for each Unified Messaging (UM) language pack that you plan to install
- 200 MB of available disk space on the system drive
- A hard disk that stores the message queue database on with at least 500 MB of free space.
DriveDVD-ROM drive, local or network accessibleScreen resolution1024 x 768 pixels or higherFile formatDisk partitions formatted as NTFS file systems, which applies to the following partitions:
- System partition
- Partitions that store Exchange binary files or files generated by Exchange diagnostic logging
Disk partitions containing the following types of files can be formatted as ReFS:
- Partitions containing transaction log files
- Partitions containing database files
- Partitions containing content indexing files
And if I have to go with OS, you need to have at least Windows Server 2012. That means OS higher than Server 2012 is Okay for installation of Exchange 2016. For detail please visit to my blog
Here is my Current Infrastructure on which I am going to Install Exchange server 2012
Domain: pdhewaju.com.np
| Role | Hostname | IP |
| Domain Controller | DCDXG16 | 10.10.10.41 |
| Exchange Server | EXG16 | 10.10.10.42 |
Before Installing Exchange 2016 there are few Prerequisites to get install from software side too. Here we are moving ahead with it.
- Run the below Script on the PowerShell with Admin right to the machine on which you are going to install Exchange Server 2016.
For Windows Server 2012 R2
Install-WindowsFeature AS-HTTP-Activation, Desktop-Experience, NET-Framework-45-Features, RPC-over-HTTP-proxy, RSAT-Clustering, RSAT-Clustering-CmdInterface, RSAT-Clustering-Mgmt, RSAT-Clustering-PowerShell, Web-Mgmt-Console, WAS-Process-Model, Web-Asp-Net45, Web-Basic-Auth, Web-Client-Auth, Web-Digest-Auth, Web-Dir-Browsing, Web-Dyn-Compression, Web-Http-Errors, Web-Http-Logging, Web-Http-Redirect, Web-Http-Tracing, Web-ISAPI-Ext, Web-ISAPI-Filter, Web-Lgcy-Mgmt-Console, Web-Metabase, Web-Mgmt-Console, Web-Mgmt-Service, Web-Net-Ext45, Web-Request-Monitor, Web-Server, Web-Stat-Compression, Web-Static-Content, Web-Windows-Auth, Web-WMI, Windows-Identity-Foundation
For Server 2016
Install-WindowsFeature NET-Framework-45-Features, RPC-over-HTTP-proxy, RSAT-Clustering, RSAT-Clustering-CmdInterface, RSAT-Clustering-Mgmt, RSAT-Clustering-PowerShell, Web-Mgmt-Console, WAS-Process-Model, Web-Asp-Net45, Web-Basic-Auth, Web-Client-Auth, Web-Digest-Auth, Web-Dir-Browsing, Web-Dyn-Compression, Web-Http-Errors, Web-Http-Logging, Web-Http-Redirect, Web-Http-Tracing, Web-ISAPI-Ext, Web-ISAPI-Filter, Web-Lgcy-Mgmt-Console, Web-Metabase, Web-Mgmt-Console, Web-Mgmt-Service, Web-Net-Ext45, Web-Request-Monitor, Web-Server, Web-Stat-Compression, Web-Static-Content, Web-Windows-Auth, Web-WMI, Windows-Identity-Foundation, RSAT-ADDS
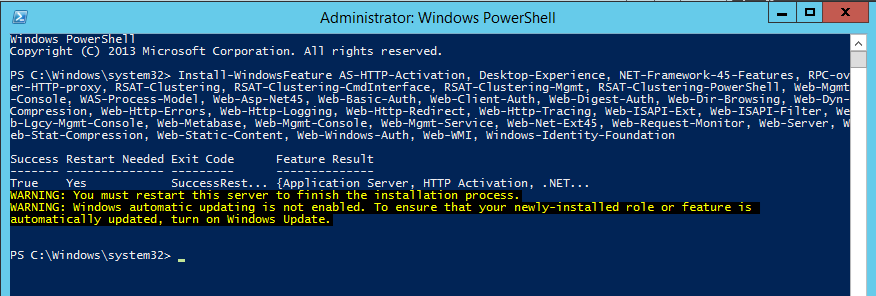
-
Once the above script is in place, add windows feature of RSAT on Exchange server.
Install-WindowsFeature RSAT-ADDS

-
After Installation of above features and roles on the Exchange Server, we need to install
Click here to download Microsoft Unified Communications Managed API 4.0 and here to download .Net Framework 4.5.2.
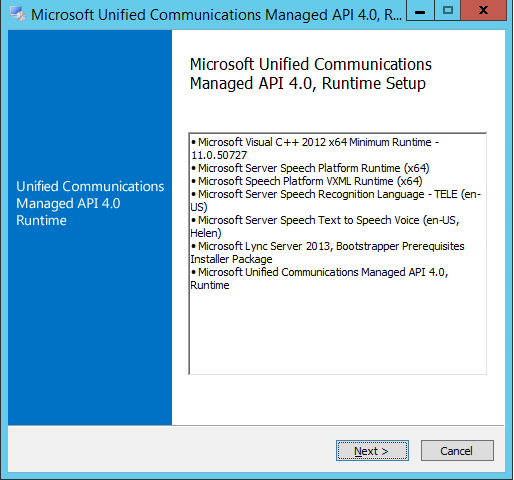
Installing Microsoft Unified Communication Managed API 4.0
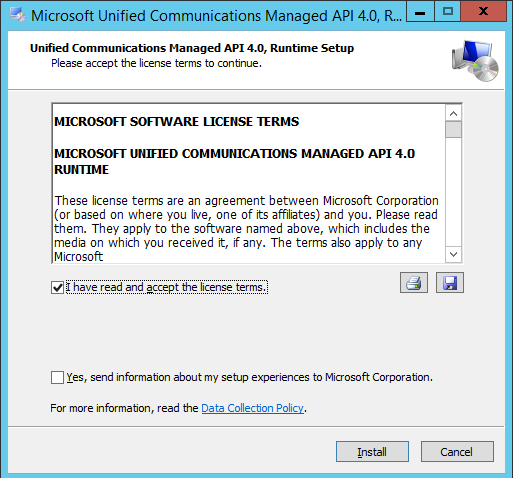
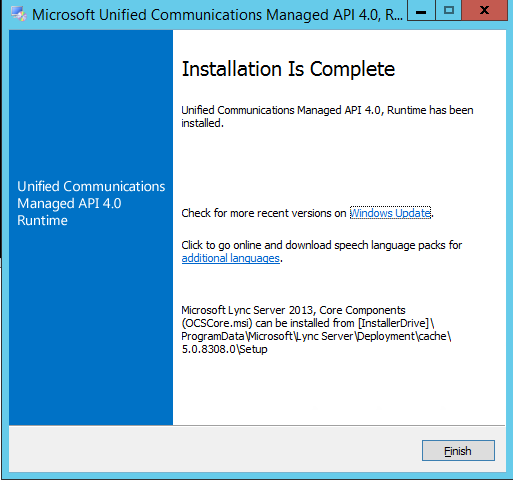
After downloading the Microsoft unified Communication Managed API 4.0, Just run the executive file click Next and Install. Below is the snap of it.
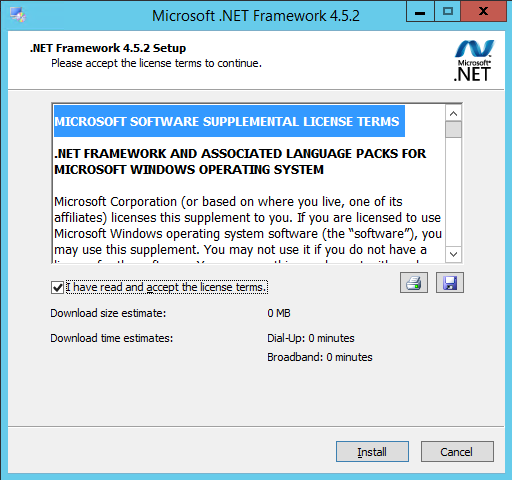
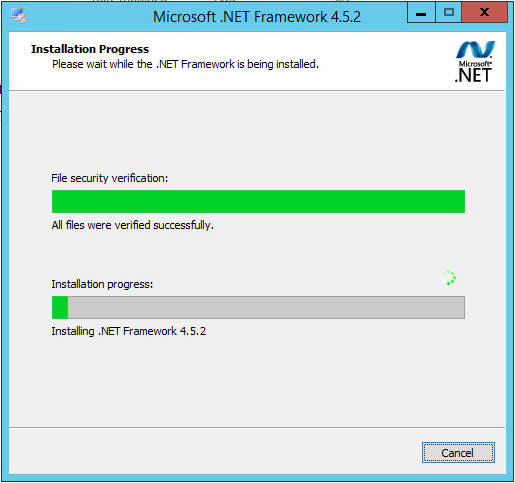
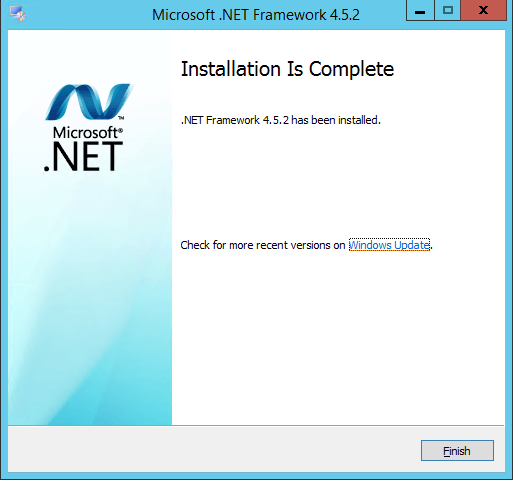
Installing .Net Framework 4.5.2
Installing .Net Framework is also not a big deal, it just running exe file and clicking Next. Below is the walkthrough

Installing Exchange 2016
From this point we will be proceeding ahead with actual installation of exchange 2016. I hope with these steps installing Exchange 2016 will be just a piece of cake for your guys. J
Okay as previous, let’s open PowerShell with admin privilege and prepare system to get install Exchange 2016. First we need to extend our Schema, to extend the schema. Mount the Exchange Server 2016 Disk or get to the location where it has been extracted and we use below command.
Setup.exe /PrepareSchema /IAcceptExchangeServerLicenseTerms

After the completion of the extending schema, we now prepare the Active Directory with the proper organization name of the Exchange server farm. We do it with the below command line. While running this command, it will check if there exist any other exchange server that can be operated on co-existence environment.
Setup.exe /PrepareAD /OrganizationName:"<organization name>" /IAcceptExchangeServerLicenseTerms
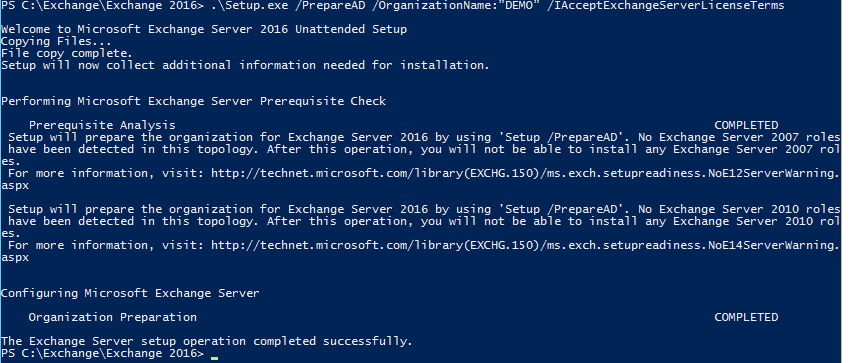
After Preparing the organization, we prepare all the domain on our forest to get install this Exchange server. Below is the command which we run during this process.
Setup.exe /PrepareAllDomains /IAcceptExchangeServerLicenseTerms

We can install exchange server with command line too, but as I am more interested on GUI, here I am going with easy way.
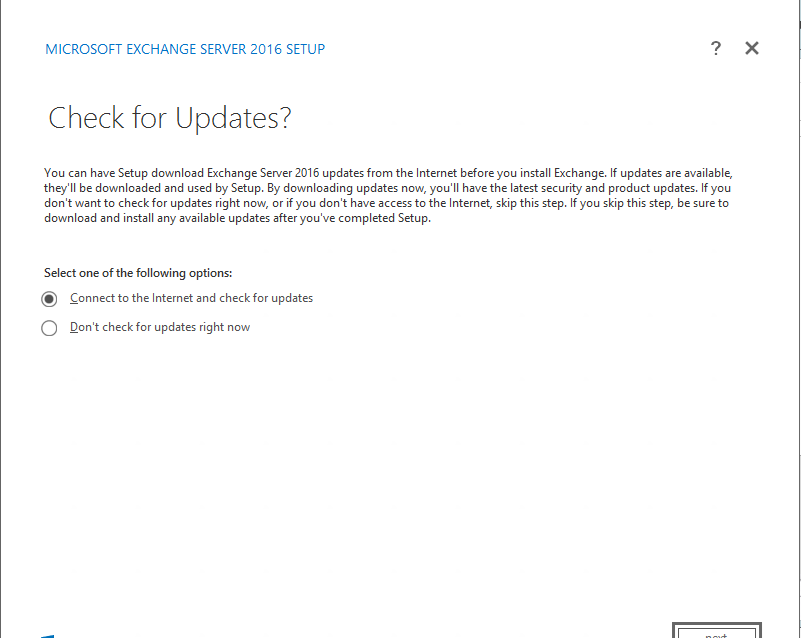
Now open the location where you have extracted the Exchange 2016 setup file, and double click on setup.exe file. Once we click on the Setup.exe, a wizard gets open to install exchange 2016. On this screen, as I am not interested to check update now. I simply select ‘Don’t Check for updates right now’ and click on Next.
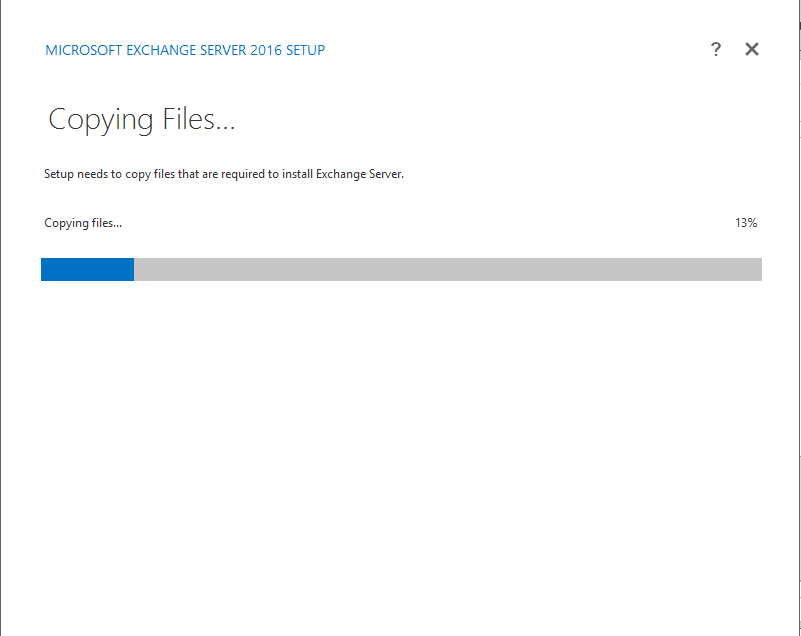
Once I click on “Next” Setup will copy the files to get ready installation.
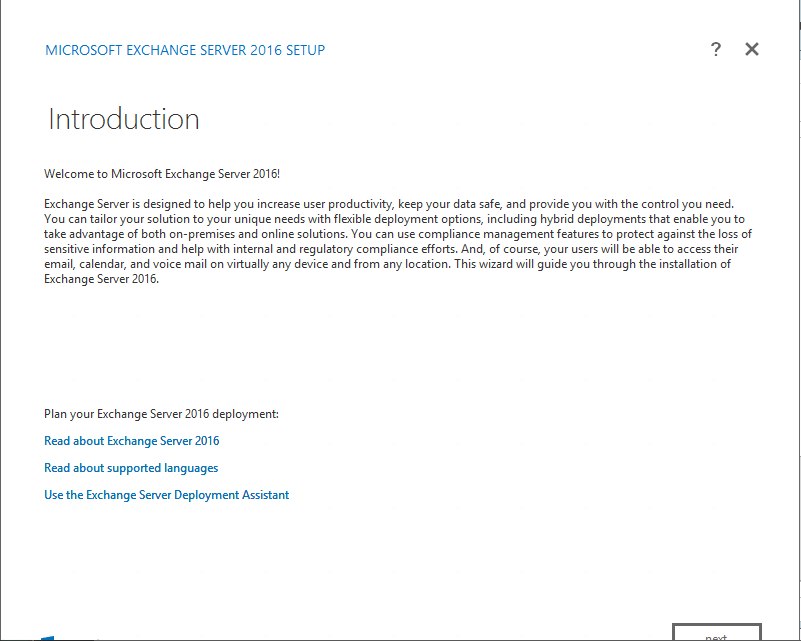
Just click ‘Next’ on the Introduction part and move ahead for installation.
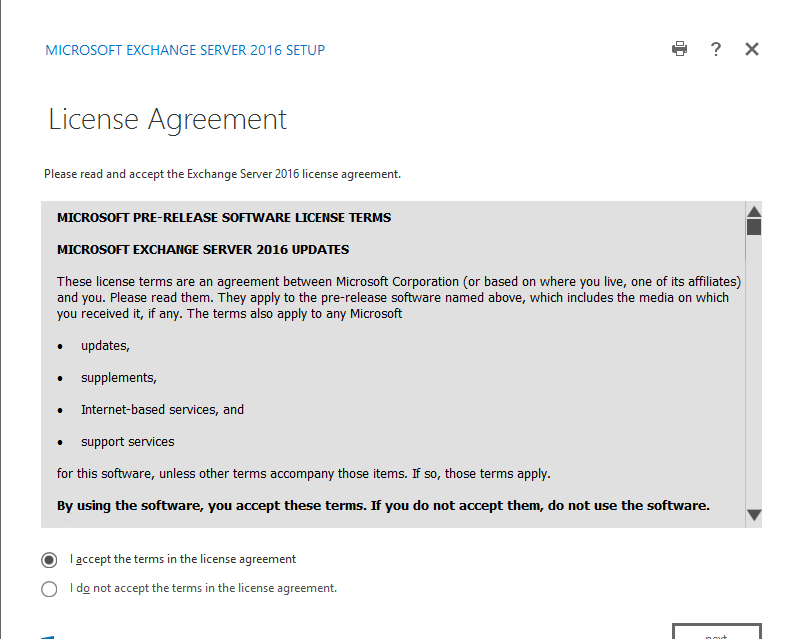
Over this screen, I Agree with the EULA of the Exchange server 2016 and click on ‘Next’.
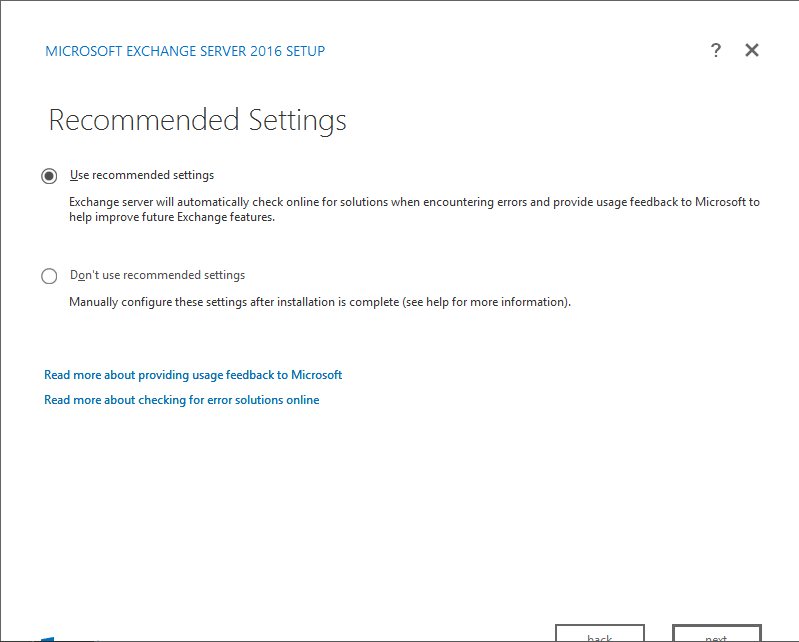
As it is better to go with Recommended settings, I selected ‘Use Recommended Settings’ on this screen and clicked on ‘Next’.
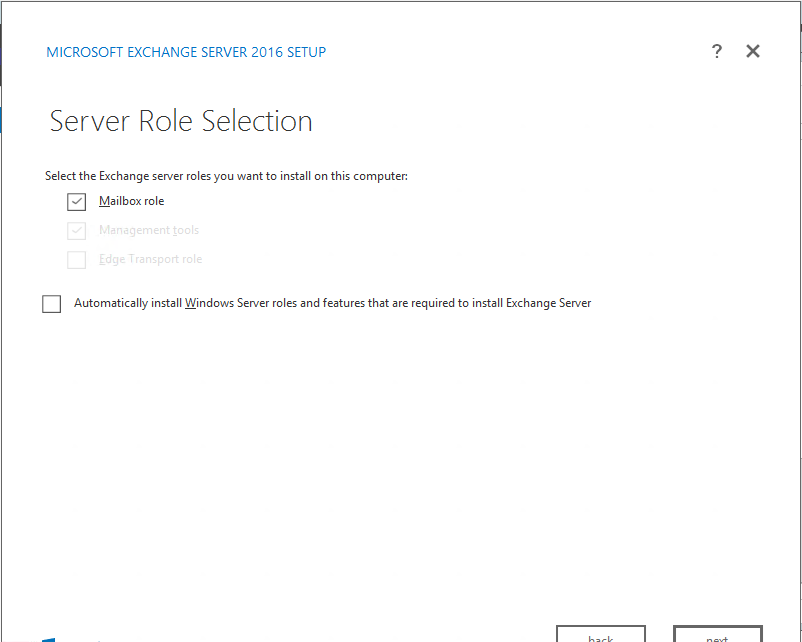
This is the most important screen, as if we previously use to see more roles on this window. But now we can see only two roles i.e. Mailbox Role and Edge Transport Role. No CAS, No HUB transport or any. It seems quite easy. So as I am installing Exchange server i.e. we need to select ‘Mailbox role’ on backend of whose, we selected CAS and HUB Transport role too. It’s invisible but some sort of automatic process for exchange 2016.
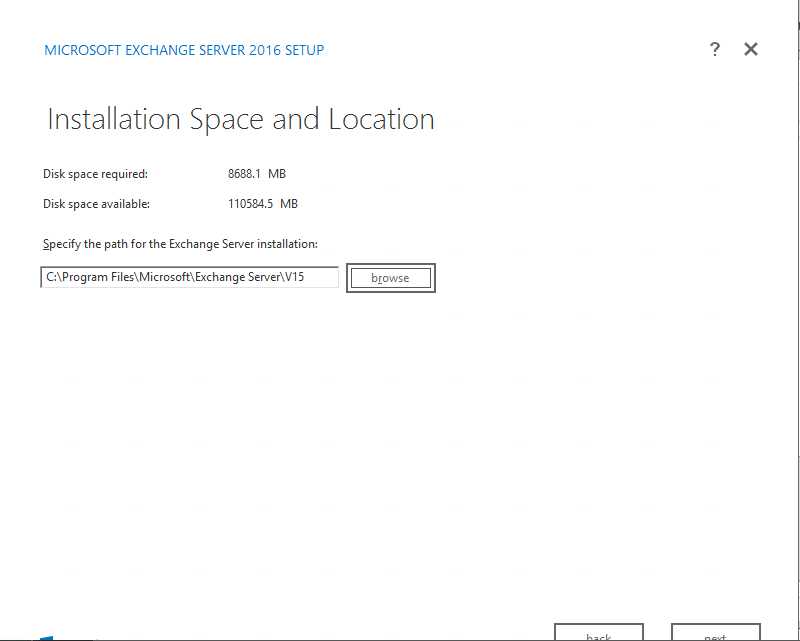
Yes, we need to give location where we want to install exchange server 2016.
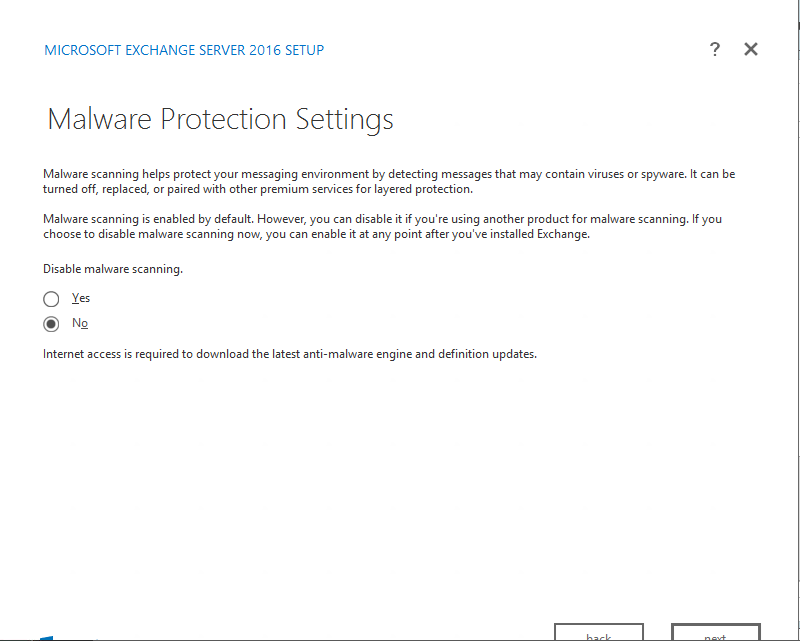
Yup, I am afraid of Malwares to I selected ‘No’ to disable malware scanning of my inbox.
Are we ready to get install Exchange???? Seems we are all okay, no warning and no errors. Hence next step for us to click on ‘Install’.
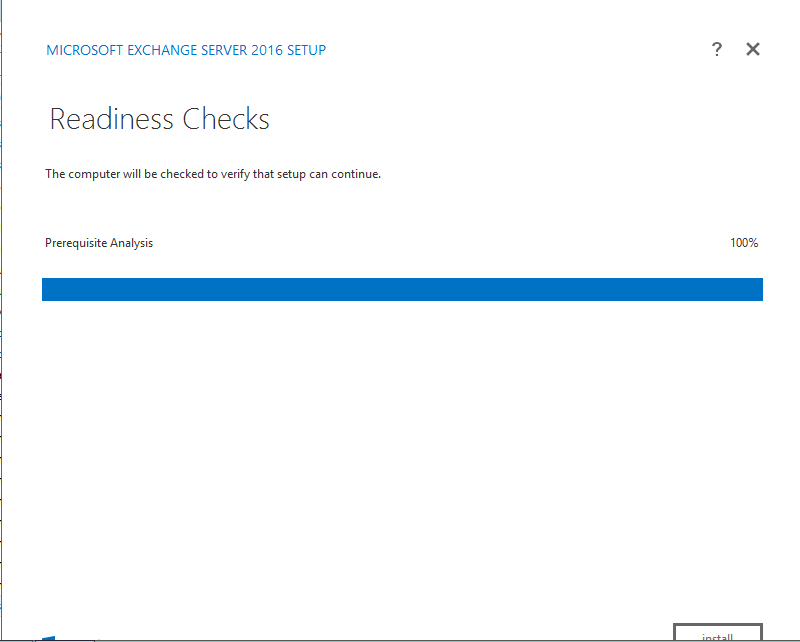
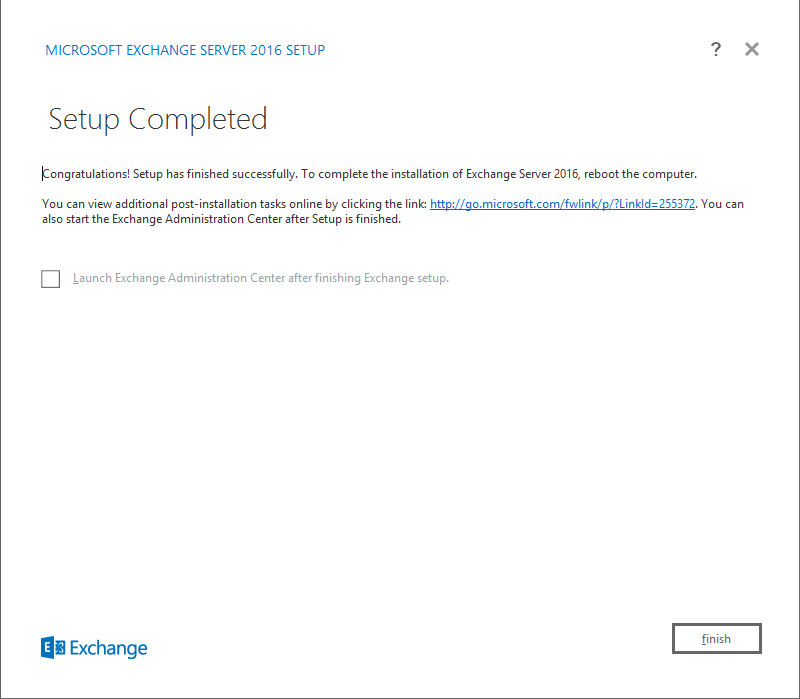
It might take few minutes depending upon your hardware specs. After the completion the wizard will show this screen, where we simply click on Finish.
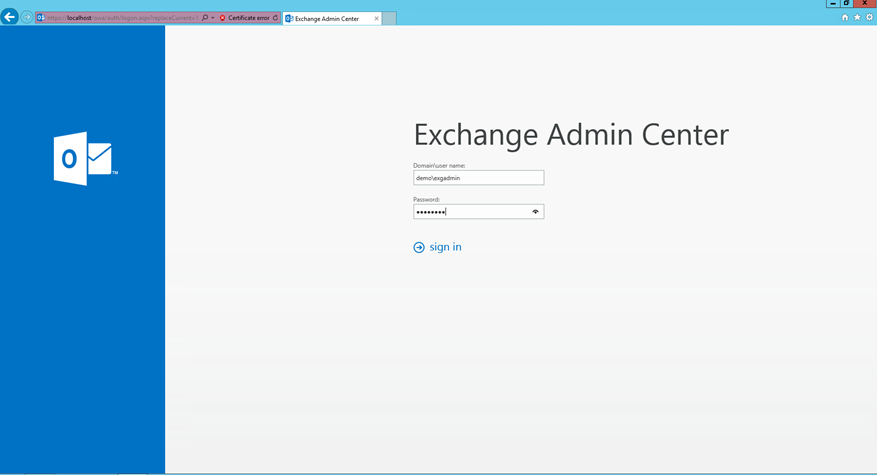
Vola!!!! Here I login my Exchange Admin Center (EAC). Now as Exchange 2013, everything is browser based on Exchange 2016 too. So to get open this link, we can just browse this address on your exchange server
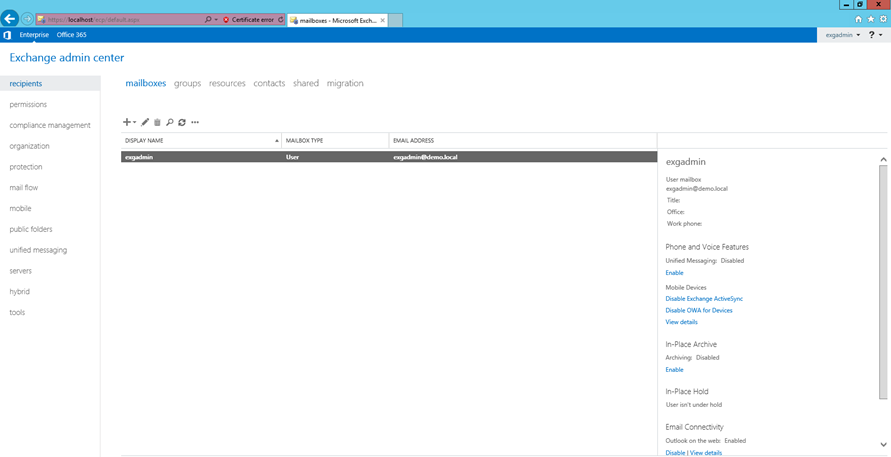
And here I do have a single user mailbox i.e. exchange administrator. Which concludes that we have finished the Installation of Exchange server 2016. Now the part is we need to configure it.
To get configure Exchange server 2016. Stay tune. 🙂
![[solved] OWA/ECP login loop on Exchange 2010/13/16](/wp-content/themes/ribbon-lite/images/nothumb-related.png)
